
Systemic recovery with red light therapy demands more than casual use of a panel or mat for a few minutes. Effective protocols prioritize consistent delivery of an appropriate dose across large body areas while accounting for device output, distance, and individual factors rather than chasing a single universal schedule.

Photobiomodulation (PBM), the scientific term encompassing red light therapy, uses specific red-to-near-infrared wavelengths to influence biological activity. When applied to systemic recovery goals such as reduced fatigue, improved resilience, and faster return to baseline after training or stress, the approach differs markedly from localized skin or pain treatments. Protocols must consider how much of the body receives meaningful exposure and how variables interact to deliver the desired effect without overstating outcomes.
Understanding Dosage Variables for Whole-Body Recovery
PBM dosing is protocol-specific and depends on the condition being treated and the device being used. Core dose variables include wavelength, irradiance/output, exposure time, treatment area, distance from the device, frequency, and overall treatment duration. Distance plays a particularly important role because delivered irradiance typically decreases as you move farther from the panel or mat, requiring longer exposure times to reach comparable energy delivery.
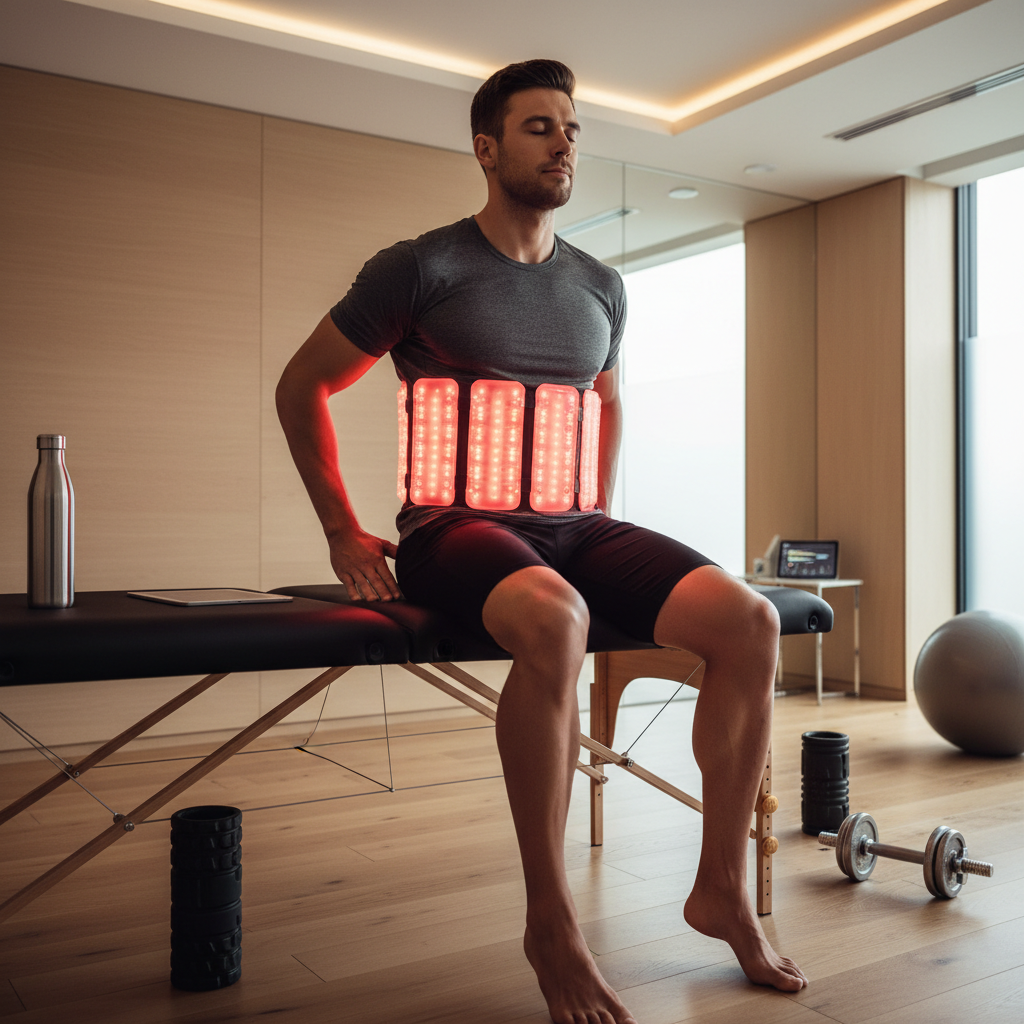
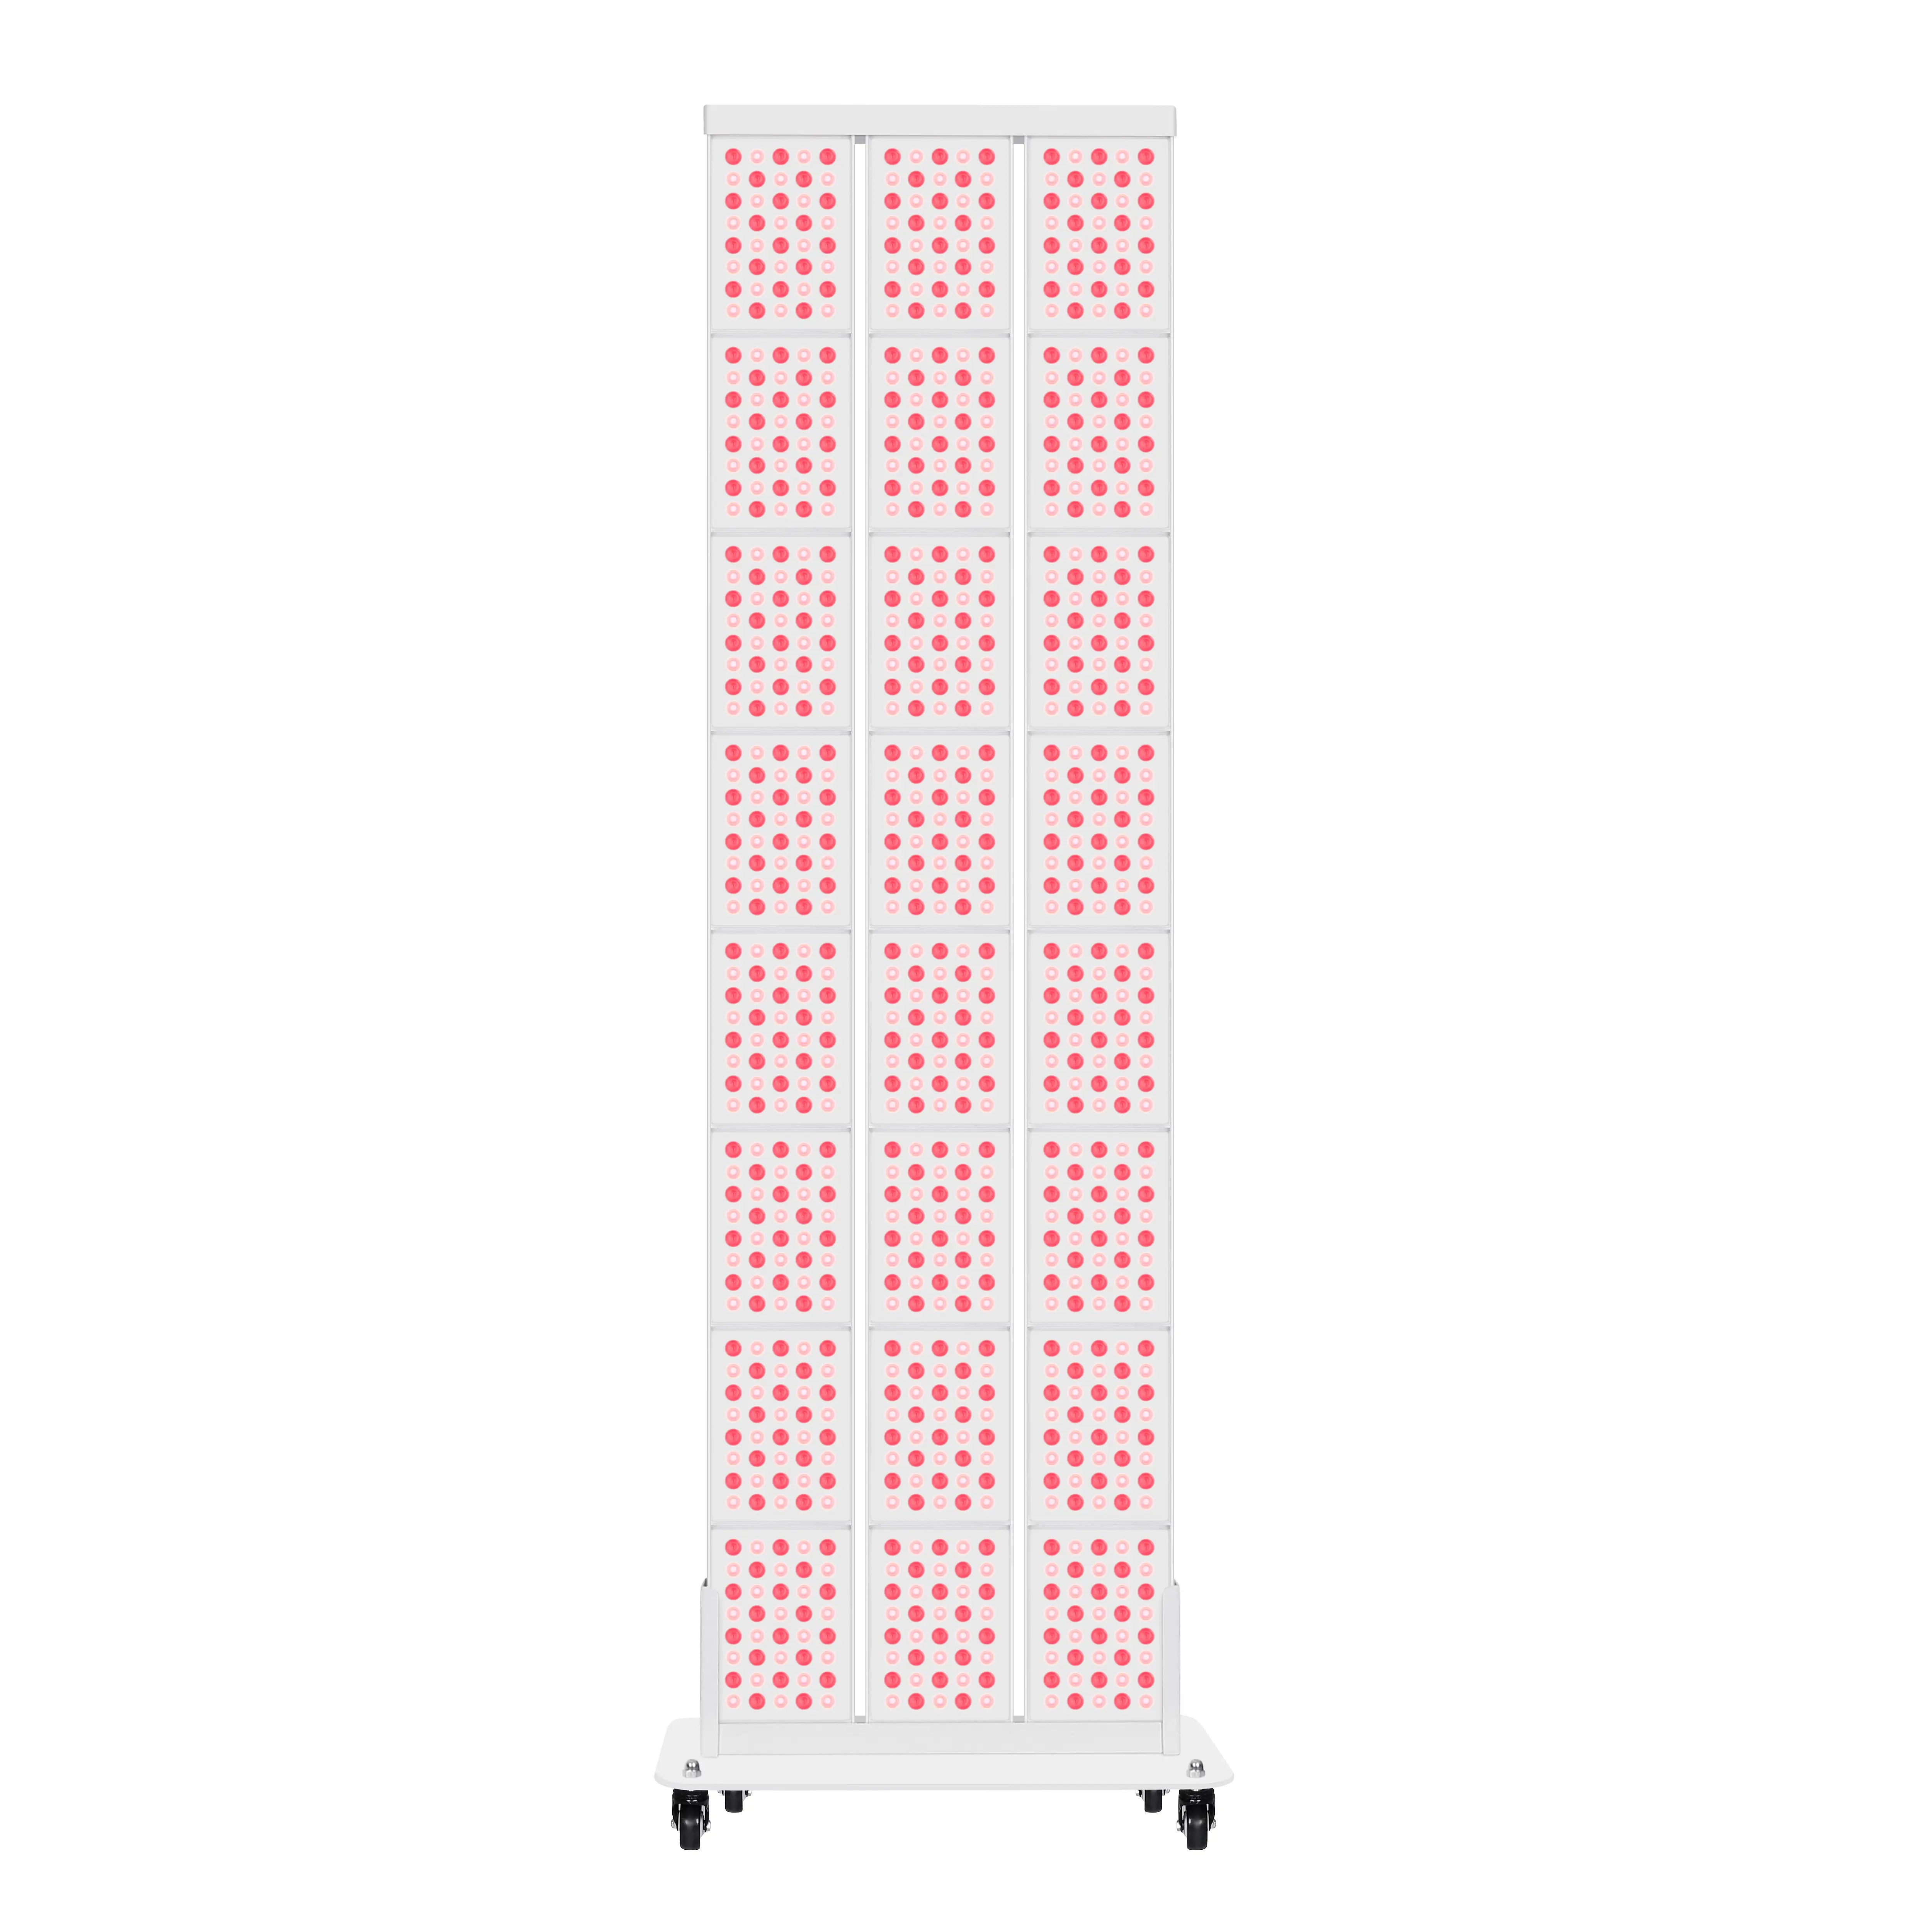
For systemic recovery, the goal is usually to expose as much skin surface as possible rather than focusing on one small area. High-output panels or full-body mats make this more practical, but users must still account for body size and positioning. Smaller individuals or those using a large mat may achieve broad coverage in a single session, while larger users or those with smaller panels often need to reposition or split sessions.
This illustrative chart shows how session time may increase as distance increases, using bounded heuristic assumptions rather than measured device data. It is meant to help readers understand the direction of the tradeoff, not to specify a clinical protocol.
Illustrative Time to Reach Approximate Dose Range by Distance
Distance increases treatment time needed to approach a target dose; closer placement raises dose rate but may reduce coverage for systemic recovery.
View chart data
| Category | High-output panel (assumed 100 mW/cm² at close range) | Lower-output panel (assumed 50 mW/cm² at close range) |
|---|---|---|
| 12 in | 3.3 | 6.7 |
| 18 in | 5.0 | 10.0 |
| 24 in | 6.7 | 13.3 |
| 30 in | 8.3 | 16.7 |
| 36 in | 10.0 | 20.0 |
Illustrative/heuristic model only. Based on general PBM principles that delivered irradiance falls with distance and session time rises as irradiance falls. Times are approximate minutes to reach an assumed 20 J/cm² target dose under simplified assumptions; they are not clinical measurements. Assumed irradiance values are illustrative starting points, not measured device outputs, and real protocols vary by wavelength, output, beam spread, body area, and device geometry.
Treatment time and frequency are core PBM protocol variables, but home-use schedules still need to be tailored to the device and goal. Consensus guidance exists, but protocol refinement is still ongoing, so a universal recovery dose should not be implied.

Recommended Starting Protocols for Systemic Recovery
A practical starting point for many users with high-output devices is 10–20 minutes per session, 3–5 days per week, with full-body exposure where possible. This range draws from general PBM literature rather than a single study on systemic recovery. Closer distances (roughly 6–18 inches for many panels) deliver higher irradiance but cover less area at once, while greater distances allow broader coverage at the cost of longer required times.
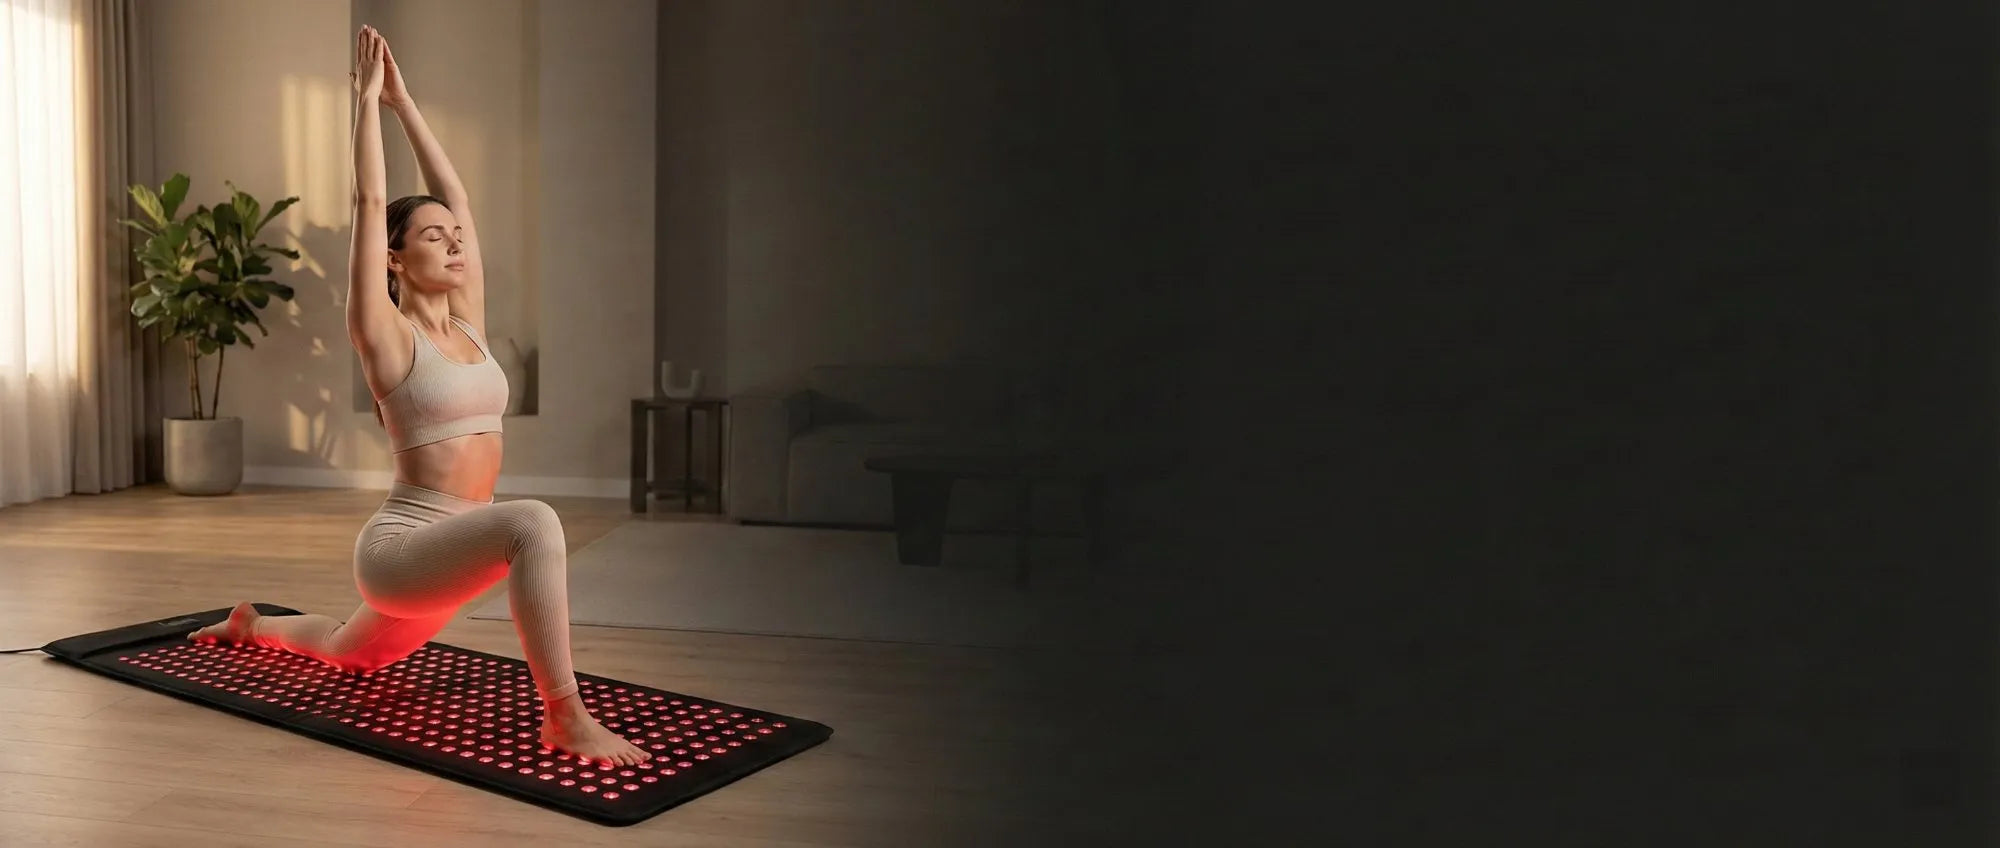
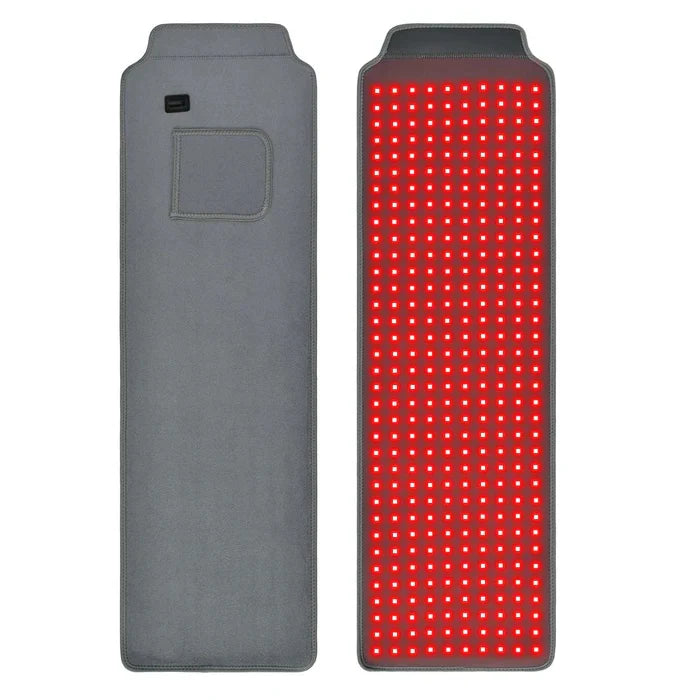
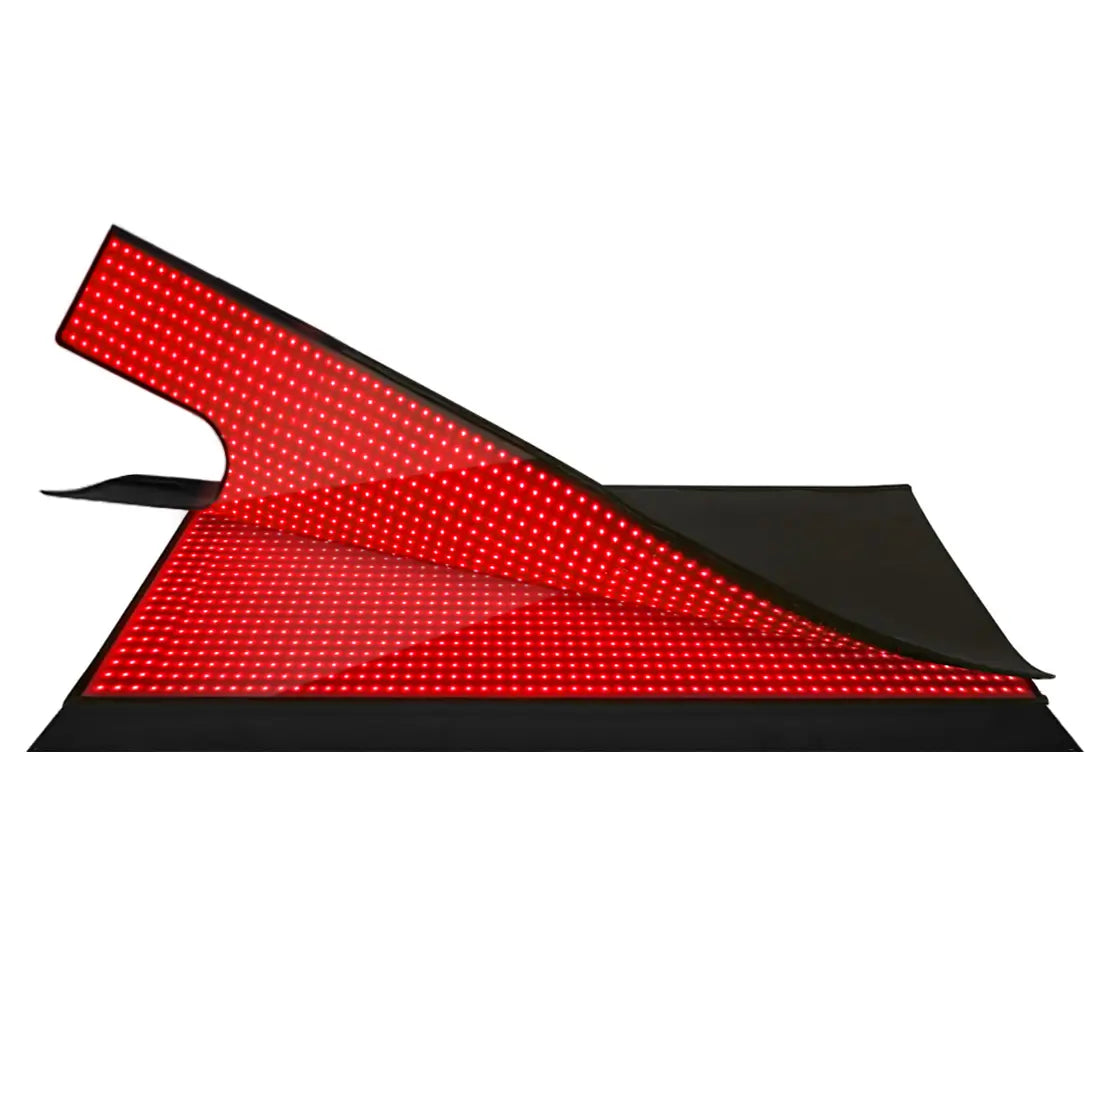
For mats designed for lying on, users can often achieve good coverage in one position. Panels typically require standing or seated repositioning to treat front, back, and sides. Adjust based on how you feel: some people notice a mild warming or relaxation effect, while others experience no immediate sensation. Results for recovery markers such as reduced fatigue or improved energy are highly individual and depend on consistency over weeks rather than a single session.
Scenarios That Change Your Protocol
The preferred approach shifts based on practical factors. Smaller individuals using a large mat with low training stress can often follow a simpler schedule with shorter total exposure. Larger users or those relying on smaller panels under high training load frequently benefit from longer total exposure time, more repositioning, or split sessions to ensure adequate coverage of large surface areas.
High stress or poor sleep may favor gentler evening timing and avoidance of sessions that feel overly stimulating for some users. Post-training soreness or heavy training blocks can support more consistent use, but intensity need not increase if the device already provides strong output. Morning sessions tend to suit users seeking routine consistency with minimal impact on sleep.
These are heuristic decision rules, not rigid clinical prescriptions. Always start conservatively and observe your own response.
Common Myths and Practical Pitfalls
Many sources imply there is one perfect dose for recovery. In reality, published PBM dosing is not one-size-fits-all. Another frequent misconception is that more time or closer distance is always better. Excessive exposure may reduce effectiveness or cause mild discomfort for some users, consistent with the biphasic dose response described in photobiomodulation literature.
Community discussions sometimes confuse localized cosmetic protocols with whole-body recovery routines. Skin-focused treatments often use shorter times on small areas, while systemic goals emphasize broader coverage and repeated moderate dosing over time. Safety depends on the device and its output, so consumer red-light devices should not be treated as interchangeable.
How to Choose and Adjust Your Protocol
Before starting, check your device specifications for irradiance at different distances. Verify that the wavelengths fall in the typical therapeutic red and near-infrared range. Begin with 3 sessions per week at a moderate distance and comfortable duration, then adjust based on how you recover and feel.
Practical checkpoints include:
- Measure or estimate the area covered in one position.
- Note the time required to treat major body regions adequately.
- Track subjective energy, sleep quality, or training readiness over 2–4 weeks.
- Reduce frequency or duration if you notice diminished returns or mild irritation.
This article only discusses comfort and setup advice; it does not constitute medical advice, diagnosis, or treatment. If you have persistent discomfort or existing medical conditions, consult qualified professionals.
Device Considerations and Realistic Expectations
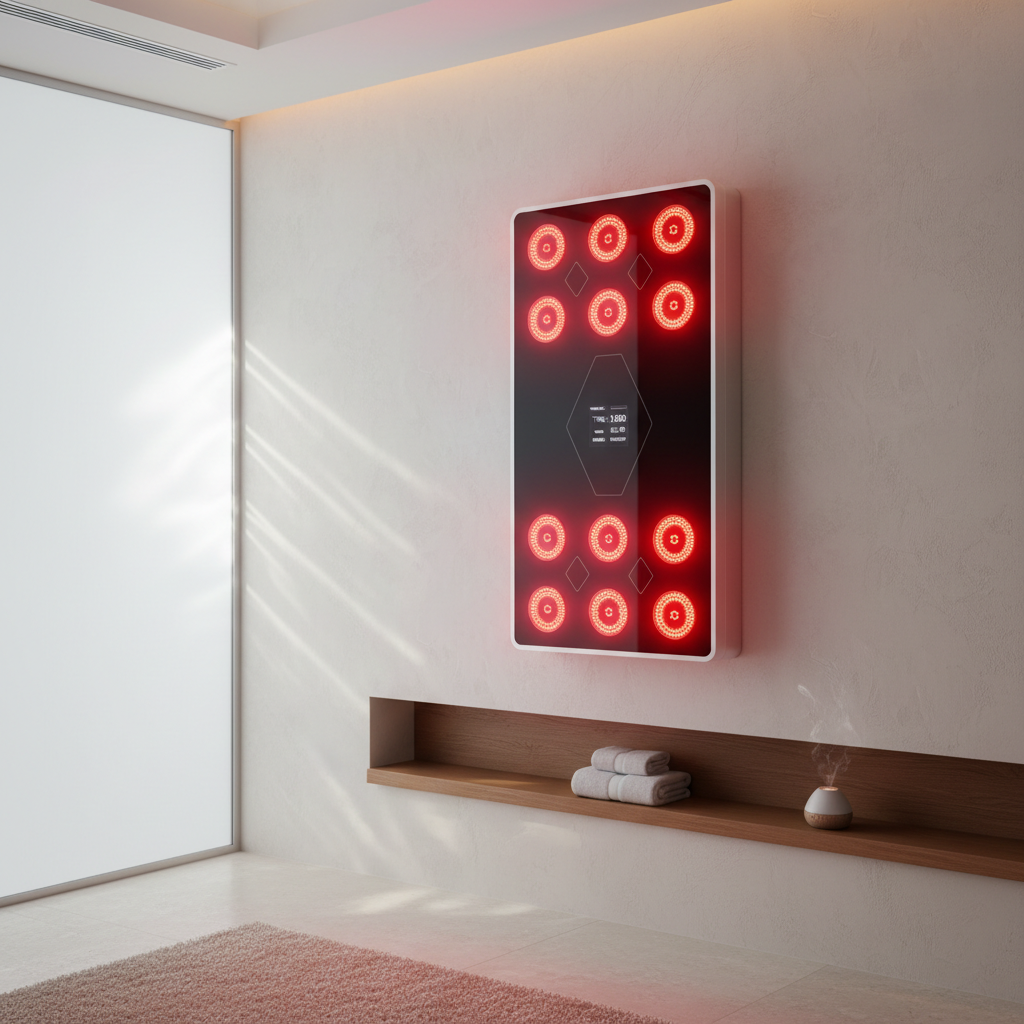
Panels and mats differ in coverage and usability for systemic use. Full-body mats simplify positioning but may have different output characteristics than high-powered panels. Repeated low-level red-light protocols have been studied, but the results are indication-specific and should not be generalized across every recovery goal.
In 2026, realistic expectations center on supportive use as part of a broader recovery lifestyle rather than a standalone solution. Benefits such as perceived improvements in energy or resilience appear in some users with consistent application, but individual results vary by device quality, consistency, and lifestyle factors. Evidence-minded users compare protocols against their specific device output and personal response rather than marketing claims.
For those exploring related wellness topics, see our guide on red light therapy for HIIT recovery or considerations for shift workers seeking circadian support.
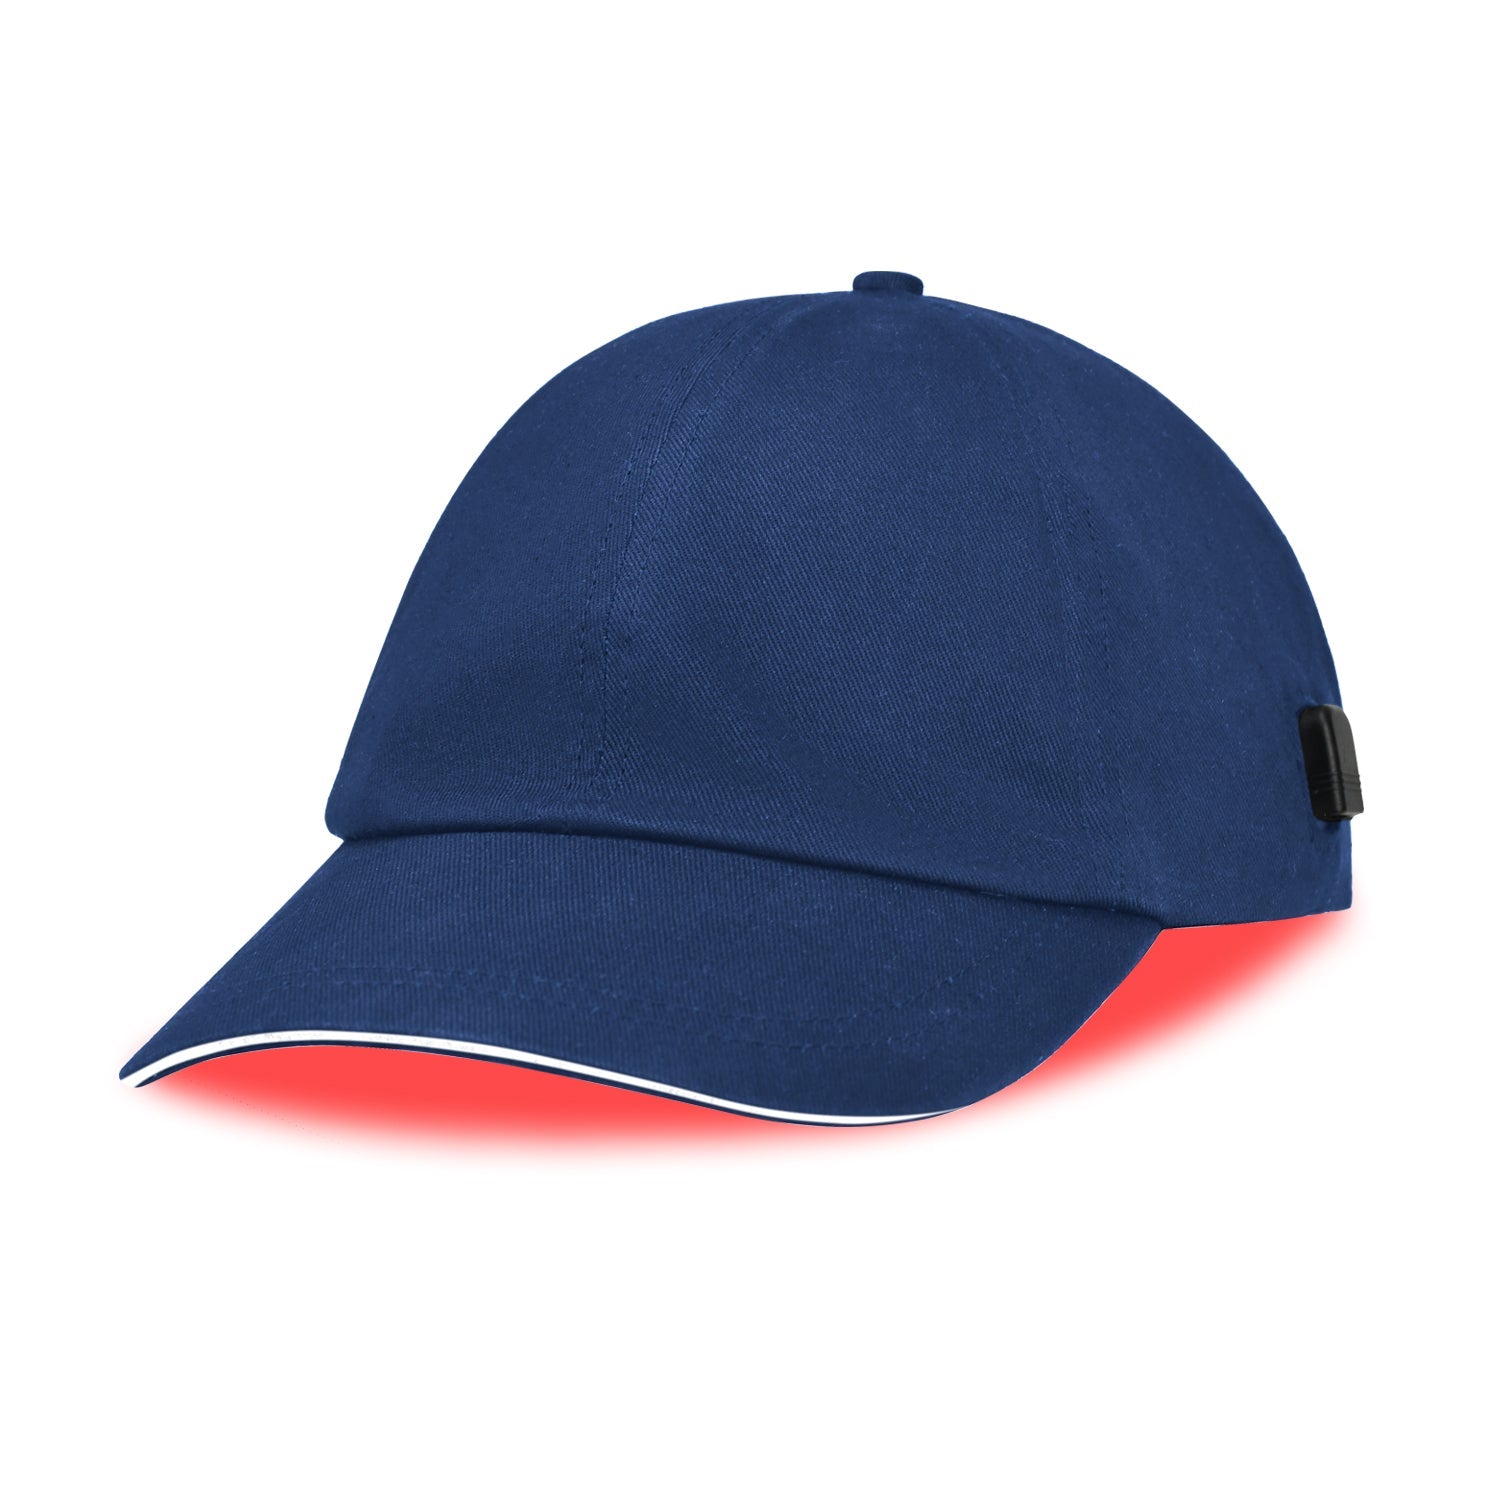
When selecting equipment, look for devices that clearly state irradiance at distance and follow recognized safety practices. Our red light therapy belt collection offers portable options for targeted or supplemental use alongside larger panels.
Further technical reading on measurement standards can be found in our photobiomodulation standards guide. Users interested in frequency effects may also review what 10Hz versus 40Hz pulsing does.
Final Thoughts
An effective red light therapy dosage protocol for systemic recovery depends heavily on your device, body size, coverage needs, and consistency rather than a single magic number. Start conservatively, track your response, and adjust based on real-world results. This approach may feel more comfortable and sustainable in many home setups, but outcomes vary and should complement—not replace—foundational recovery practices.
This article only discusses comfort and setup advice; it does not constitute medical advice, diagnosis, or treatment. If persistent discomfort occurs or existing conditions are present, consult qualified professionals.