
When you are looking for natural ways to support your body’s recovery process, red light therapy often comes up as a top recommendation. However, once you decide to try it, the hardware choices can be overwhelming. The two most common form factors—flexible belts and rigid panels—look completely different, yet both promise similar wavelengths. This leads to the most common question we hear from home users: "Red Light Therapy Belt vs Panel: Which one do I actually need?"
The answer isn't about one being superior to the other; it is about matching the device to your specific pain points, your available space, and your daily routine. A giant panel is powerful but hard to travel with; a belt is convenient but covers a smaller area. Choosing the wrong one often leads to the device collecting dust in a closet rather than providing the relief support you bought it for.
In this guide, we will break down the belt vs panel for pain relief decision based on science and practicality. We will explore how to manage dosage, how to set up a routine you can stick to, and how to verify the specs that matter. For those interested in the deeper mechanisms, you can always check our red light therapy science guides, but today our focus is purely practical.
The Practical Answer: When a Belt Wins, When a Panel Wins, and When You Need Both
What should a first-time buyer choose if budget is limited?
If you have a strict budget, start by identifying your "primary" area of concern. If 80% of your discomfort is in your lower back or gut, a belt is often the most cost-effective entry point because it requires no stand, no setup time, and ensures the lights stay close to the skin. However, if your goal is general wellness or you have discomfort in widely different areas (e.g., a knee, then a shoulder, then your face), a small or medium-sized panel offers more versatility per dollar.
What’s the simplest way to decide based on pain area and lifestyle?
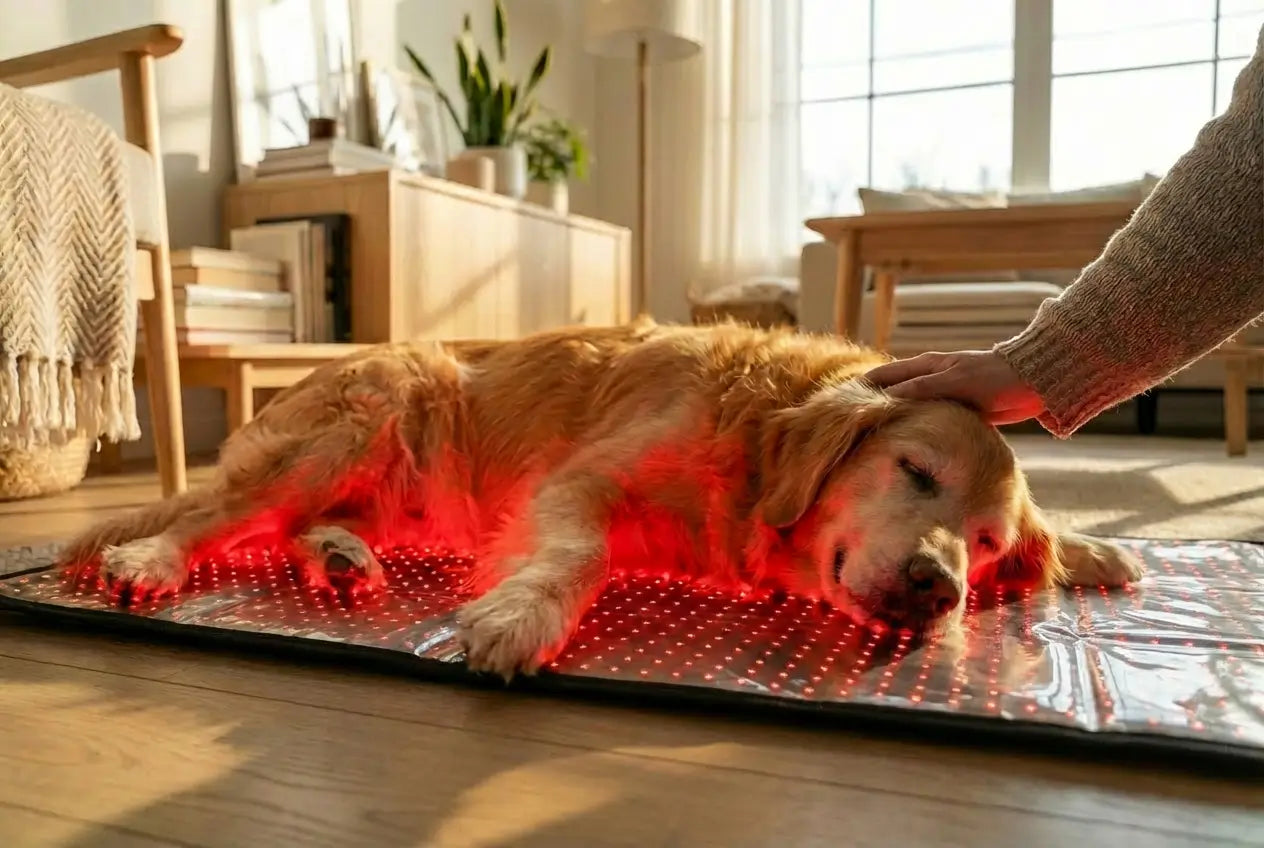
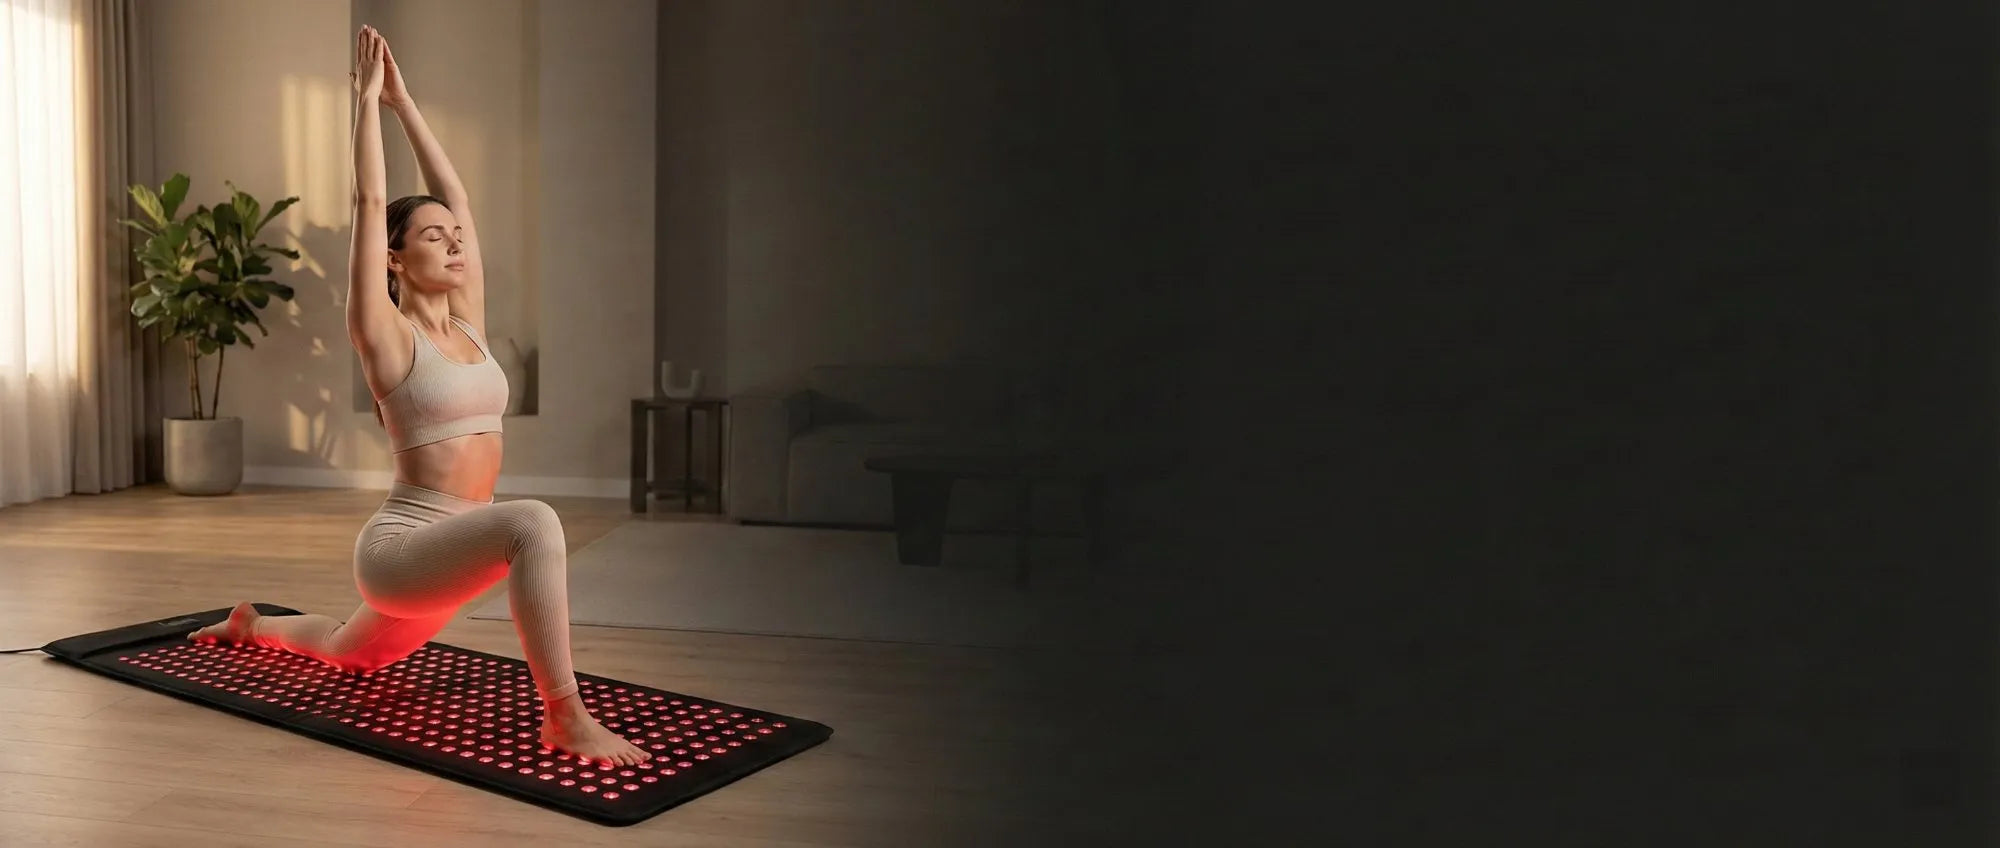
Think about "friction." Friction is anything that stops you from doing your session. If you are busy and need to move around the house (cooking, working at a standing desk) while getting support for lumbar stiffness, a belt removes the friction of sitting still. Conversely, if your relaxation routine involves sitting in a chair or lying on a yoga mat for 20 minutes, a panel set up permanently in that corner is ideal. For joint-specific issues like knees, a panel allows you to treat the whole joint from a comfortable distance, whereas a belt might feel restrictive if wrapped too tightly around a bending joint.
How to compare without medical overclaims (what “support” realistically means)
It is important to manage expectations. Red light therapy devices are not magic wands that "cure" pain instantly. Instead, they are tools that support cellular function and circulation, which may help soothe muscle soreness and joint stiffness over time. According to general educational resources from major institutions like the Cleveland Clinic (2021), red light therapy is thought to affect the mitochondria in your cells, potentially helping them produce more energy, which is vital when your body is repairing itself.
Quick Decision: Which Fits Your Lifestyle?
- Your pain is localized (e.g., lower back only).
- You want to move around (cook, work) during sessions.
- You have limited space for storage.
- You want the simplest "strap-and-go" routine.
- You need broad coverage (full back, skin, multiple areas).
- You treat irregular joints (knees, shoulders, neck).
- You can set up a dedicated corner (stationary use).
- Multiple people will share the device (hygienic).
Shop the setup that fits your routine
Why it fits: easier to cover larger zones with consistent distance
Starter routine: conservative time + repeatable setup
Why it fits: simple format for consistent positioning
Starter routine: short sessions you can repeat
Why it fits: easier positioning for consistent daily use
Starter routine: conservative timing; adjust by comfort
Educational content only; wellness/lifestyle use. Not medical advice. Results vary.
Belt vs Panel in Plain Language (Coverage, Positioning, and Daily Friction)
Coverage: small-target comfort vs broad-area versatility
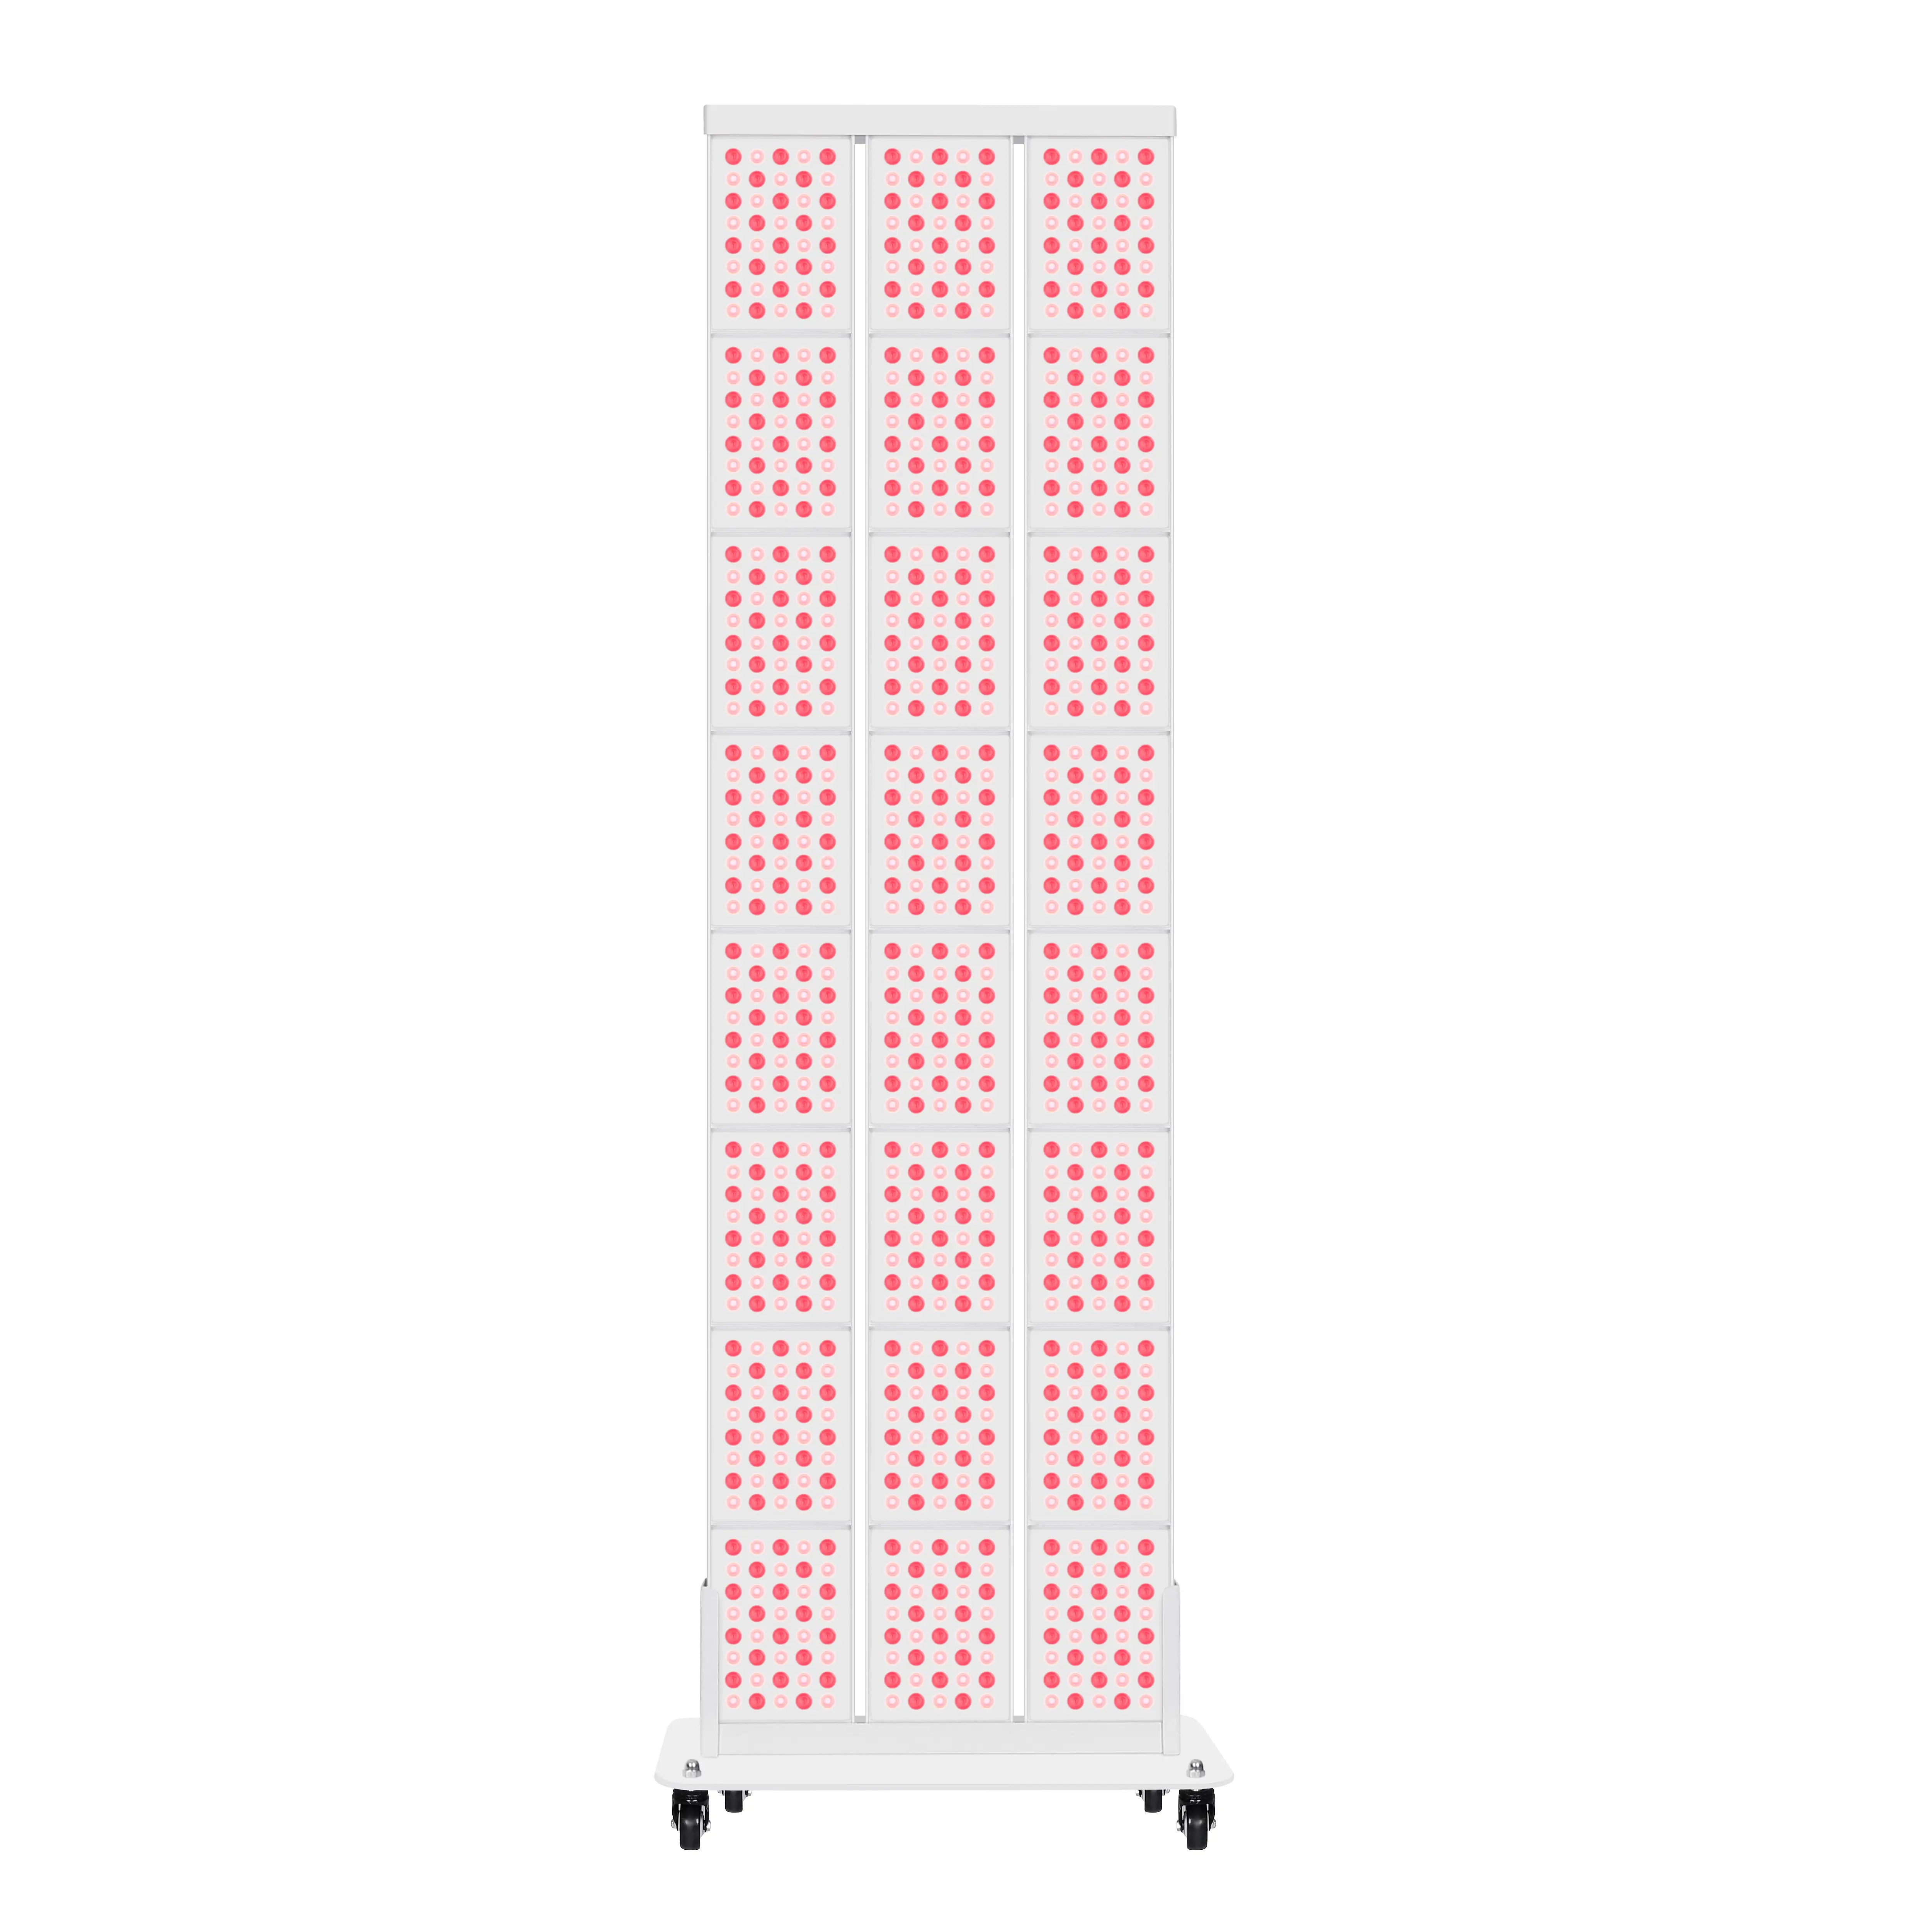
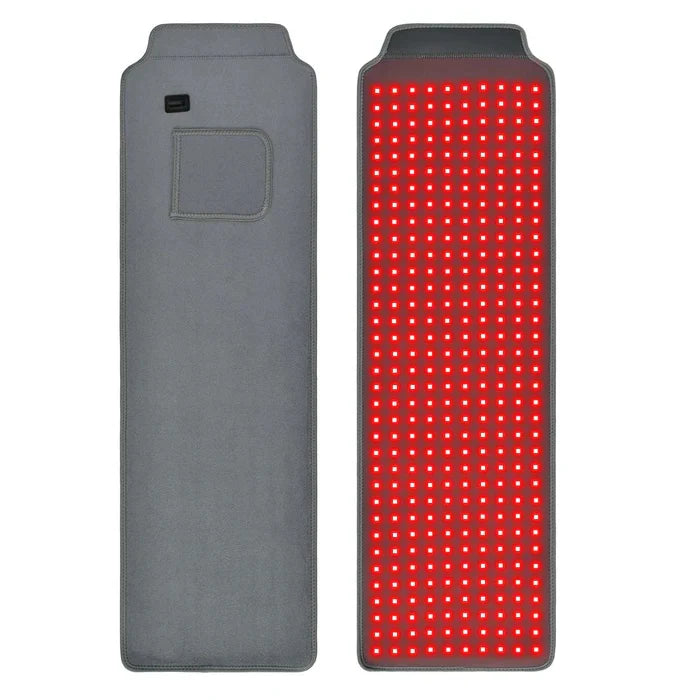
A belt typically covers a specific rectangular area, often around 5x10 inches or slightly larger. This is perfect for "spot treating" the lower lumbar region. However, if you are looking for a red light therapy belt for back pain that spans from your neck down to your hips, a single belt won't suffice—you would need to move it multiple times. A panel, especially a "half-body" or "full-body" size, bathes the entire torso in light simultaneously, saving you significant time if you have multiple areas of concern.
Positioning: hands-free repeatability vs distance/angle consistency
Belts eliminate the "variable" of distance. Because you strap them on, the distance is always near-zero. This makes your daily dose highly repeatable. Panels introduce variables: sitting 6 inches away delivers a very different dose than sitting 12 inches away. To get consistent results with a panel, you need a consistent setup (e.g., a chair marked at a specific spot).
“Power” confusion: why real distance matters more than marketing numbers
You will often see panels boasting high irradiance numbers (power output). While panels are generally more powerful than belts, much of that light spreads out before it hits your body. Belts have lower power output on paper, but because they are touching your skin, the reflection loss is minimized. Don't just chase the highest number; consider how much light actually reaches your target tissue.

Dose, Distance, and Frequency: The Real Driver of Consistent Results
Why “more is not always better” (especially for sensitive users)
It is tempting to think that if 10 minutes helps, 60 minutes will help six times more. This is incorrect. Research, such as the review by Huang et al. (2011), describes a "biphasic dose response" in photobiomodulation. This means there is an optimal window of light energy that provides benefit; exceed it, and the benefits may diminish or disappear. Overdoing it won't necessarily harm you, but it wastes your time and may reduce the effectiveness of the session.
Typical distance/time/frequency ranges used in practice
For most home devices, manufacturer guidelines suggest sessions between 10 to 20 minutes. With a panel, distance is key. A common starting point is 6–12 inches away from the device. With a belt, the distance is set (zero), so you modulate the dose by adjusting the time (often shorter sessions, e.g., 10–15 minutes). Frequency is usually recommended at 3–5 times per week rather than every single day, giving your body time to process the stimulus.
A simple home SOP: The "Consistency Loop"
To make this work, you need a Standard Operating Procedure (SOP). Instead of guessing every time, follow this simple checklist:
- 1. Goal: Define what you are supporting (e.g., "knee comfort" or "lower back relaxation").
- 2. Setup: Place the panel 6 inches away (use a ruler once to memorize the spot) or strap the belt snugly.
- 3. Time: Set a timer for 10 minutes. Do not exceed this initially.
- 4. Notes: Write down how you feel the next day. If you feel great, stick to it. If you feel nothing, slightly adjust time next week.
For a deeper dive into timing, read our guide on how long should your red light therapy sessions be to tailor this to your specific device.
The Consistency Loop (Home SOP)
Belt: Wrap tight.
(Use a timer).
Adjust next time.
Figure 3: Follow this simple loop to keep your results consistent.
Routine Design: Turn “Belt vs Panel” Into Habits You’ll Actually Stick To
Back/waist/hip routines: making belt sessions repeatable and comfortable
For the torso, red light therapy belts are the champions of consistency. A typical routine involves strapping the belt on while watching the evening news or reading a book. Since you don't have to hold a device or sit in an awkward position, the "cost" of doing the session is low. Many users find that using the belt at the same time every evening (e.g., 8:00 PM) helps anchor the habit.
Knee/shoulder/neck routines: making panel sessions consistent (distance + angle)
Joints like knees and shoulders are irregular shapes. A portable mini red light panel placed on a floor stand or a table allows you to angle the light directly at the joint without contact. This is crucial for sensitive areas where pressure might be uncomfortable. To keep this consistent, mark the spot on the floor where your chair goes, so you don't have to measure the distance every single time.
Simple tiers (beginner → consistent → advanced) without overpromising
- Beginner: 3x per week, 10 minutes, fixed spot. Focus on simply doing it.
- Consistent: 5x per week, adjusting time based on feedback. Focus on tuning into your body.
- Advanced: Targeting multiple areas or combining a panel for the front and a belt for the back (Combo setup).
Harvard Health (2019) notes that while red light is generally safe, it is wise to start slowly and monitor your skin's reaction, ensuring your routine supports your wellness without causing irritation.
Buying Checklist for Pain-Focused Home Users (Beyond Form Factor)
Irradiance at real distances and why spec sheets confuse buyers
Marketing often claims massive power numbers measured at the surface. But if you are using a panel at 12 inches, the power you receive is much lower. Look for brands that publish irradiance maps at 6 or 12 inches. For belts, surface irradiance is more relevant, but ensure the device doesn't get dangerously hot.
Coverage, comfort, and daily convenience (the “will I actually use it?” test)
- Size: Does the belt actually fit your waist circumference? Do you need an extender strap?
- Weight: Is the panel too heavy to move if you don't have a dedicated spot?
- Cords: Is the device battery-powered (belt) or wall-plugged (panel)? Cords can limit where you do your therapy.
Safety basics: eye protection, sensitivity notes, and when to pause
According to safety overviews from sources like IMA Health (2025), while red light is generally safe, protecting your eyes from bright light is recommended, especially with high-powered panels. Near-infrared light is invisible, so don't assume the device is "off" just because it looks dim. Always wear the provided goggles if the light is directed near your face.
Common Mistakes Checklist (What Makes People Quit or Overdo It)
-
Wearing clothes: Red and Near-Infrared light cannot penetrate denim or thick cotton effectively.
Mistake: Treating through a shirt. Fix: Direct skin contact or bare skin exposure. -
Inconsistent Distance: Using a panel at 2 inches one day and 20 inches the next.
Fix: Use a ruler or a string to measure your setup distance once, then stick to it. -
The "More is Better" Trap: Doing 40-minute sessions hoping for faster relief.
Fix: Stick to 10–20 minutes to avoid the biphasic drop-off. -
Drifting Routine: Skipping 4 days and trying to "make up for it" with a double session.
Fix: Consistency beats intensity.
Example Playbooks: 3 Common At-Home Setups
Belt-first setup (targeted daily support)
The User: Someone with specific lower back or hip stiffness who values mobility.
The Gear: One high-quality LED belt.
The Routine: 20 minutes every evening while winding down.
Why it works: Zero setup time means you never skip a session.
Panel corner setup (multi-area support + versatility)
The User: Someone managing red light therapy panel for knee pain and shoulder tension simultaneously.
The Gear: One mid-sized panel on a floor stand or door mount.
The Routine: Morning coffee ritual—sitting in front of the panel for 15 minutes.
Why it works: Treats large areas at once without needing to reposition a small device.
One device for multiple people (1 → 3 users planning)
The User: A couple or family sharing a device.
The Gear: A large panel (most durable/hygienic for sharing).
The Routine: Red light therapy panels are great here because they don't touch the skin, making sharing hygienic. User A takes the 7:00 AM slot; User B takes the 7:30 AM slot.
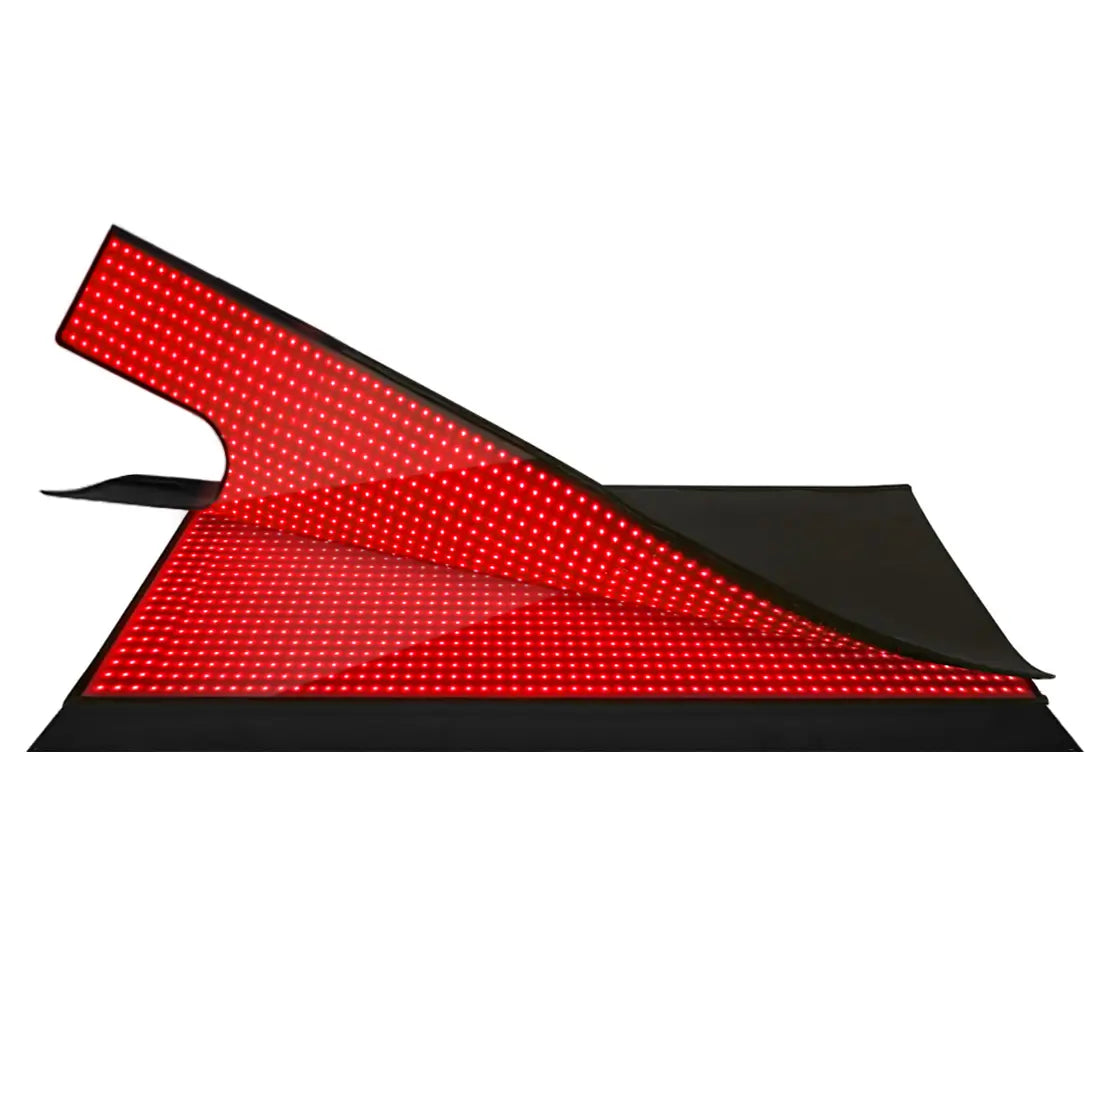
Note: If you are looking for full-body recovery or relaxation, some users explore red light therapy sleep bags, though a panel remains the most versatile shared option.

Explore panels / belts for your at-home routine
Why it fits: flexible positioning for different body areas
Tip: standardize distance and session time
Why it fits: easier to position for repeatable sessions
Tip: short, consistent sessions
Why it fits: consistent positioning for repeatable use
Tip: keep timing conservative; adjust gradually
FAQ – Belt vs Panel for Pain Relief
Q: Can I use a panel and a belt at the same time?
A: Yes, many advanced users do this to save time. For example, you might wear a belt on your lower back while facing a panel to treat your knees. Just ensure you aren't overlapping the light on the same spot to avoid overdosing that specific area.
Q: Do I really need to take my clothes off for the belt?
A: Yes. While red light is bright, fabric (even thin t-shirts) blocks a significant amount of the light energy. For the wavelengths to reach your skin and underlying tissue effectively, direct contact or bare skin is necessary.
Q: How close should I stand to a panel for deep tissue support?
A: Typically, 6 inches is the "sweet spot" for deeper issues like joint or muscle support. If you are using it for skin concerns, 12–18 inches is often recommended. Always check your specific device's manual for its irradiance map.
Q: Can I use the device more than once a day?
A: It is generally recommended to leave at least 24 hours between sessions for a specific body area. Your cells need time to process the energy and perform the repair work. Treating the same spot morning and night usually yields diminishing returns.
Q: Is the Near-Infrared (NIR) light dangerous for my eyes?
A: NIR is invisible and can be intense. While brief glances are usually fine, prolonged direct exposure to high-intensity LEDs is not recommended. We always suggest wearing the blackout goggles provided with your device, especially when using panels that face your head area.
Q: Will a belt work for my knee pain?
A: It can, but fitting a flat belt around a bending joint can be awkward. Some belts are flexible enough to wrap, but a panel or a specifically designed joint wrap is often more comfortable and ensures better light coverage around the uneven contours of a knee.
Conclusion: A Simple Decision Framework You Can Follow at Home
Remember, consistency is the key to seeing results. Start with a conservative routine, track how your body feels, and adjust as needed. If you want to read more about maximizing your setup, browse our library of red light therapy articles. If you are still unsure which specific model fits your needs, feel free to contact our team for a personalized recommendation.