
Using a large home red light panel should feel straightforward. You need a firm answer on session length and a routine that covers the whole body without guessing. This guide starts with the timing window that works for most people in a red light therapy session, then walks you through small adjustments based on your goals, your device, and your schedule.
The Short Answer For Your Red Light Therapy Session 10 to 20 Minutes
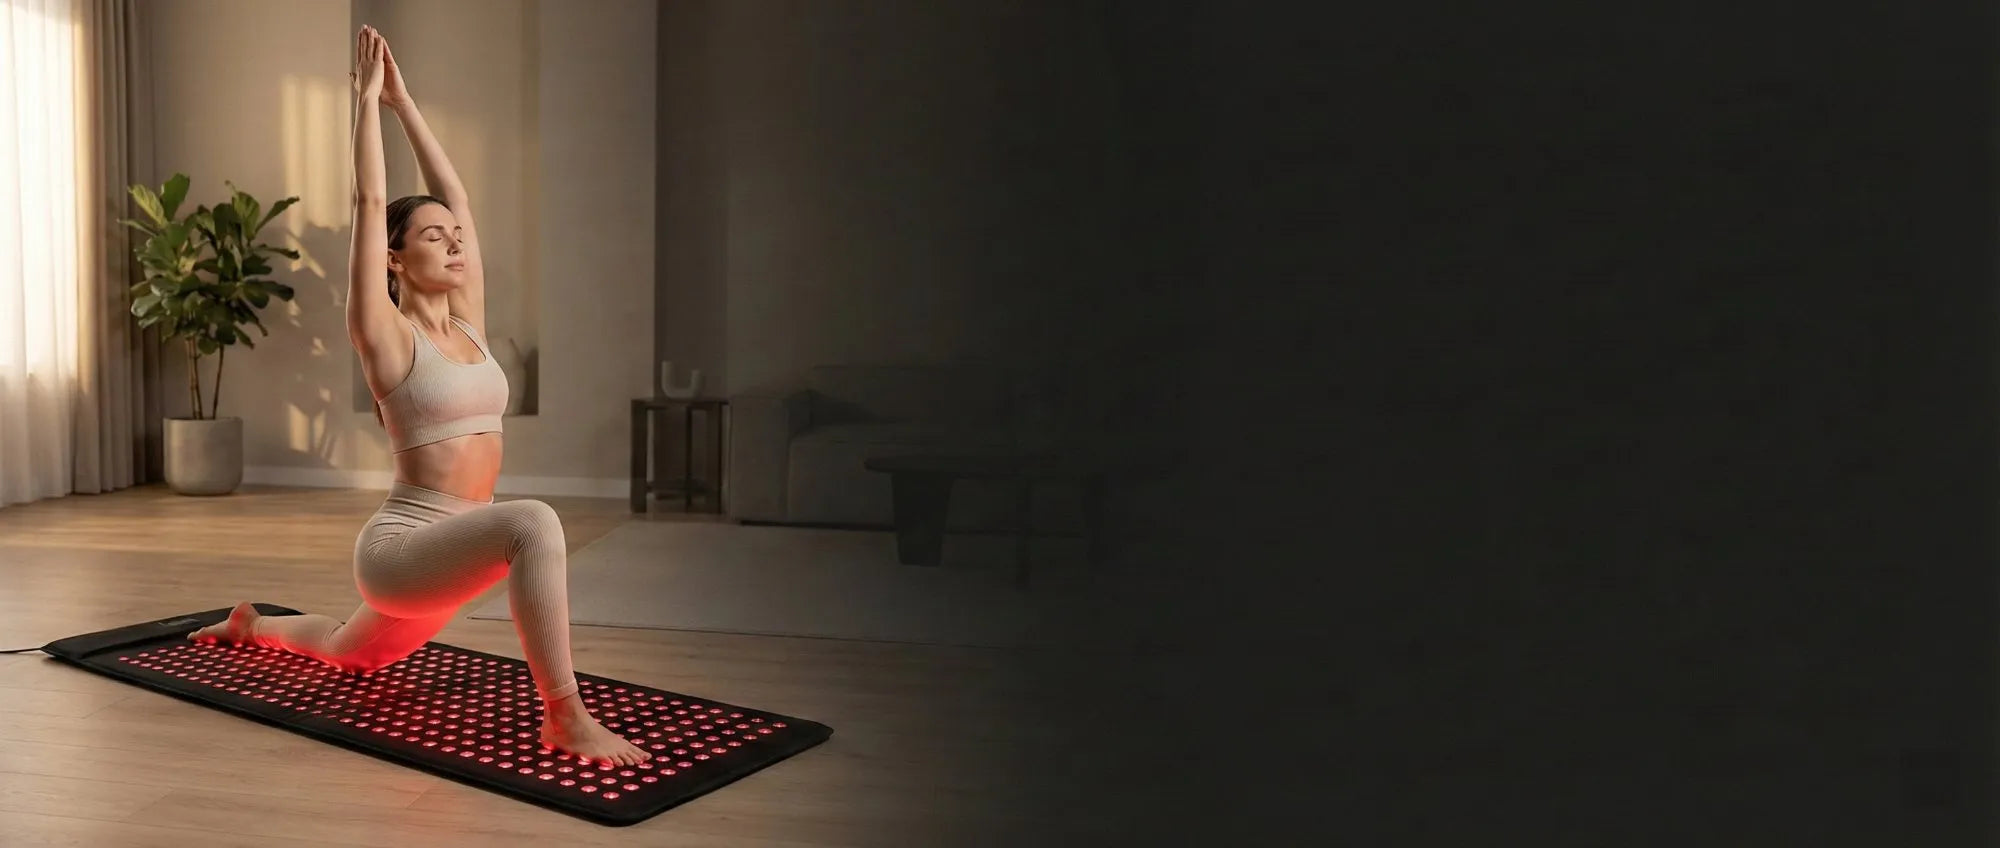
Most people do best with 10 to 20 minutes per area. After choosing the appropriate red light panel, start at the low end, watch how the skin and muscles feel, then move up as needed. A large panel reaches the dose fast and covers more of the body in one red light therapy session, so the routine stays short and steady.
Quick reference for large home users

| Target area | Typical distance | Session time | Weekly frequency |
| Face and neck | 6 to 18 inches | 10 to 15 minutes | 3 to 5 times |
| Shoulders and back | 6 to 24 inches | 15 to 20 minutes | 3 to 5 times |
| Hips, knees, ankles | 6 to 18 inches | 10 to 20 minutes | 3 to 5 times |
| Full body stand | 8 to 24 inches | 10 to 20 minutes | 3 to 5 times |
Use the table as a starting point. The right red light therapy session for you may sit at the middle of the range once your body adapts.
Why More Is Not Better In Red Light Therapy Treatment
With red light, dose matters. Light supports cell activity at the right range, then the benefit levels off if you keep going. That is why a long timer rarely adds value. Stay inside the window and track how you feel after each red light therapy session. If you notice lingering heat on the skin, a mild headache, or sleep feels off that night, trim the time or add a little distance on the next red light therapy treatment.
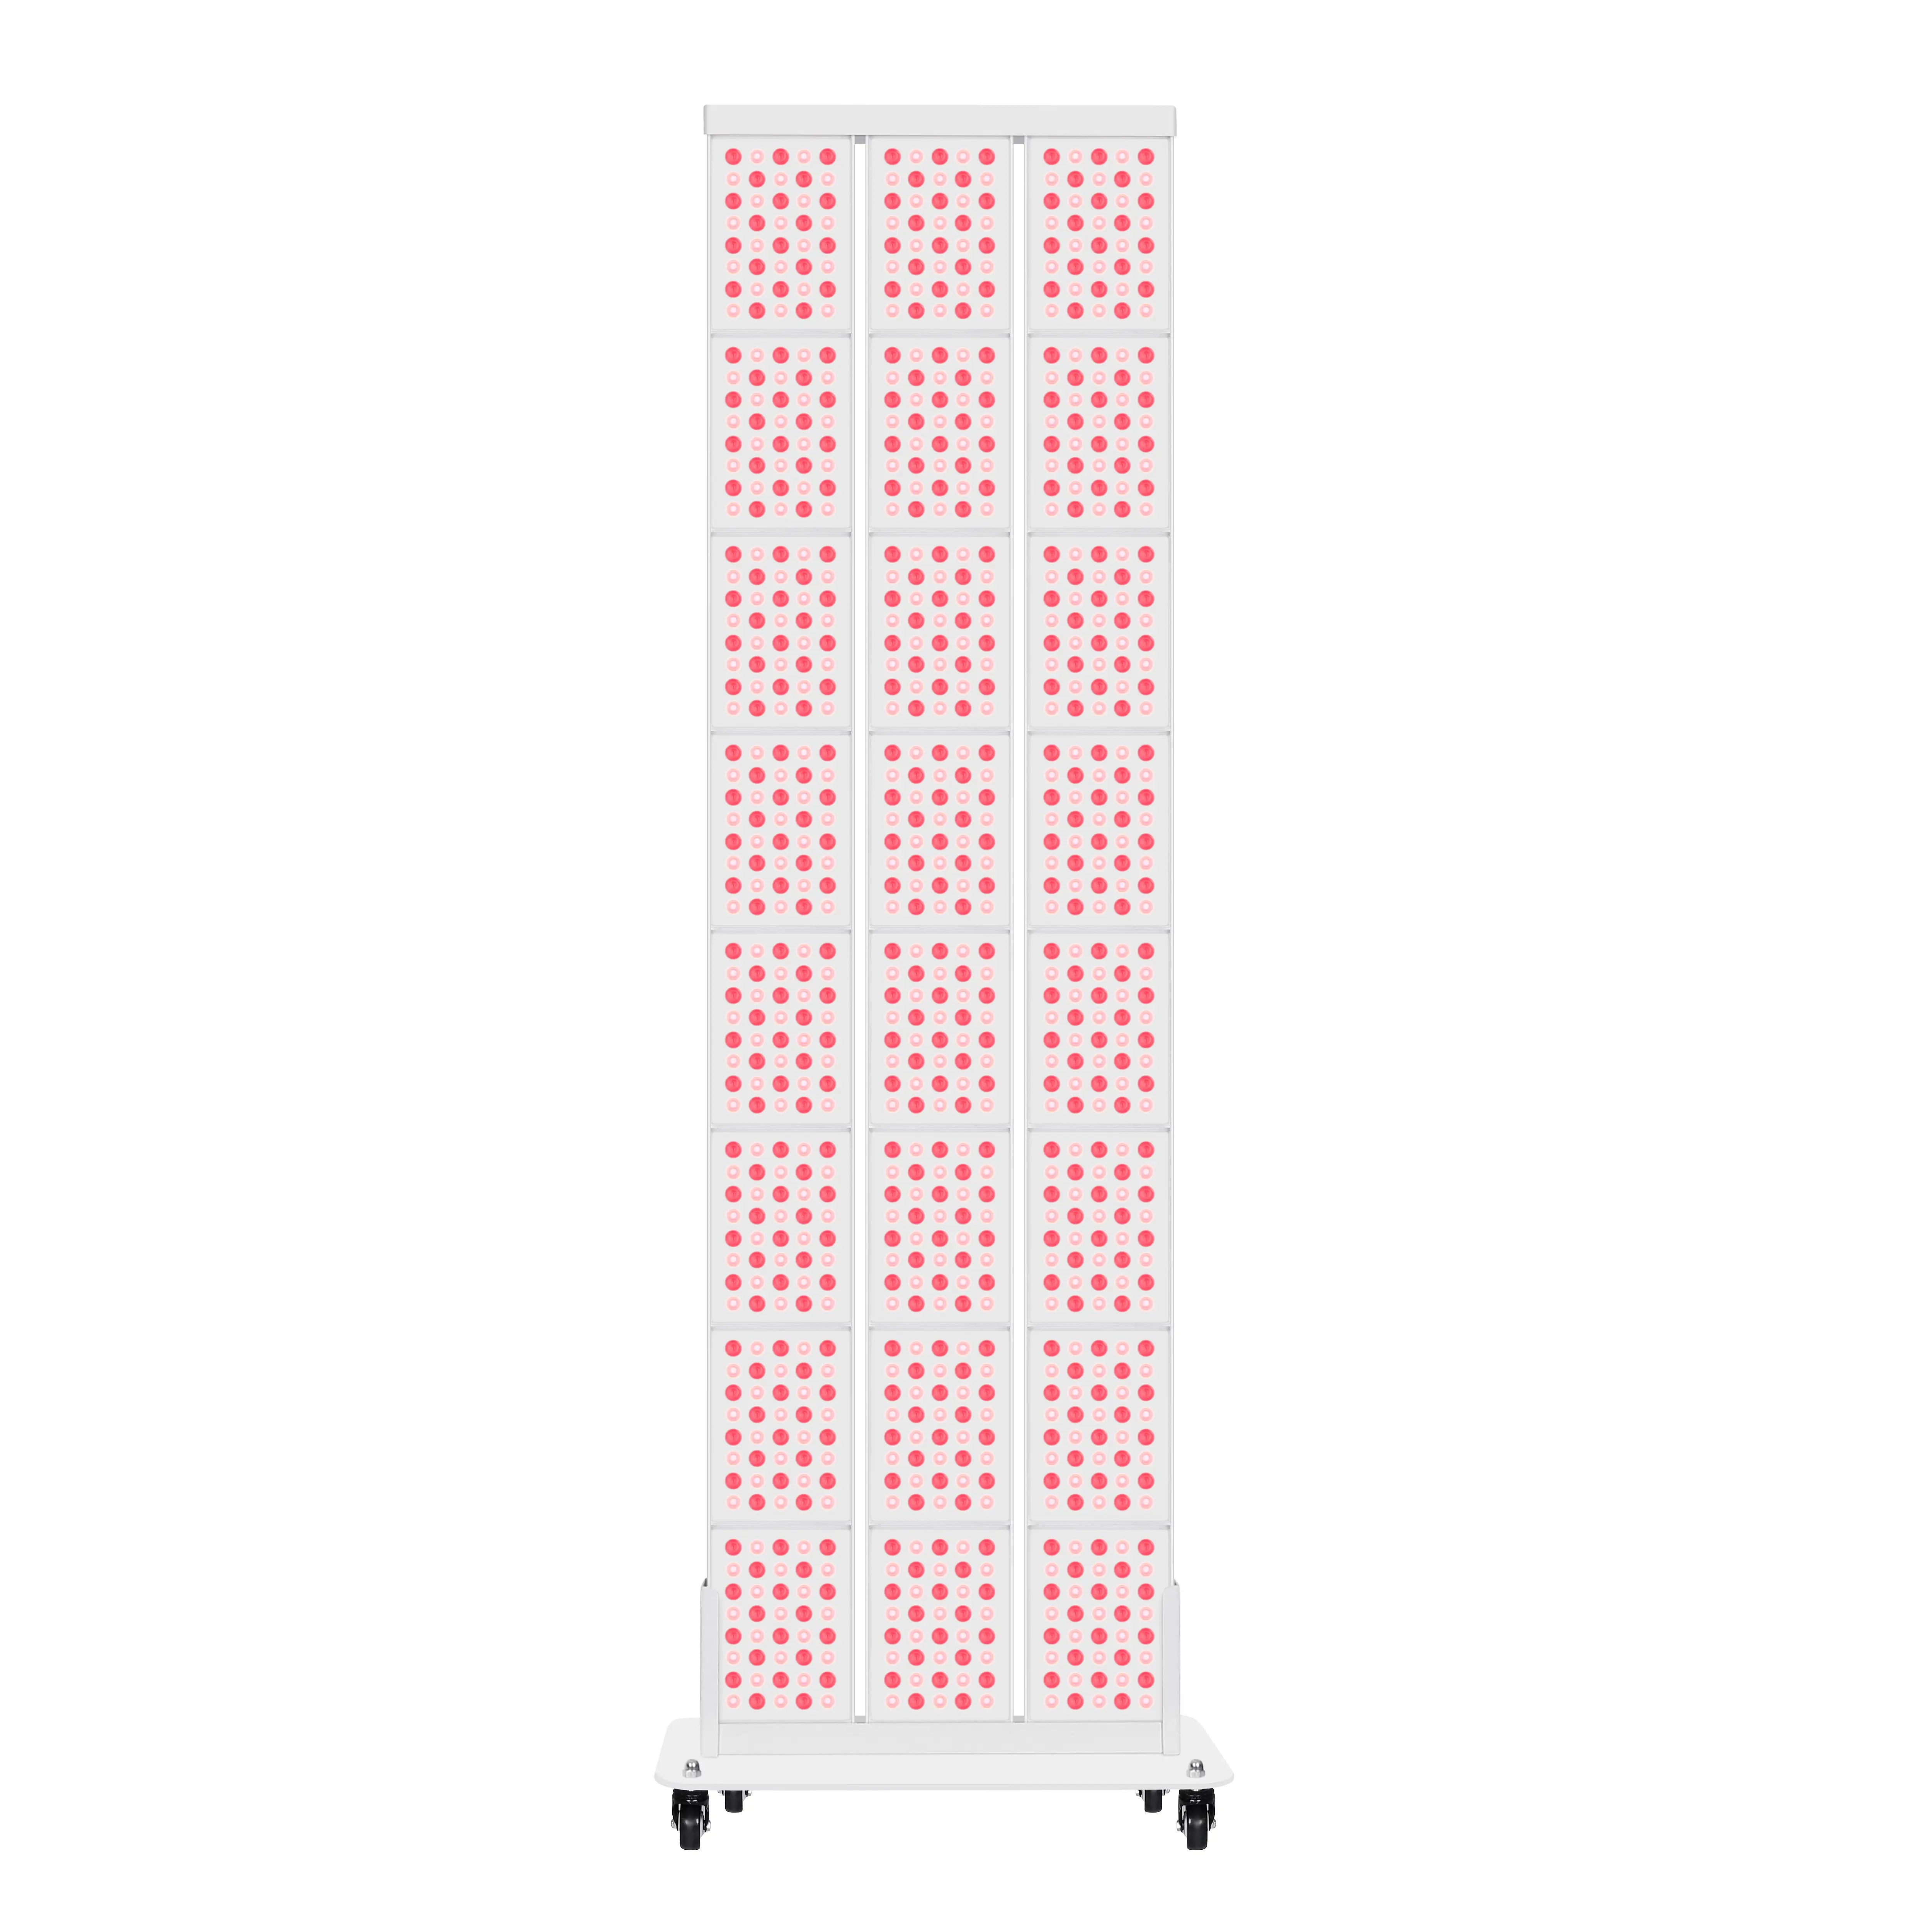
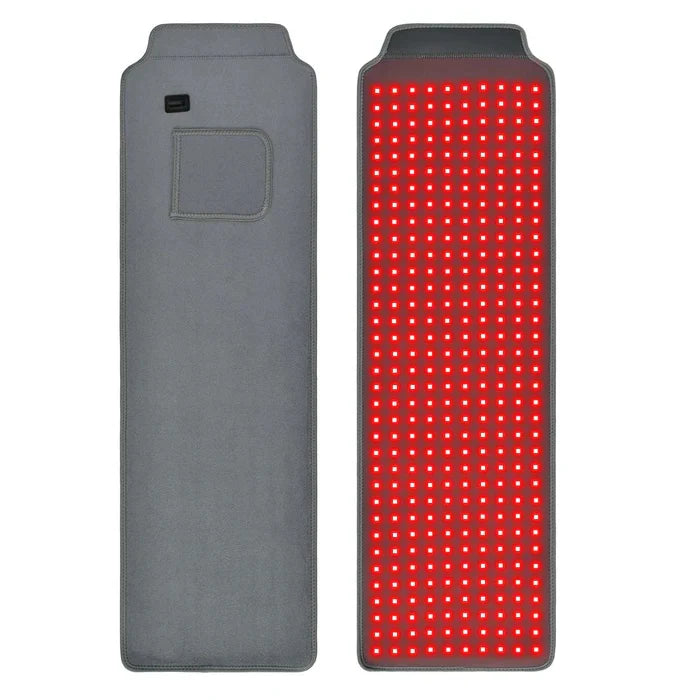
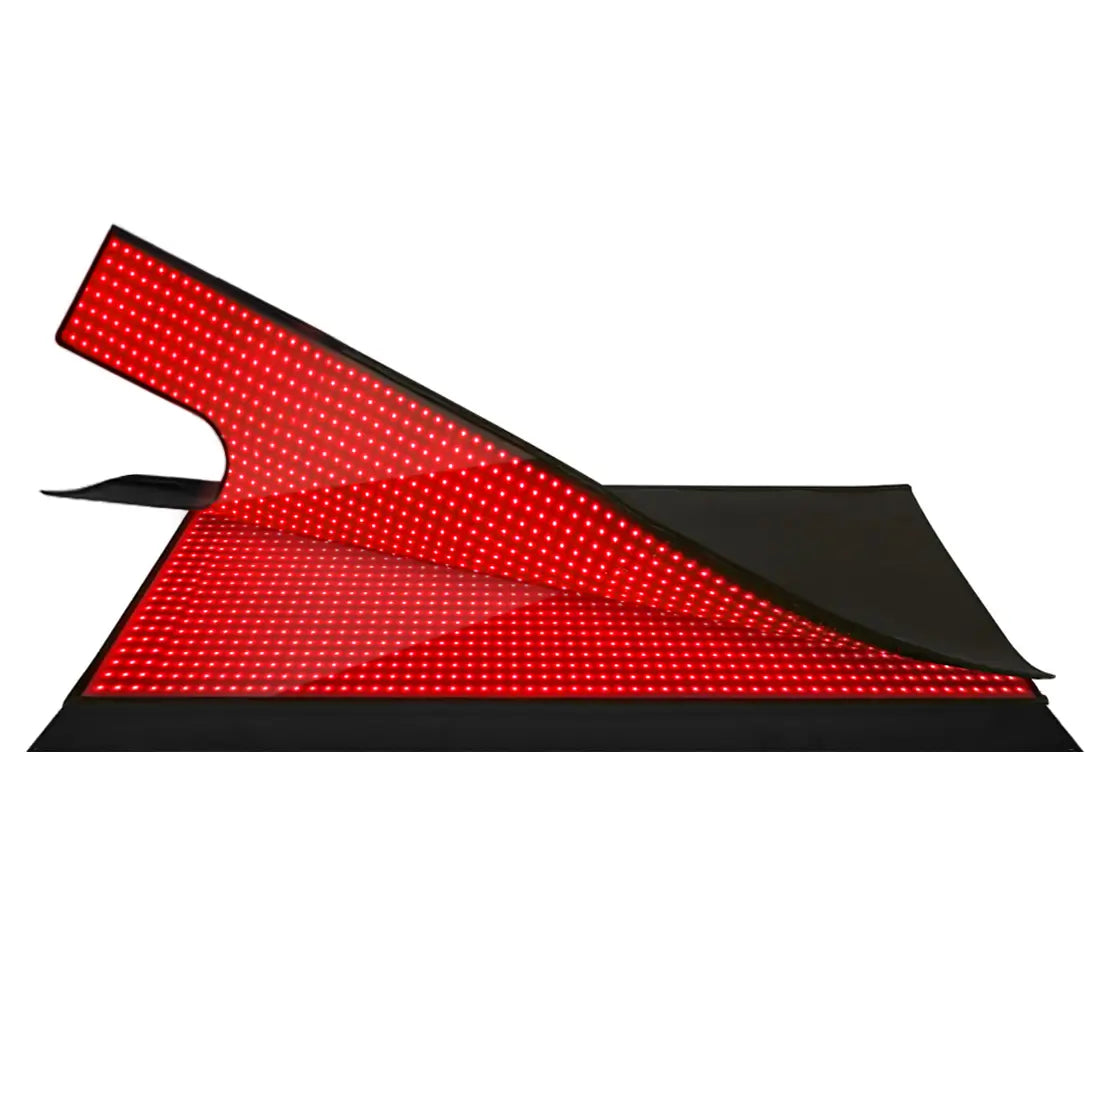
A large home panel helps here because the output is steady and the beam is even. You can hit the target dose without hovering over tiny spots, which keeps the plan safe and consistent.

Key Factors That Shape Your Ideal Time
A clear window is useful, yet a smart plan looks at three levers. Goal, device, and distance define the minutes you actually need in a red light therapy session.
Your Health Goal
Skin needs to sit closer to the surface. Fine lines, tone, and mild marks usually respond within the 10 to 15 minute range. Deep tissue goals like post-workout recovery or sore joints may need the top of the window. Many full-body owners build a two-zone plan. Shorter time for the face, then a longer pass for back, hips, or legs during the same red light therapy treatment.
Device Power and Size
Coverage changes everything. A tall panel or a multi-panel wall reaches large muscle groups at once. Time per area can be shorter because the light stays uniform across the field. Handheld tools focus on small zones, which invites longer routines. Large home users gain an edge on both convenience and dose control in every red light therapy session.
Distance From the Device
Closer distance raises the light hitting the skin. Further distance lowers it. Dose equals light at the skin times time, so you can reach the same dose with different pairs. If you prefer a softer feel, step back a little and extend the minutes. If you want a fast pass before work, step in and use the mid-range for a complete red light therapy treatment.

A Simple Whole Body Workflow Example
Morning can be a strength block. Stand 12 to 18 inches from the panel and give your back and legs 12 to 15 minutes each. Evening can be a calm block. Work the face and neck for 10 to 12 minutes at 10 to 14 inches. Keep notes on comfort and sleep quality to guide small changes in the next red light therapy session.
A Simple Beginner Plan For Red Light Therapy For Body
New owners often ask for a plan they can follow without stress. Use this as your ramp. It fits a large home setup and keeps each red light therapy session predictable.
Weeks 1 to 2
Start at 8 to 10 minutes per area. Aim for three or four days each week. Stand at a comfortable distance where warmth is gentle and the skin stays calm. Keep short notes on sleep, soreness, and skin feel. A brief log helps you fine-tune the next red light therapy session.

Weeks 3 to 4
Move to 12 to 20 minutes per area if the body feels good. Separate two sessions on the same area by several hours. If your goal is muscle recovery after heavy training, place the longer pass on the stressed region. Many full-body users keep the face at 10 to 12 minutes and run 15 to 20 minutes for the back or hips in the same red light therapy treatment.
Maintenance
Hold a steady rhythm of three to five days each week. Most people settle on 10 to 20 minutes per area. For busy weeks, a single full-body stand at the mid-range still works. The key is rhythm. A regular red light therapy session beats a once in a while marathon.
Safety Basics for Home Use
Protect the eyes when working close to the face. Give the skin time to cool between passes. If you use products with strong active ingredients on the face, apply them after the session rather than before your red light therapy for body routine.

Listen To Your Body And Adjust Your Sessions
Your plan should feel calm and easy to repeat. Notice how the skin looks within an hour and how joints or muscles feel over the next day. If comfort and sleep stay steady, keep the same time and distance. If you feel overstimulated or the skin stays warm for too long, shorten the next red light therapy session or take a small step back from the panel. A clear window, steady timing, and simple notes will help you land on a routine that fits your week and supports full-body goals without trial and error.
FAQs about Preparing Skin before a Session
Q1. Can I use skincare right before a session?
Work on clean, dry skin. Avoid thick occlusive layers before treatment because they can reduce light at the surface. After the session, apply serums or moisturizer. If you go outside, finish with sunscreen. This order keeps the light path clear and protects the skin afterward.
Q2. How should I time sessions around workouts?
Place a short pass 30 to 60 minutes before training to prime sore areas, or a longer pass within two hours after training to support recovery. Keep the same window per area that you use on rest days. This timing helps comfort without disrupting your normal plan.
Q3. What eye protection is best for face work?
Use opaque goggles when standing close to the panel or when the brightness feels intense. If you work at a moderate distance, closed eyes may feel fine, yet consistent shielding is safer for long routines. Choose goggles that fit snugly and block side light to reduce strain.
Q4. How do I set the room for even coverage?
Place the panel on a stable surface and mark your standing spot on the floor. Keep airflow gentle to avoid hot spots on the skin. A mirror helps you align the body and stay centered. This simple setup supports repeatable distance and a smooth path across each area.
Q5. Is use over tattoos or implants okay?
Tattoos may absorb more light and feel warmer. Start at a longer distance with a shorter time and build slowly. Metal implants usually do not interact with the light. If any area feels uncomfortable, stop and adjust your settings. For medical questions and safety considerations, speak with your clinician.