
Dry, tight skin and peeling often follow weeks of creams. Creams helped at first, then the stinging returned. You want stable care that fits a home schedule and still feels effective.
Topicals can strain sensitive skin. Fabrics get bleached, cheeks flare, and adherence slips. For families building an at-home plan, red light therapy acne routines offer a calmer path that still supports progress without adding new residue or sharp sensations.

How Red Light Therapy Calms Acne The Mechanisms Behind Results
Before you commit time, it helps to see how light interacts with skin. Here is the simple version.
Red wavelengths reach target cells and support energy pathways. Mitochondria respond with better ATP output, which assists repair signals and barrier balance. Inflammation eases, so tender bumps feel less angry. Microcirculation gets a lift and brings nutrients to healing sites. These effects explain why many red light therapy acne users notice softer redness after steady weeks. A planned red light therapy treatment adds no new chemicals to the surface and stays noninvasive, so tolerance is usually strong.

The Three Core Benefits for Acne-Prone Skin
This section focuses on the outcomes that matter in daily life. Keep attention on the results you can see and feel.
- Relief from inflammation: Light input helps down-regulate inflammatory signals. Skin often looks calmer, which makes active spots easier to live with.
- Support for recovery: Gentle energy assists the repair cycle after a breakout. Lingering marks fade more quickly, and new bumps settle sooner. A steady red light therapy session plan keeps the momentum.
- Comfort that protects adherence: No stinging at application and no fabric staining. That makes it easier to keep a regular habit at home.
Many families see steady gains when a red light therapy acne plan stays consistent and realistic.
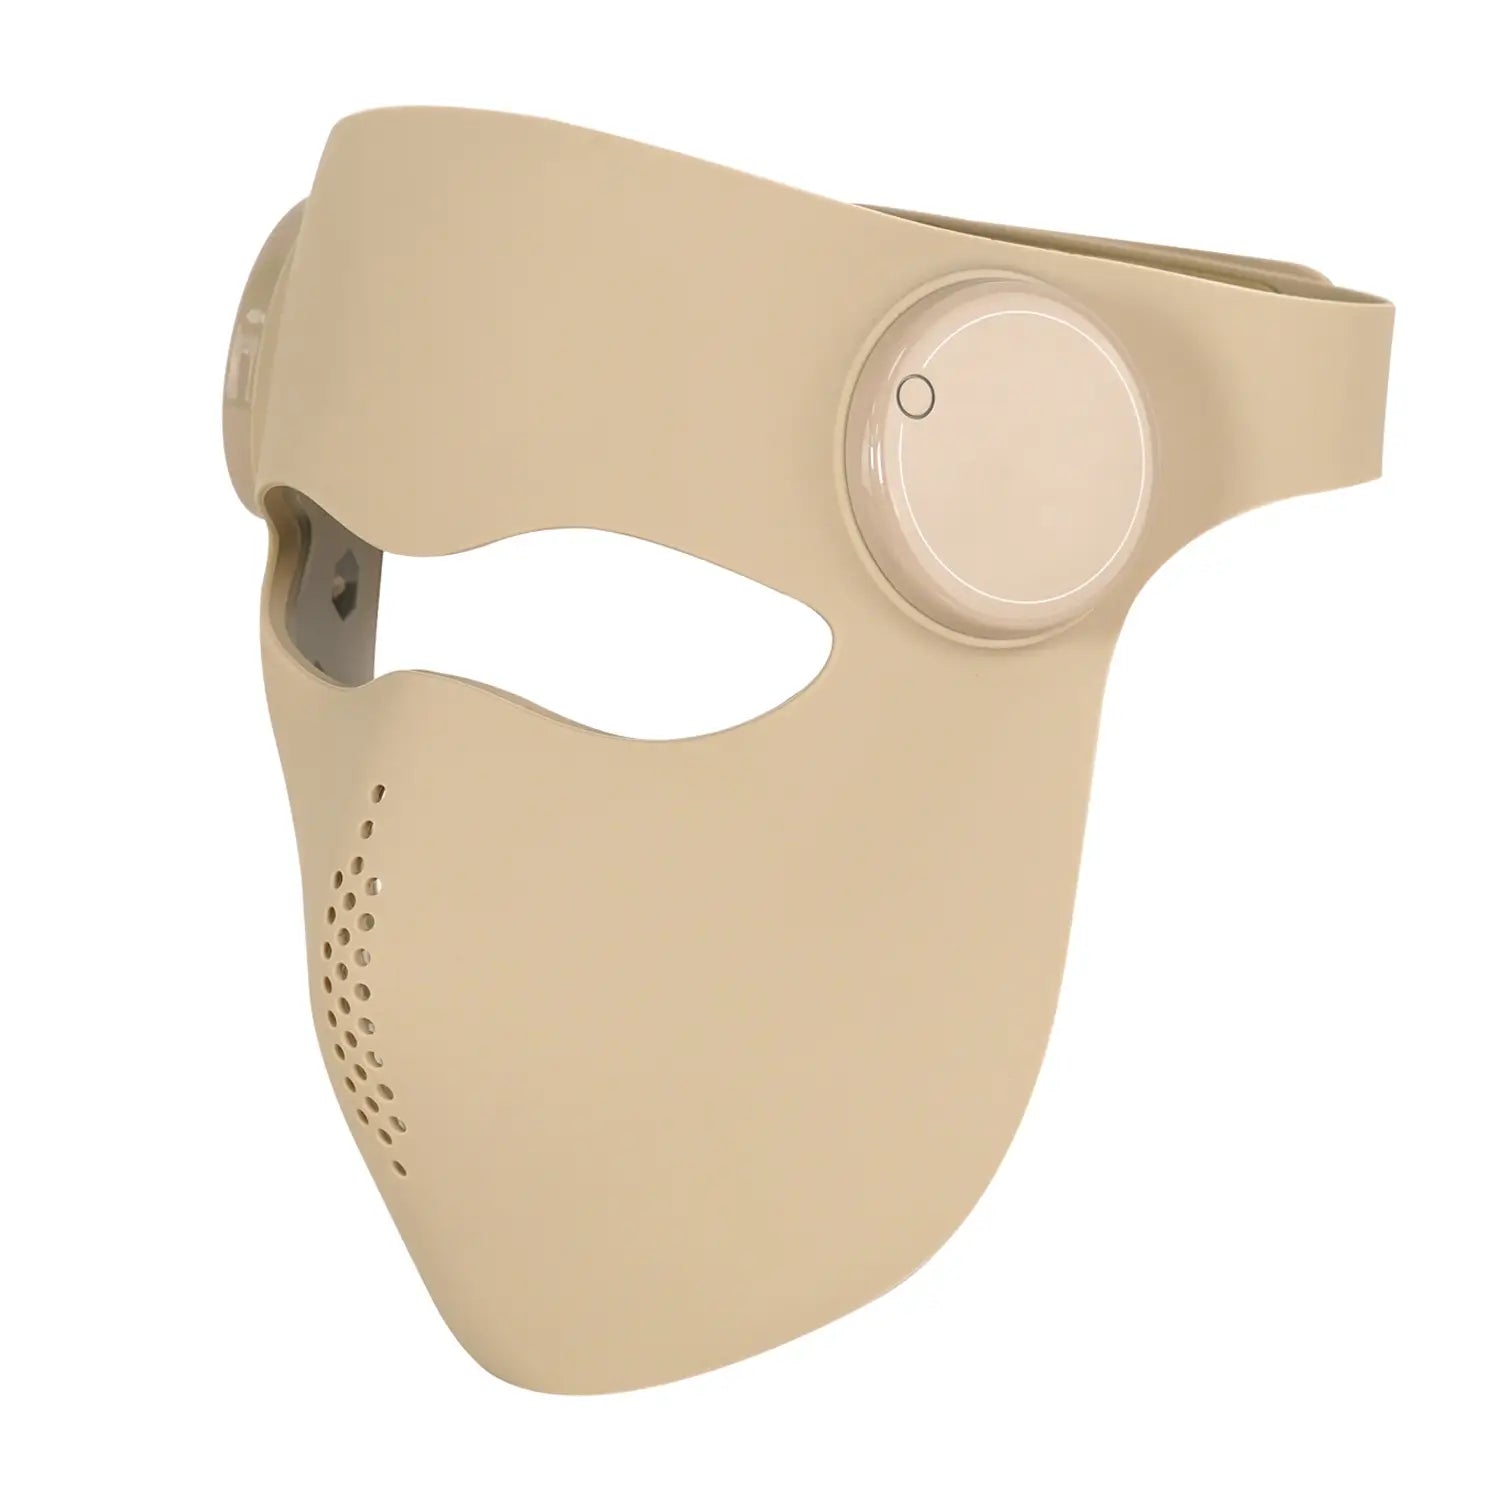
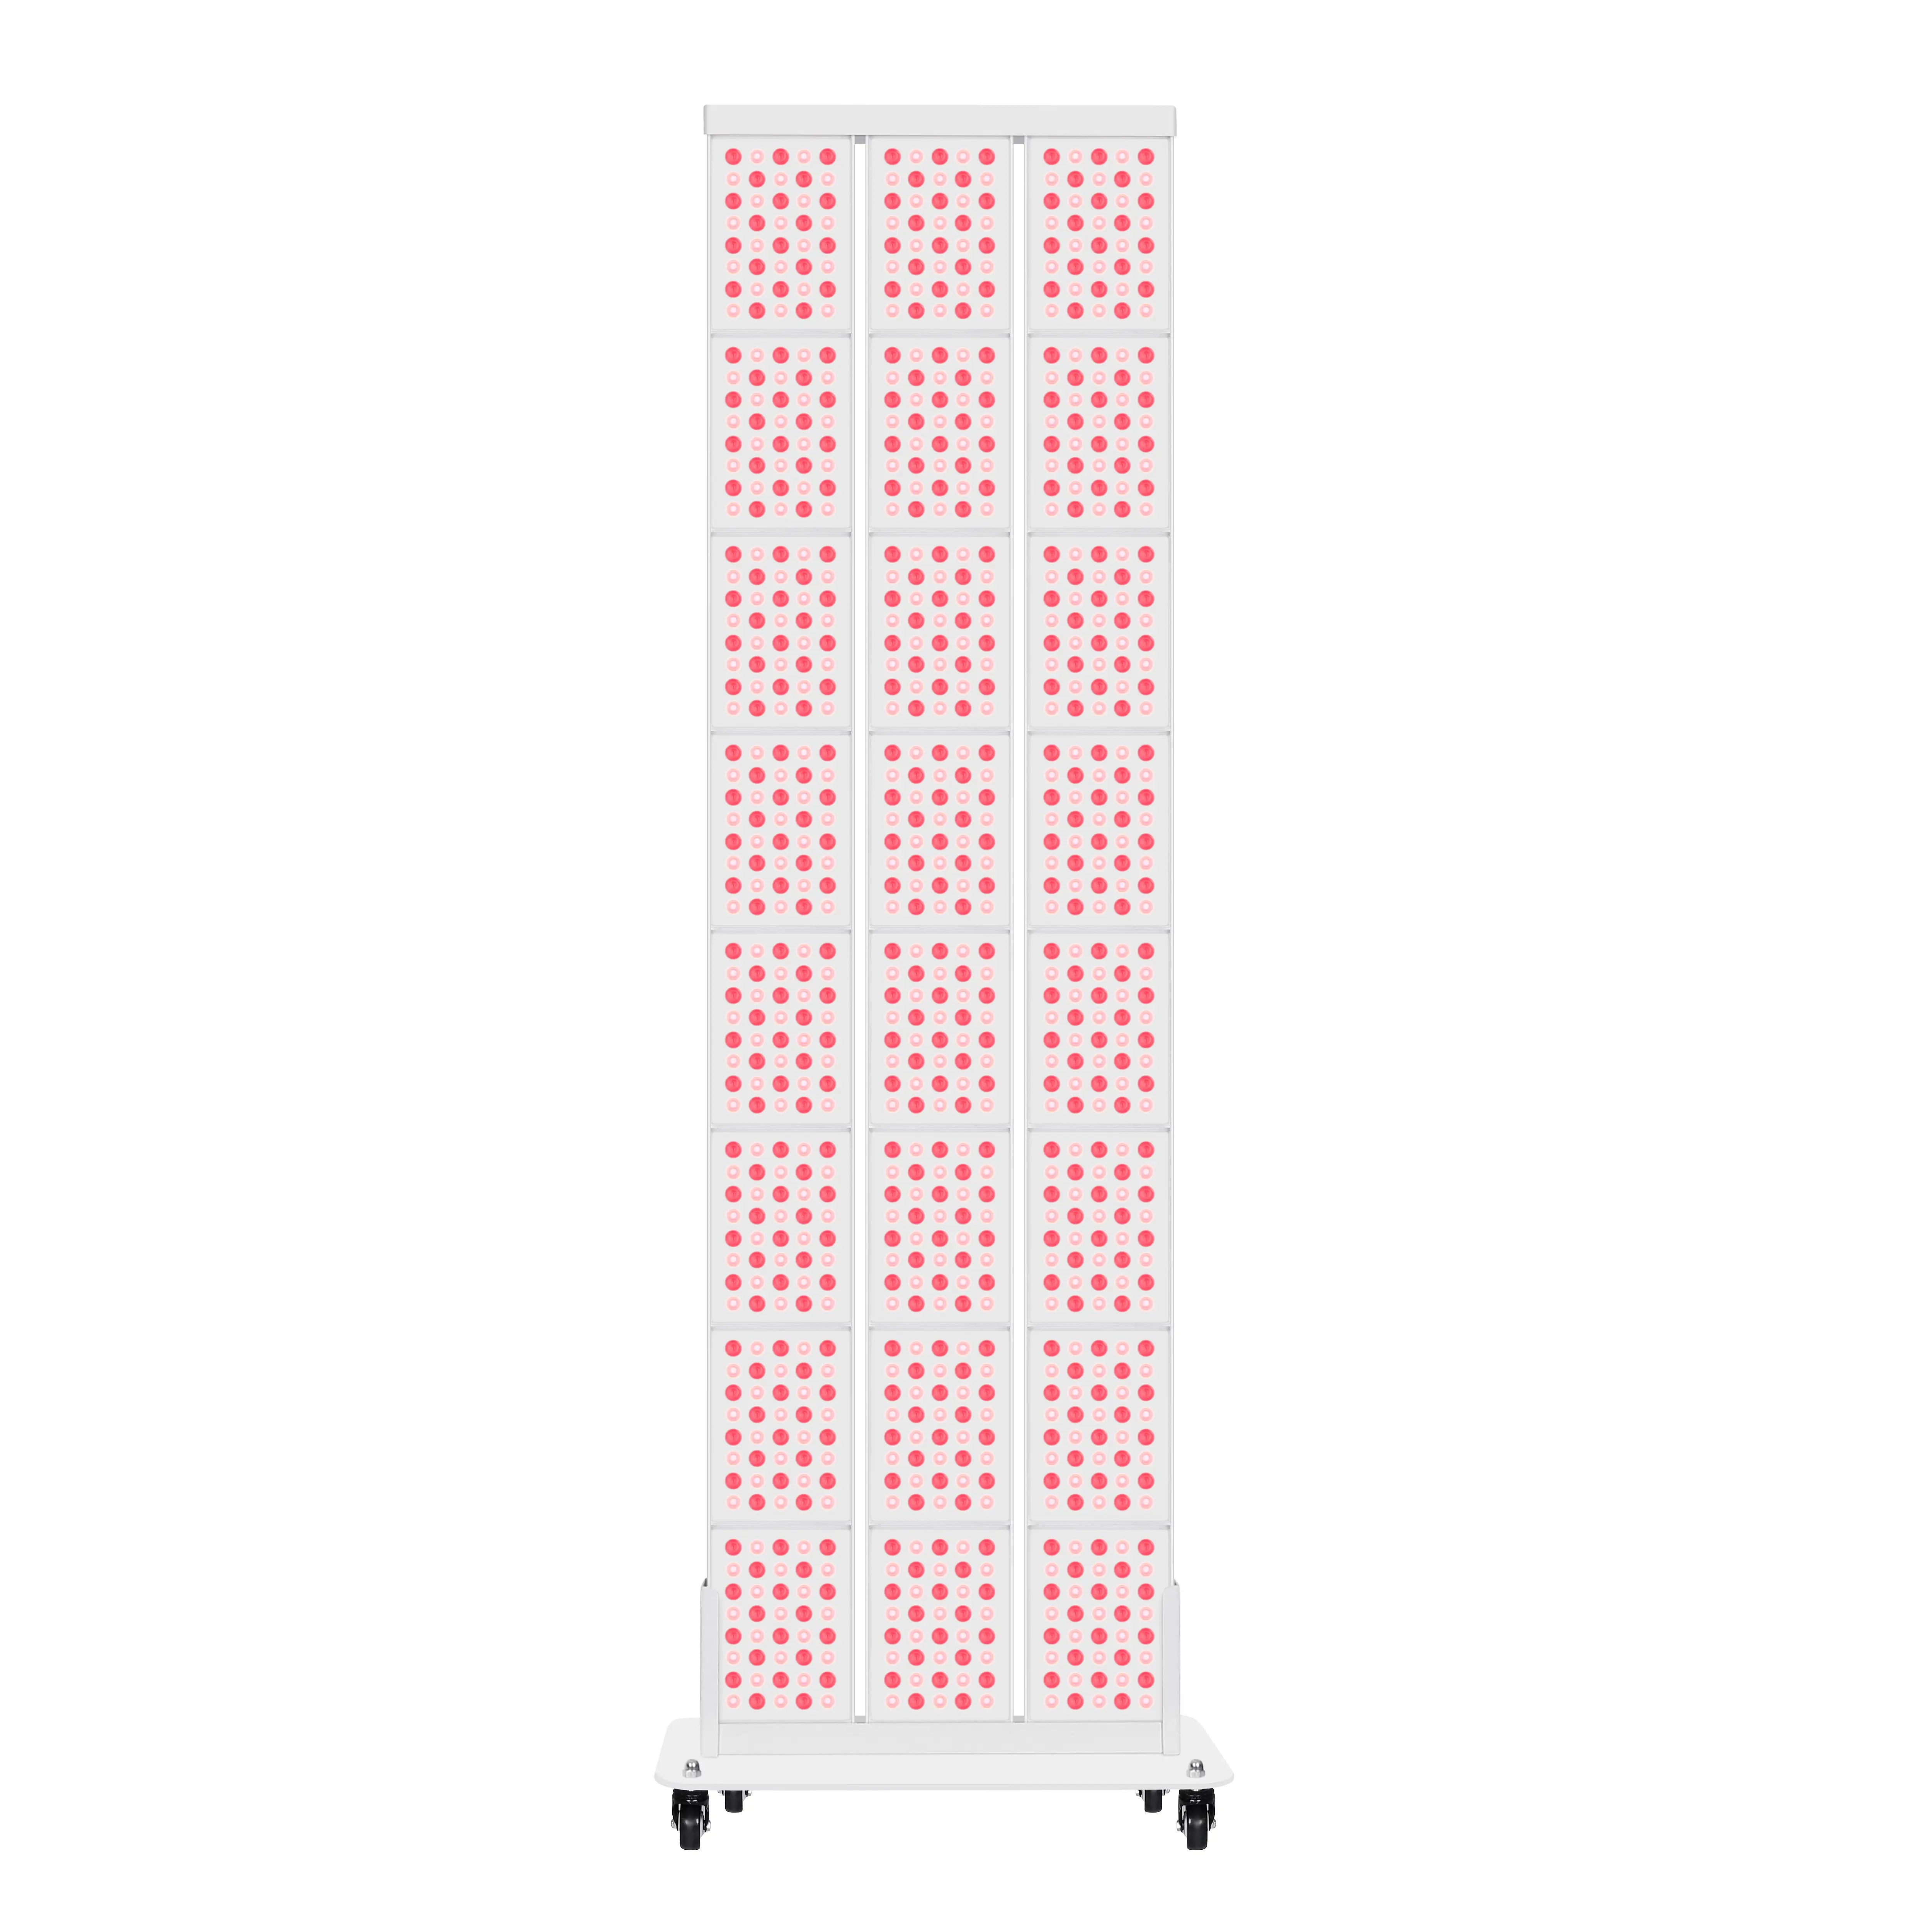
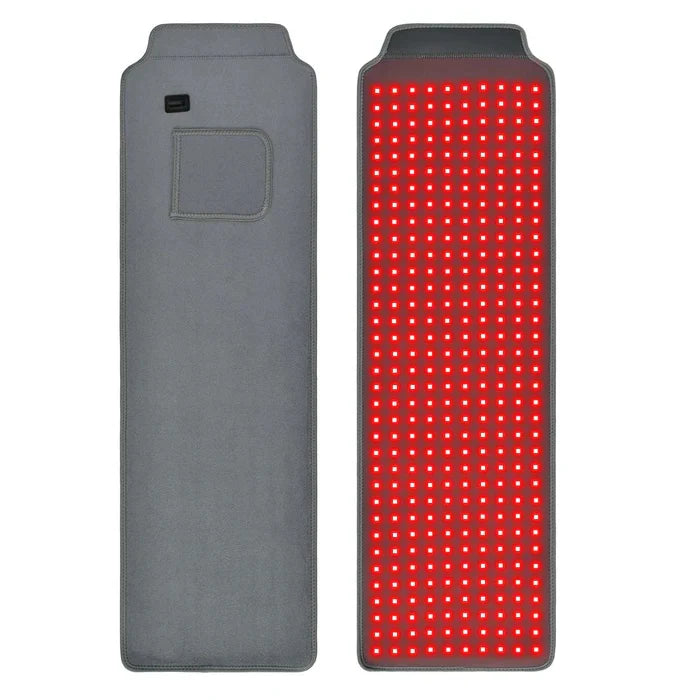
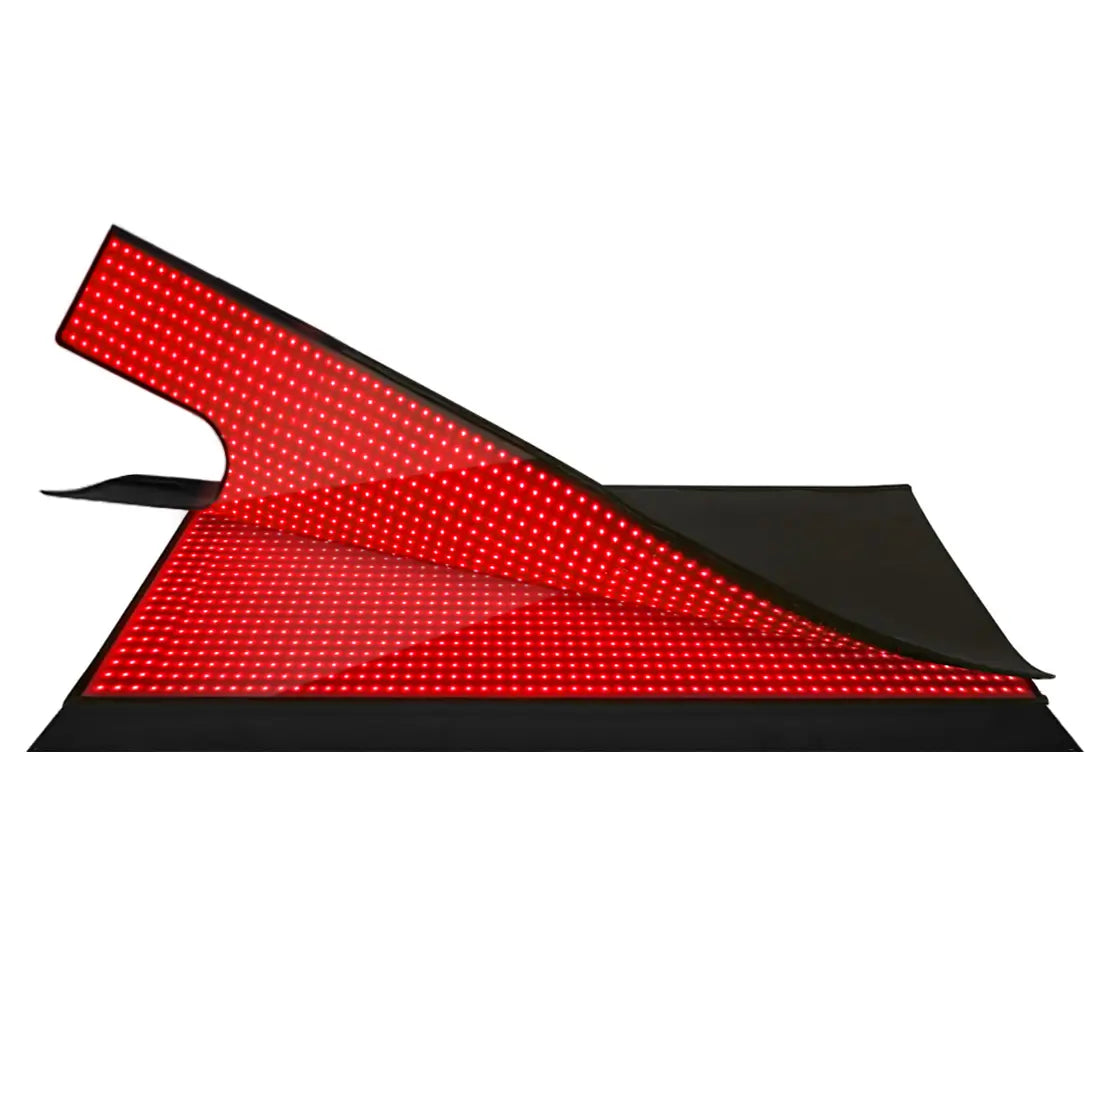
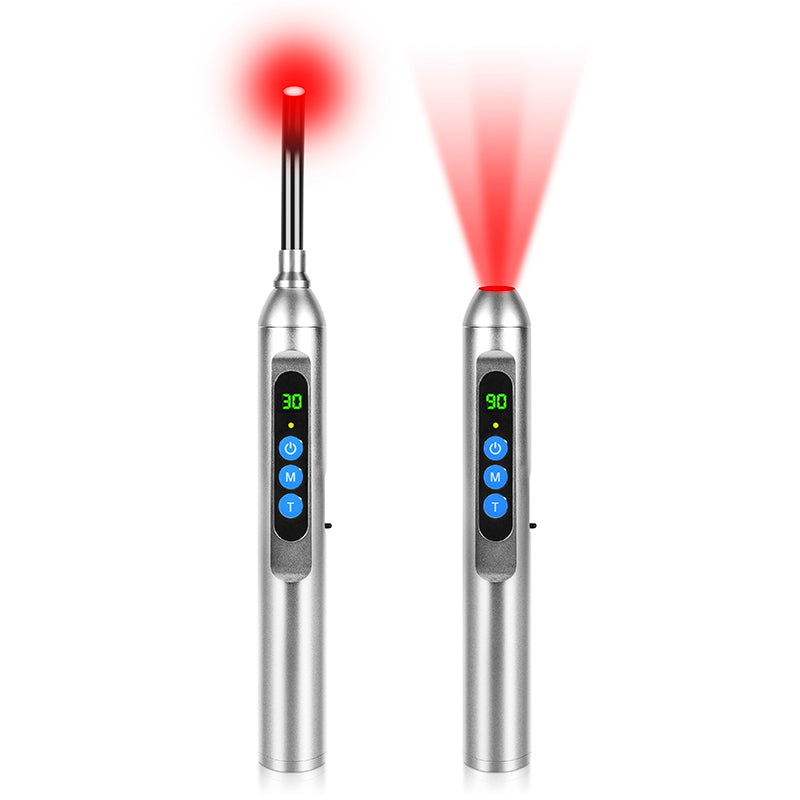
Red Light Therapy Mask vs Panel Choosing the Right Devices
Hardware choice shapes results and routine. Match the device to your space and goals, then keep the setup simple.
Quick comparison
| Option | Coverage | Convenience | Typical routine | Best for |
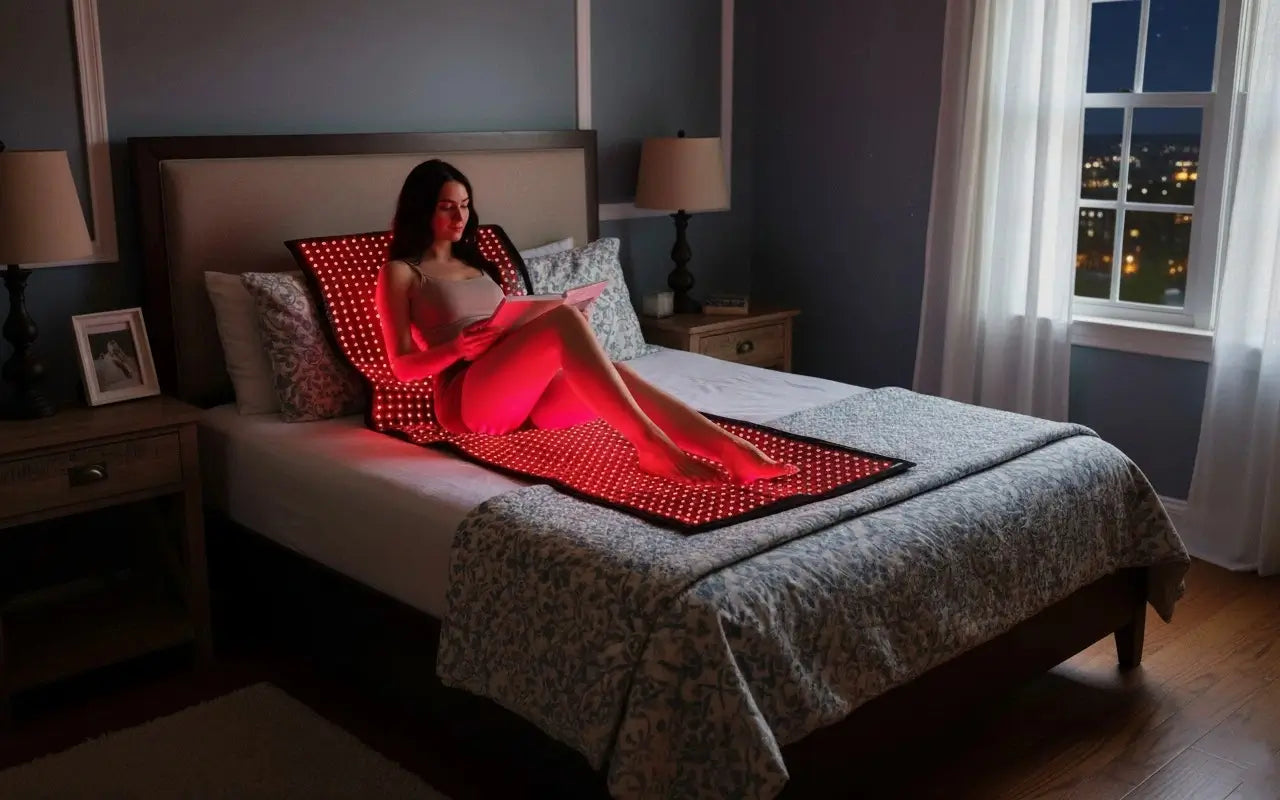
| Red light therapy mask | Full face, even coverage | Easy to use while reading or working | 10–20 minutes, several times per week | Face breakouts, early redness, post-shave sensitivity |
| Red light therapy panel | Face and torso or larger zones | Stand or wall mount with minimal repositioning | 10–20 minutes per zone | Back, chest, shoulders, sweat-related flares |

A red light therapy mask builds consistency because it is simple to wear while seated. A red light therapy panel suits larger goals such as body acne that follows training days. Look for red light therapy devices with clear timers, stable mounting, comfortable eye shields, and published distance guides. Independent safety testing and uniform light output raise the bar over typical units and keep every red light therapy acne routine predictable. Keeping these points in mind is key when you choose the right red light therapy panel.
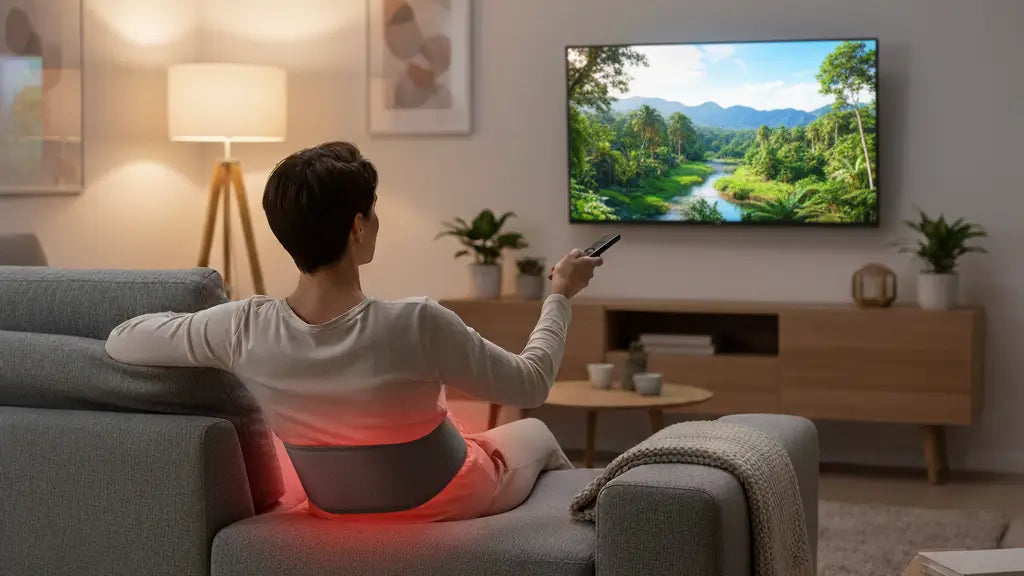
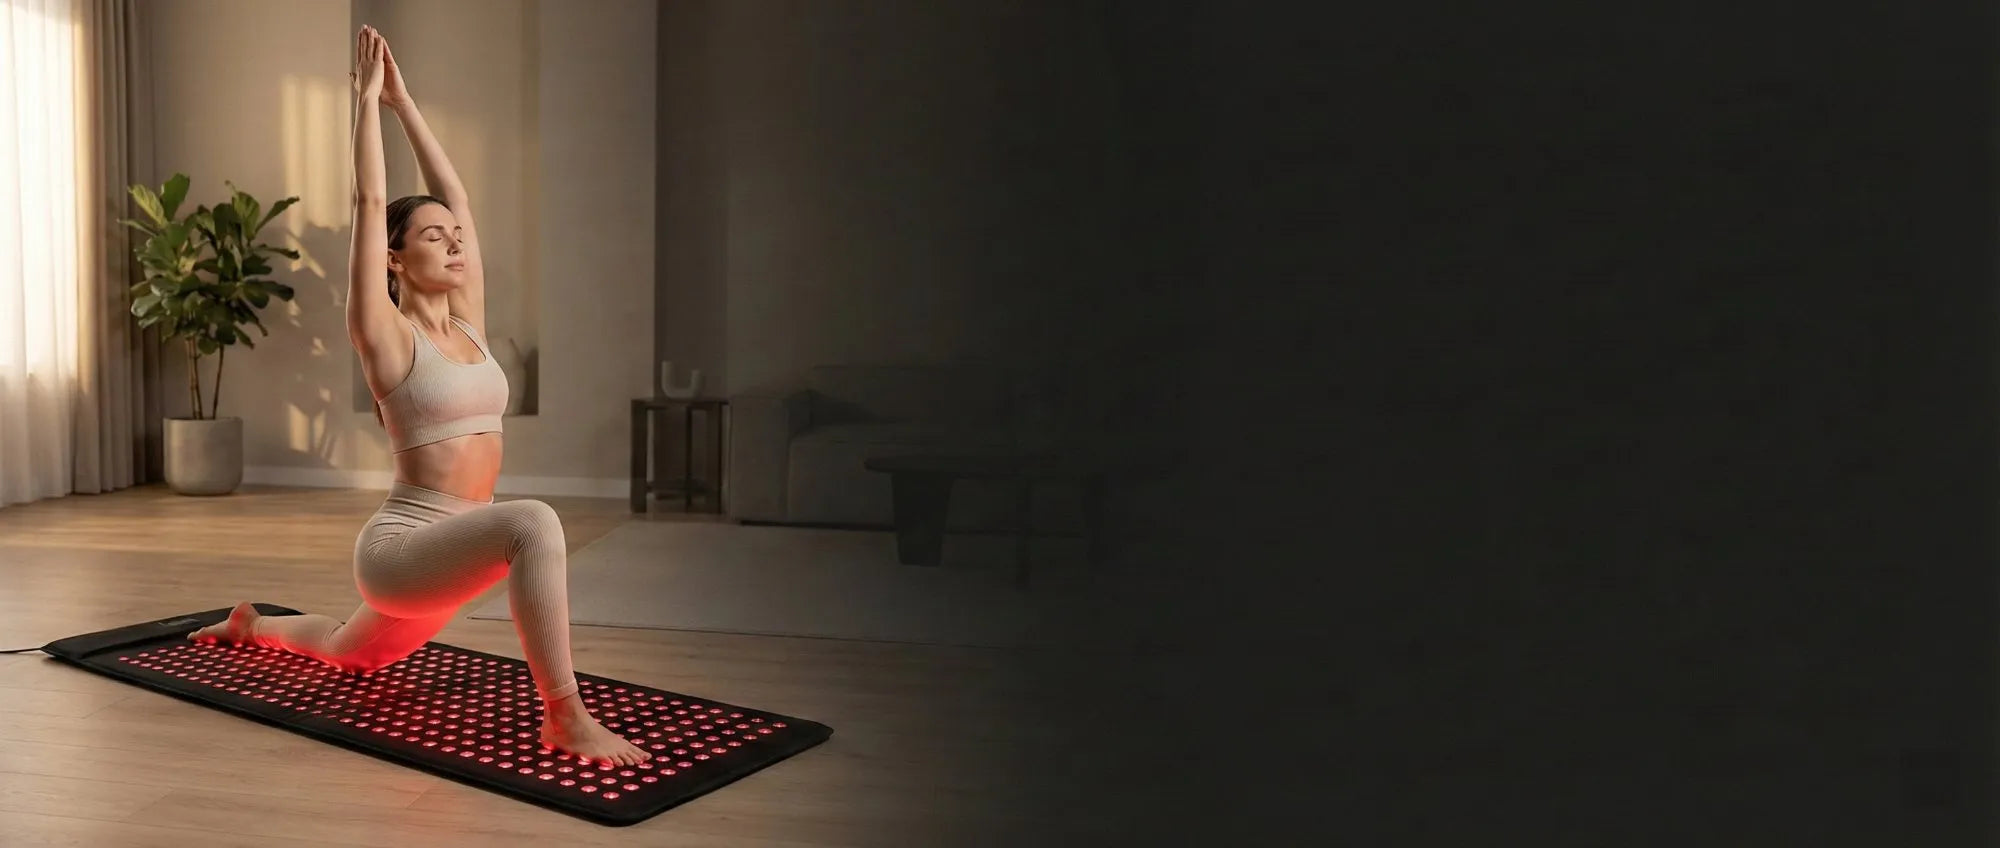
Treating Body Acne With Red Light Therapy Panels Back Chest and Shoulders
Body breakouts can be stubborn. Friction from straps and heat from workouts keep pores irritated. Red light panels can support skin, reduce pain, and aid wound healing. A panel gives broad, even coverage for the back, chest, and shoulders without awkward angles. Place the panel so light reaches the center of the zone, then step close enough to feel gentle warmth without discomfort. Work in calm blocks after a shower when skin is clean and dry. A structured red light therapy acne plan for the torso pairs well with breathable fabrics and smart laundry habits, so pores stay settled through the week.

Simple placement ideas
- For the back, use a chair with a straight back, sit tall, and align the spine with the panel center.
- For the chest and shoulders, stand, relax the shoulders, and keep an even distance from the collarbone to the panel.
- Mark a floor spot with tape so the distance stays consistent across sessions.
How to Use Red Light Therapy for Acne Safely and Effectively
A home routine works when it is clear and repeatable. Keep steps tidy and the habit will grow.
Getting started
- Clean skin and pat fully dry.
- Wear the supplied eye shields.
- Begin with 10 to 15 minutes per red light therapy session.
- Schedule three to five sessions each week for at least four to eight weeks.
- Track progress with weekly photos under the same lighting.

Good practices
- Keep a constant distance based on the device guide.
- Stay within the suggested time ranges for your red light therapy acne plan.
- Some people are not recommended to use red light therapy. Seek medical advice if you use photosensitizing medicine or have a history of light sensitivity.
Mix a red light therapy mask for face care with a red light therapy panel for the torso to keep blocks short and realistic. This keeps your red light therapy acne results on track across busy weeks. With steady use, red light therapy devices help you maintain a calm routine that fits daily life.
Start Your Natural Acne Routine Today
Set one clear goal for the next month. Choose the zone that bothers you most and place your device where you already spend time. Set a recurring reminder for your red light therapy acne sessions and keep notes after each week. If your main focus is the face, reach for a red light therapy mask. If body acne drives the stress, build a schedule around a red light therapy panel and give larger areas even light. A calm, consistent red light therapy treatment at home helps you move through the day with confidence and a reliable red light therapy acne approach.
Frequently Asked Questions about Red Light Therapy for Acne
Q1. Can red light be paired with salicylic acid or niacinamide?
Yes. Keep skin clean for the session, then apply leave-on actives afterward. Start with low frequency for the actives and watch for dryness. If irritation appears, separate actives from non-session days. Niacinamide layers well with light care because it supports barrier balance.
Q2. Will light cause purging like some exfoliants?
Purging is uncommon with red wavelengths because there is no chemical exfoliation. A brief flush can appear from increased circulation and usually settles within minutes. If new breakouts rise, increase rest days and adjust distance. Keep a photo log to separate normal cycles from true flare-ups.
Q3. How should the device be cleaned and stored?
Unplug first. Wipe hard surfaces with a soft cloth lightly dampened with alcohol or mild soap and water. Keep liquids away from vents and seams. Dry fully before use. Store in a cool, dust-free spot and check fans, cords, and mounts monthly to maintain safe performance.
Q4. What is a practical setup for back acne if training often?
Mount a red light therapy panel at shoulder height, mark a floor position, and treat the back on rest days or after cool-down when skin is clean. Use a timer and a straight-backed chair for alignment. Keep gym gear breathable and change out of damp clothes quickly to reduce friction.
Q5. Is red light appropriate during pregnancy or breastfeeding?
Home red wavelengths are noninvasive and do not add chemicals. Many users prefer to pause face actives during this time. Discuss any plan with an obstetric clinician, avoid direct exposure to the abdomen, and keep sessions short. Stop if unusual sensitivity appears and seek medical guidance.