
Legs feel heavy when you take the stairs. Your back tightens the moment you sit. Sleep is restless after hard sessions, and the next day’s workout looks doubtful. You want relief that fits real life, not an hour of complicated rehab. This guide gives you a clear plan you can start today. It covers what causes soreness, the fastest steps right after training, simple tools that actually help, and how to use red light therapy for muscle recovery with safe, repeatable dosing. Follow the flow, keep it consistent for two weeks, then judge by how you feel and how your performance rebounds.
Why Muscles Feel Sore After Training
Challenging workouts create tiny disruptions in muscle fibers and connective tissue. The body responds with inflammation and fluid shifts, which produce delayed onset muscle soreness. Discomfort often starts later the same day or the next morning, peaks between 24 and 72 hours, and fades within a few days. This pattern is part of normal adaptation. Sharp pain, marked swelling, or loss of function suggests injury and needs professional evaluation.

Immediate Relief With a Simple Cooldown Plan
End each workout with a short decompression so your system can settle.
Ten-minute template
- Five minutes of easy movement, such as walking or light cycling, to keep blood moving.
- Two to three minutes of large muscle mobility: slow hip hinges, thoracic rotations, calf pumps.
- One to two minutes of diaphragmatic breathing to bring heart rate down.
- Hydrate. If you sweat heavily, add electrolytes.
- Within about an hour, eat protein and carbohydrate. A practical target is 20 to 40 grams of high-quality protein plus enough carbs to replenish energy stores.

If soreness tends to build overnight, schedule a brief session of red light therapy for muscle recovery later the same day.
Recovery Tools That Truly Help After Exercise
Choose tools to match the goal for that day.
Cold therapy
Cooling methods such as cold water immersion can reduce soreness and restore function during the first one to three days after very taxing efforts. If muscle size and strength gains are your focus, avoid making cold plunges an everyday habit after lifting cycles, since routine post-exercise cooling can dampen hypertrophy signals over time.
Warmth
Heat increases local blood flow and relaxes tone. A warm bath or heating pad later in the day often eases discomfort and helps with sleep. Moist heat typically brings faster comfort at home than dry heat.
Foam rolling
Brief, tolerable rolling reduces perceived soreness and improves range of motion without harming performance. Move slowly across the muscle and avoid high pain.
Red Light Therapy for Muscle Recovery Explained
Red light therapy for muscle recovery, also called photobiomodulation therapy, uses specific red and near infrared wavelengths to influence cellular activity. Light interacts with mitochondrial chromophores and supports energy production while tempering inflammatory signals. Studies in athletic and clinical settings report improvements in soreness, strength recovery, and markers of muscle damage, although protocols vary. Whole body systems show mixed results for exercise recovery, while sleep quality may improve in some users. A targeted approach to the muscles you trained is the most practical path for most people.
Circulation is another reason many athletes value this method. Red and near infrared light can increase bioavailable nitric oxide, which promotes vasodilation and supports microcirculation in treated tissues. Useful search variations include near infrared light therapy, red light therapy after a workout, and red light therapy for DOMS.

Using Red Light Therapy Safely and Effectively
Results improve when dosing is clear. Think in fluence at the skin, measured as J/cm², rather than only minutes or distance.
Simple conversion: Fluence J/cm² = Irradiance mW/cm² × time seconds ÷ 1000.
Step 1: Set your dose.
For post-workout soreness relief, start at 8–12 J/cm² per site for small areas (calves, biceps) and 10–20 J/cm² per site for large areas (quadriceps, hamstrings, glutes, back). Most successful sports protocols fall within ~10–50 J per site; begin mid-range and adjust by feel. If your device lists irradiance, convert time directly. Example: at 50 mW/cm², 300 seconds (5 minutes) delivers 15 J/cm².
Step 2: Position the device.
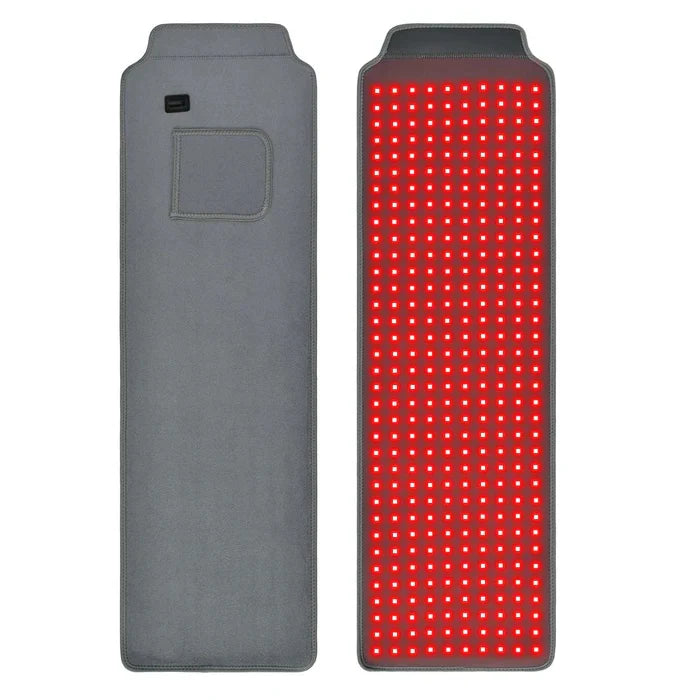
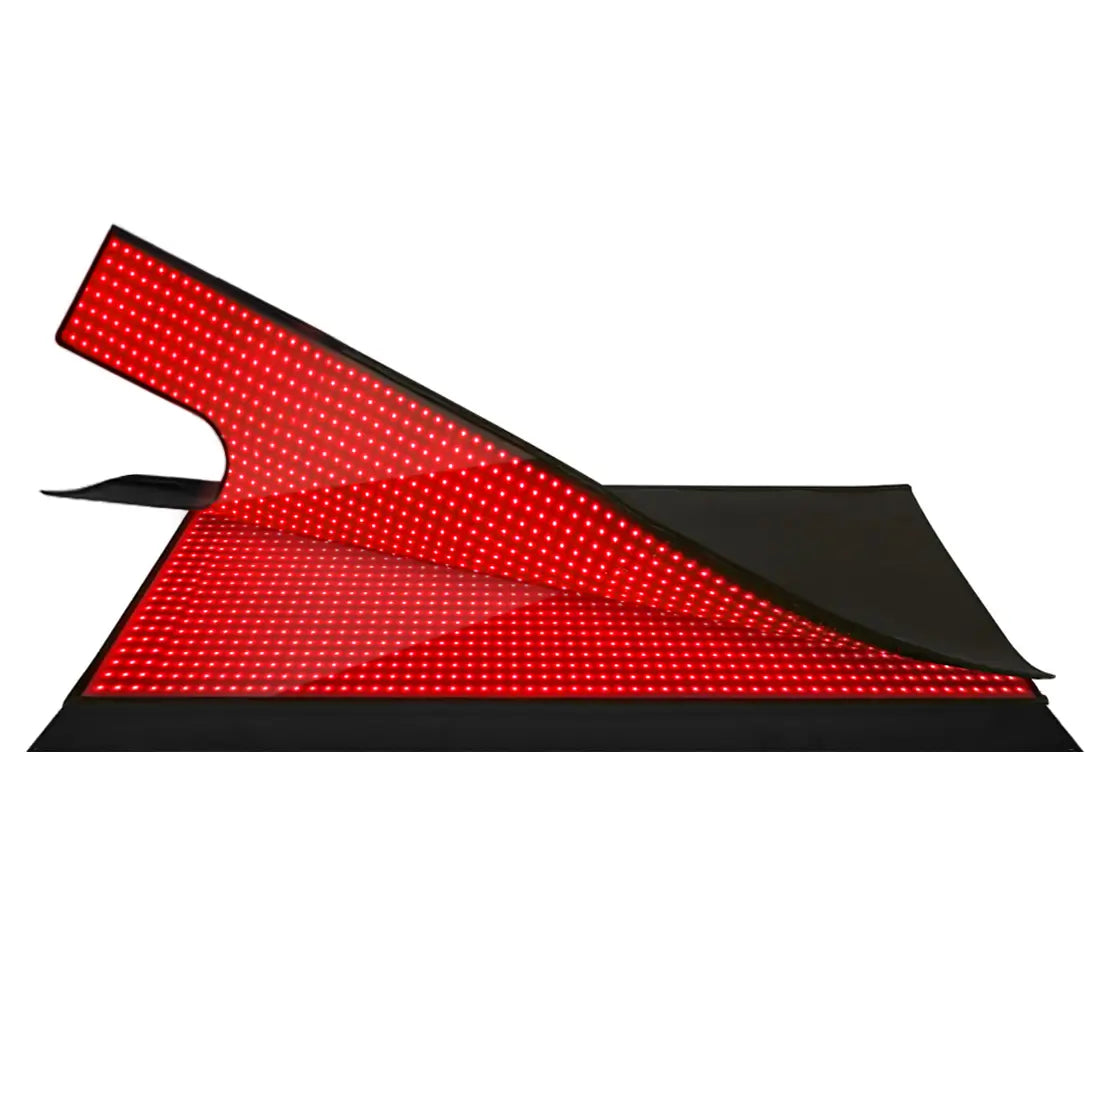
Keep the light perpendicular to the muscle so the dose is even. With panels, hold the manufacturer’s recommended distance that achieves your target irradiance and choose a seated or standing position you can maintain without wobbling. With belts/wraps, place them snug on bare skin (or very thin fabric), remove folds, and center over the sore muscle so LEDs sit flat.
Step 3: Time it around training.
Use a session within 30–90 minutes after training or later the same day. Some athletes also like a brief, lower-dose pre-session during warm-up for stiffness. If you also use cold therapy, do light first or separate by at least an hour so cooling doesn’t blunt circulation during the session. Evidence supports both pre- and post-exercise windows; consistency across weeks matters more than the exact minute.
Step 4: Cover the right spots.
After leg day, treat quadriceps with 3–4 adjacent sites per thigh (upper-outer, mid-front, inner), hamstrings with 2–3 sites (upper, mid, lower), glutes with 2–3 sites per side, and calves with 1–2 sites per side using the doses in Step 1. After back/upper-body, span 3–6 sites across the low back and lats as needed; for shoulders and arms, use 1–2 sites per muscle. Let sites overlap slightly by 1–2 inches so you don’t leave “stripes.”

Step 5: Keep a steady weekly rhythm.
Start with 3–5 sessions per week on training days and early rest days. Hold the same weekday pattern for two weeks, then adjust up or down based on next-day soreness, warm-up ease, and how quickly performance rebounds.
Step 6: Lock in safety.
Wear goggles, avoid staring at emitters, and keep kids and pets out during sessions. If you use medications or supplements that increase photosensitivity, get medical guidance and test a small area at a low dose first. Skip open wounds and suspicious skin lesions; treat around—not over—them. Mild warmth is common; stop if you feel stinging or see redness that persists into the next day, then reduce time or increase distance. Short, directed sessions used as instructed are generally well tolerated.
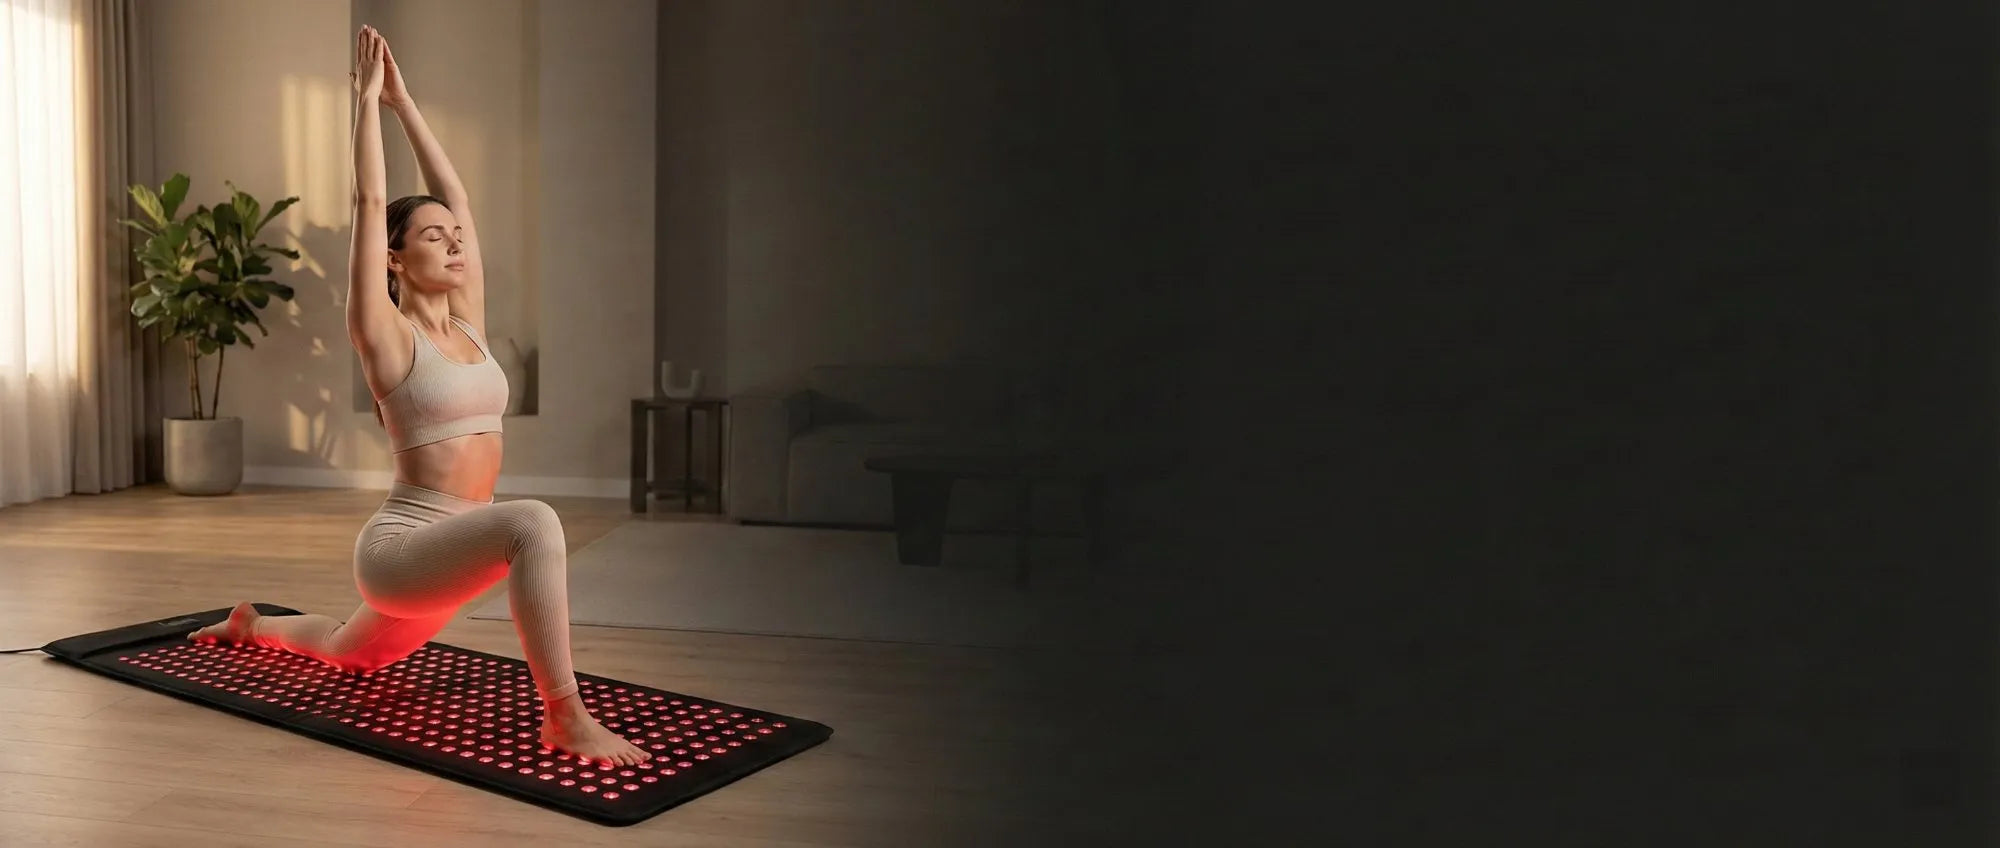
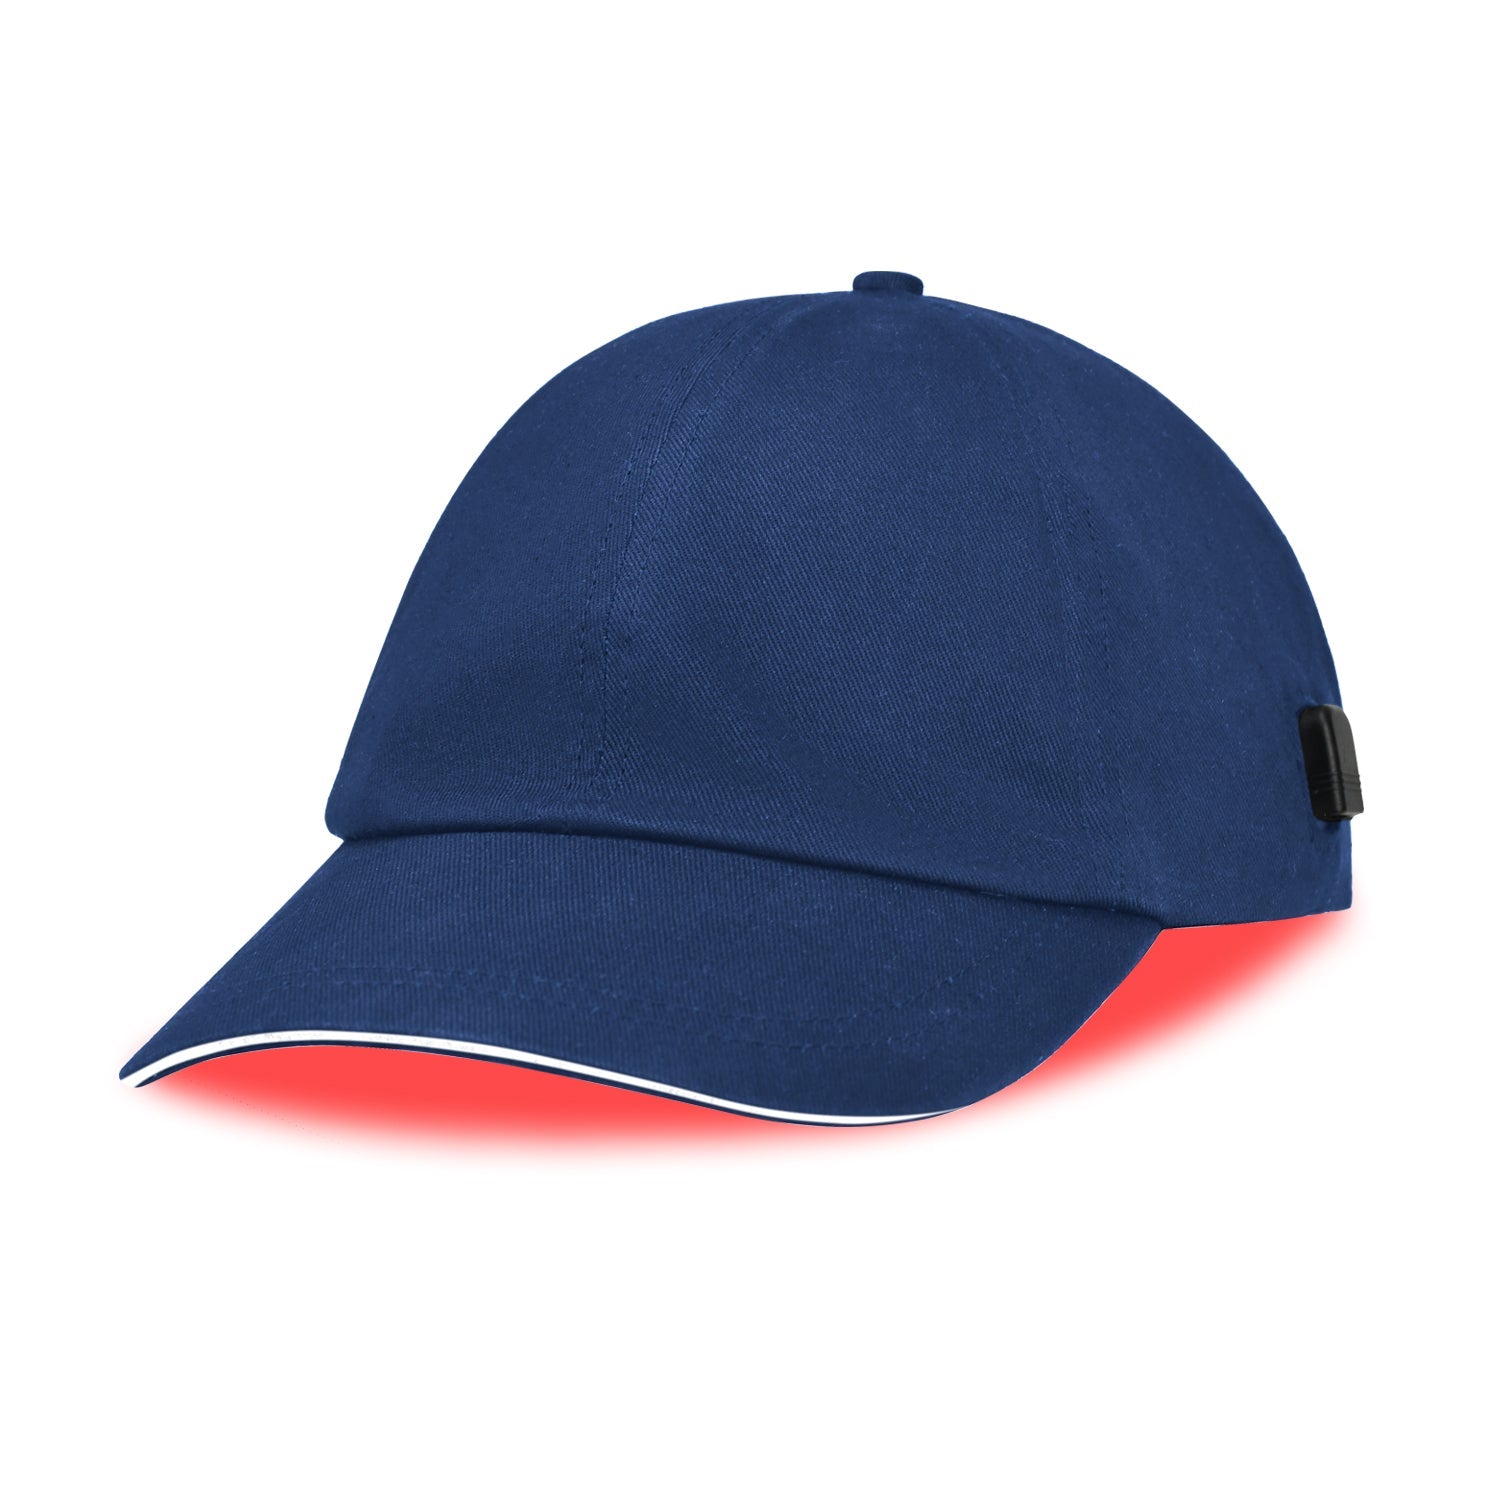
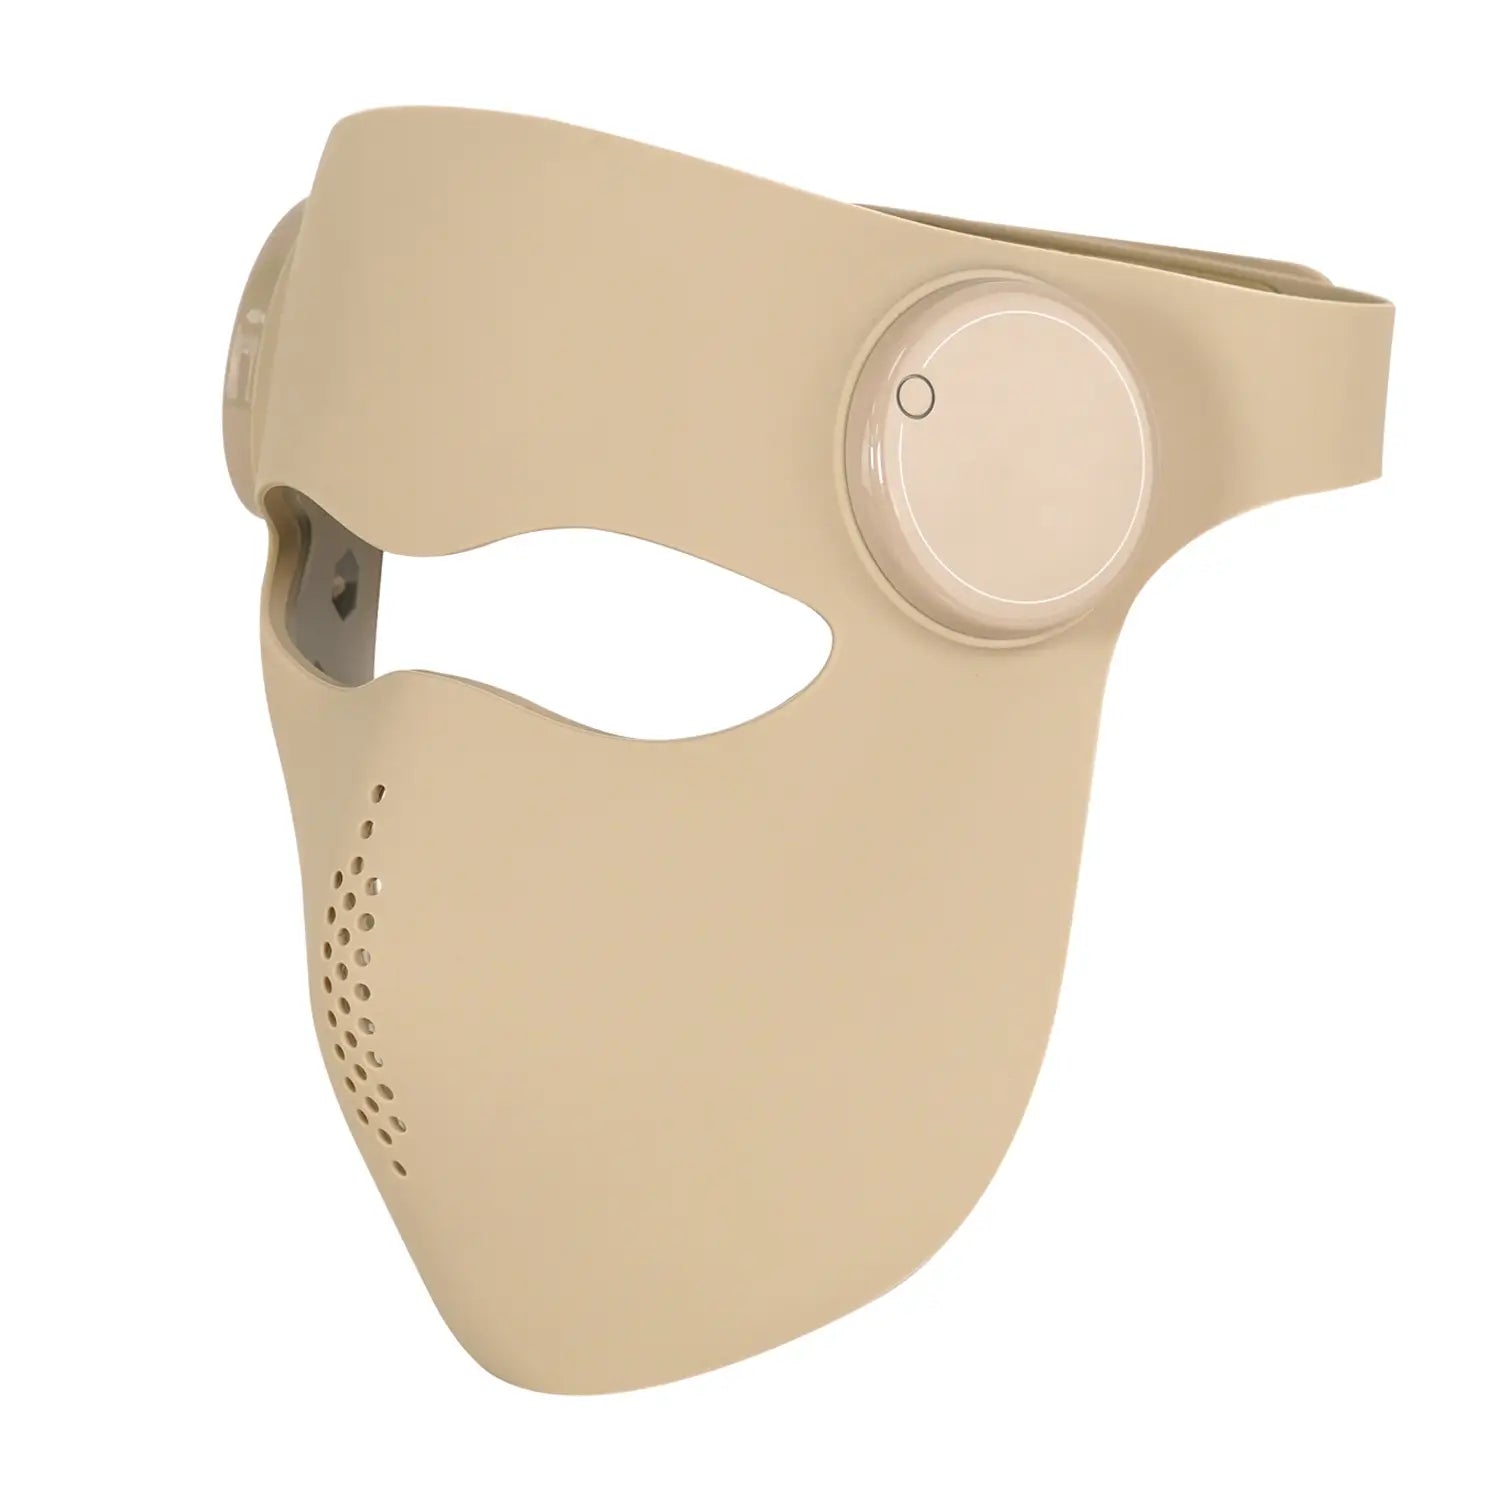
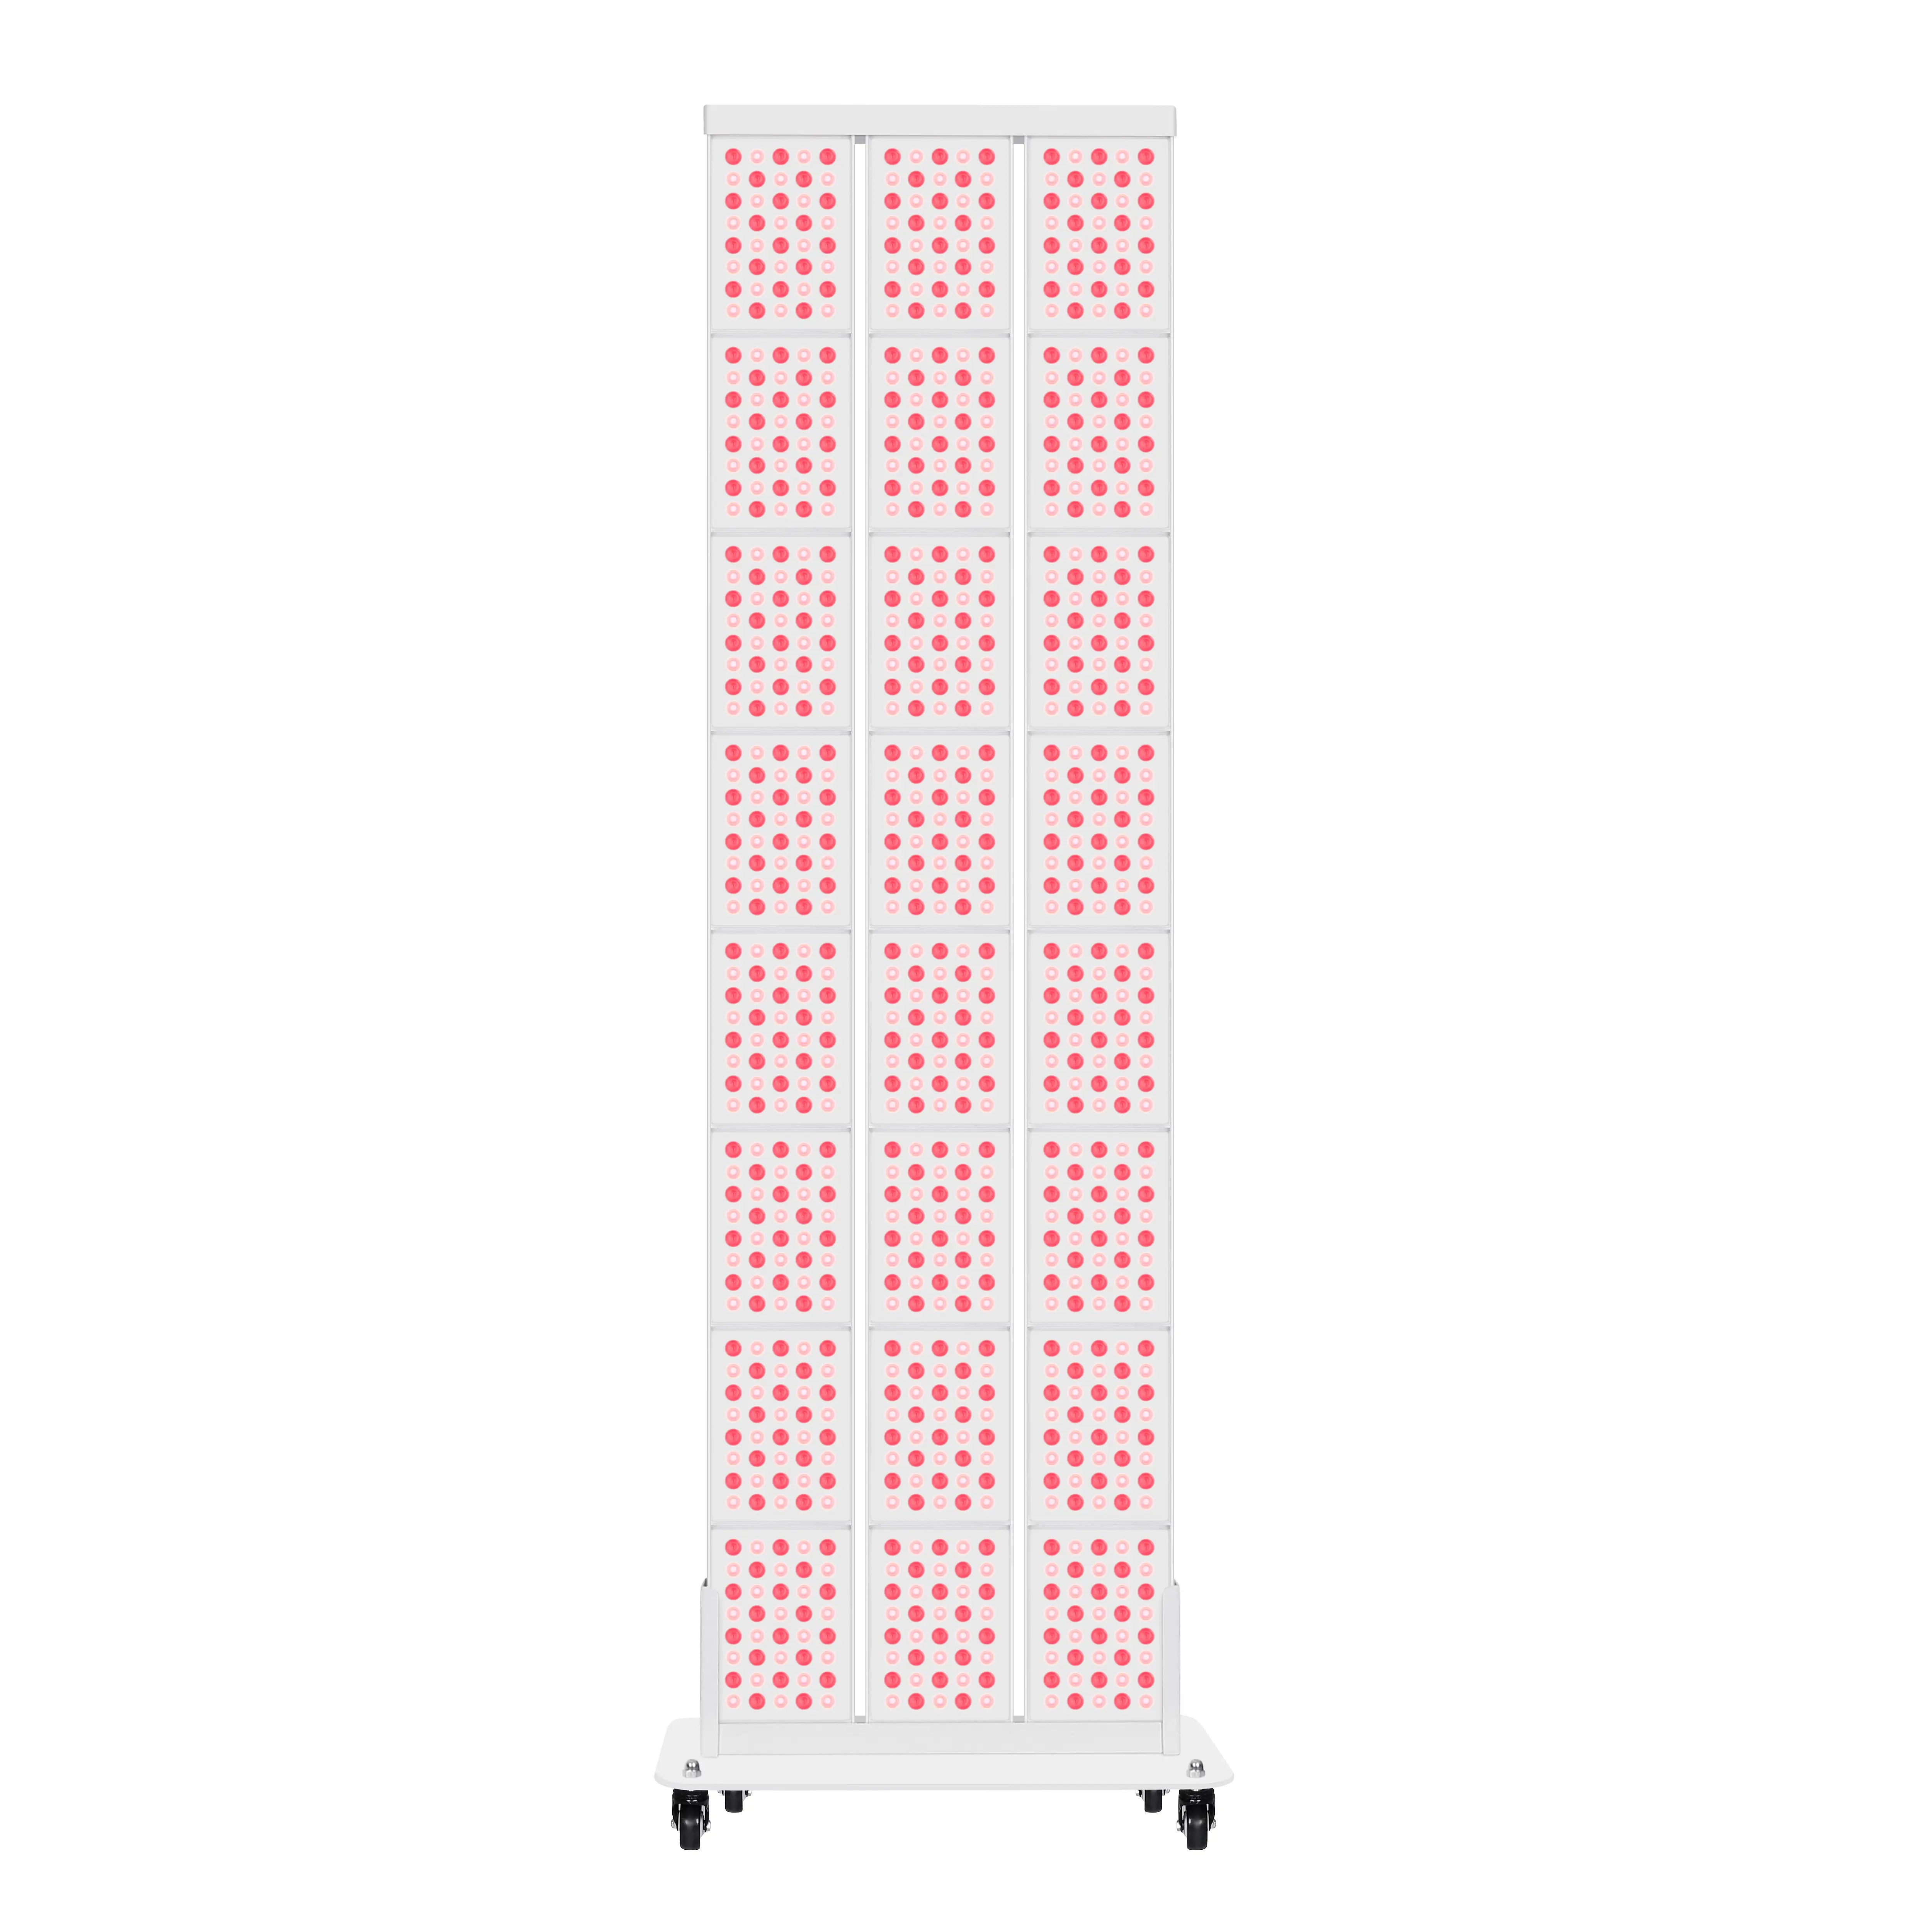
Choose the Right Device Panel or Belt
Coverage and routine decide the best tool for you.
| Option | Best for | Strengths | Considerations |
| Red light therapy panel | Large muscle groups such as quads, hamstrings, glutes, back | Wide coverage in fewer sessions, easy to standardize position and dose | Needs a dedicated spot and outlet, you stand or sit in place |
| Red light therapy belt or wrap | Localized soreness in the lower back, hips, calves, or shoulders | Hands free, easy to pair with light movement or stretching, travel friendly | Smaller coverage per round, may need two rounds for both sides |
If legs and back dominate your program, a red light therapy panel saves time across the week. If soreness is focal or you want to keep moving during a session, a red light therapy belt fits well. Many people combine both, using a panel after heavy days and a belt on easier recovery days. This flexible approach helps you keep red light therapy for muscle recovery in the routine without crowding the schedule.

Prevent Future Soreness With Smart Training Habits
Good recovery starts with smart loading. Increase volume and intensity in steps, pair hard days with easier days, and learn the feel of early fatigue so you can pivot before form breaks.
Make these habits automatic
- Keep a short cooldown after every session.
- Sleep seven to nine hours on most nights. Sleep supports hormones and immune activity that drive repair.
- Spread protein across the day and include carbohydrates around hard sessions.
- Schedule at least one easy day each week and a lighter deload week every few cycles.
- Keep red light therapy for muscle recovery on the same weekday rhythm as training, so it never becomes an afterthought.
Keep Moving With A Simple Recovery Routine
Muscle soreness follows a predictable arc and responds well to steady routines. Use a short cooldown, match tools to the training day, and apply red light therapy for muscle recovery with clear dosing and consistent timing. Combine smart loading, solid sleep, and balanced nutrition, then track morning feel, warmup ease, and how fast performance rebounds. Small improvements across these signals show that your recovery plan is moving in the right direction.