
Knee pain can slow your day, interrupt sleep, and make workouts feel like a grind. If you have tried ice, heat, braces, or a short course of pain relievers and progress stalls, you still have options.
This guide shows how red light therapy for knee pain fits into a realistic home plan. You will see what it is, the kind of results studies report, and a step-by-step routine that works alongside simple strengthening and daily activity.

Red Light Therapy for Knee Pain: What It Is and How It Works
Red light therapy belongs to photobiomodulation. Devices emit visible red light near 660 nanometers and near-infrared light near 850 nanometers. Red light interacts with superficial tissues. Near-infrared travels farther and can influence structures around the joint capsule and surrounding muscles. Inside cells, light is absorbed by mitochondrial enzymes and related chromophores. This supports ATP production, shapes nitric oxide signaling, and moderates inflammatory activity. Near-infrared reaches deeper than red, although effective delivery still depends on dose, distance, and contact with the target area. In practice, red light therapy for knee pain aims to calm an irritated joint environment so movement feels easier.
Common Causes of Knee Pain
Knee pain has a few common sources. Match your symptoms to the list below, then use that match to decide how you train, how much to rest, and where to place the light.

Osteoarthritis
Joint irritation builds over time. Morning stiffness, a dull ache with weight bearing, and swelling after longer walks are frequent. Pain relates to the whole joint ecosystem, not only cartilage changes.
Patellofemoral pain syndrome
Discomfort centers around or behind the kneecap. Squats, stairs, hills, or long sitting often set it off. Weakness or timing issues in the hip and thigh can nudge the kneecap off its preferred path.
Tendonitis and bursitis
The quadriceps tendon, patellar tendon, pes anserine region, or the iliotibial band can get overloaded. Pain increases with activity and often feels tender when pressed.
Injuries
Meniscus irritation or ligament sprains follow a twist, fall, or sharp turn. Locking, sudden giving way, or sharp catching calls for an exam from a clinician.
How symptoms show up
Warmth, stiffness after rest, and a sense of fullness are common. Some people feel a deep ache at night that eases after a short walk. These clues help you decide where to place a light and how to structure sessions.
Evidence & Benefits of Red Light Therapy for Knee Pain
Research on photobiomodulation for knee osteoarthritis and related conditions has expanded in recent years. Trials and systematic reviews report improvements in pain and function when doses and parameters stay within recommended ranges. The size of benefit varies because wavelengths, power delivery, and schedules differ, yet several outcomes repeat across studies.
What people often gain
- Lower pain during daily activities measured on a simple 0 to 10 scale
- Less morning stiffness and less swelling after longer walks
- Better range of motion and steadier confidence with stairs, squats, and transfers
- Higher scores on function questionnaires such as WOMAC or KOOS
- In some reports, reduced reliance on short courses of pain medication
Why dose and placement matter
Light therapy follows a dose-response. Underdosing fails to create change. Excessive time or distance mismatch can dilute results. Studies that pair near-infrared with red light and place the emitting surface close to the joint tend to produce steadier outcomes. Many readers use red light therapy knee sessions to quiet symptoms enough to begin progressive exercise. That combination produces improvements that hold up in daily life.
How to Use at Home: Protocol, Placement, Rehab Pairing & Progress Tracking
Use this section as your blueprint. It turns ideas into an everyday routine. If your device lists irradiance at a stated distance, you can estimate time precisely. If it does not, you can still start with a simple schedule and adjust by comfort and response.

Session basics
- Frequency: Three to five sessions each week works well for many users.
- Course length: Four to eight weeks, then reassess. Continue if you are moving forward.
- Distance: Two to six inches from the skin for panels. Zero to one inch for wraps and pads. Follow the manual for your device.
- Time: Ten to twenty minutes per side, depending on irradiance and the size of the target area.
- Energy target: Superficial goals often respond around 4 to 8 J per cm². Deeper goals may require a higher total energy delivery. If your device is specified by total Joules per treatment point, you can convert by the area of the light spot.
Dose quick-reference
Energy per area equals power density times time. The table below gives examples you can match to your device’s published irradiance.
| Irradiance (mW/cm²) | Time to reach 6 J/cm² | Time to reach 24 J/cm² |
| 25 | 4 minutes | 16 minutes |
| 50 | 2 minutes | 8 minutes |
| 75 | 1 minute 20 seconds | 5 minutes 20 seconds |
| 100 | 1 minute | 4 minutes |
Tips for dialing in your dose:
- Keep distance consistent across sessions so energy delivery stays predictable.
- If you feel no change after two weeks, increase the time slightly or shift placement to match your most sensitive zones.
- If the skin feels too warm or irritated, shorten the time or increase the distance by an inch.
Placement and coverage
Treat the areas that match your symptoms. Clean and dry the skin first.
- Front: Center the device over the kneecap region. This addresses the front of the joint, the quadriceps tendon, and retinacular tissues.
- Inside: Shift toward the inner joint line if tenderness gathers there.
- Outside: Cover the outer joint line near the iliotibial band insertion.
- Back: If the back of the knee feels tight or full, place the device behind the joint while sitting with a slight bend.
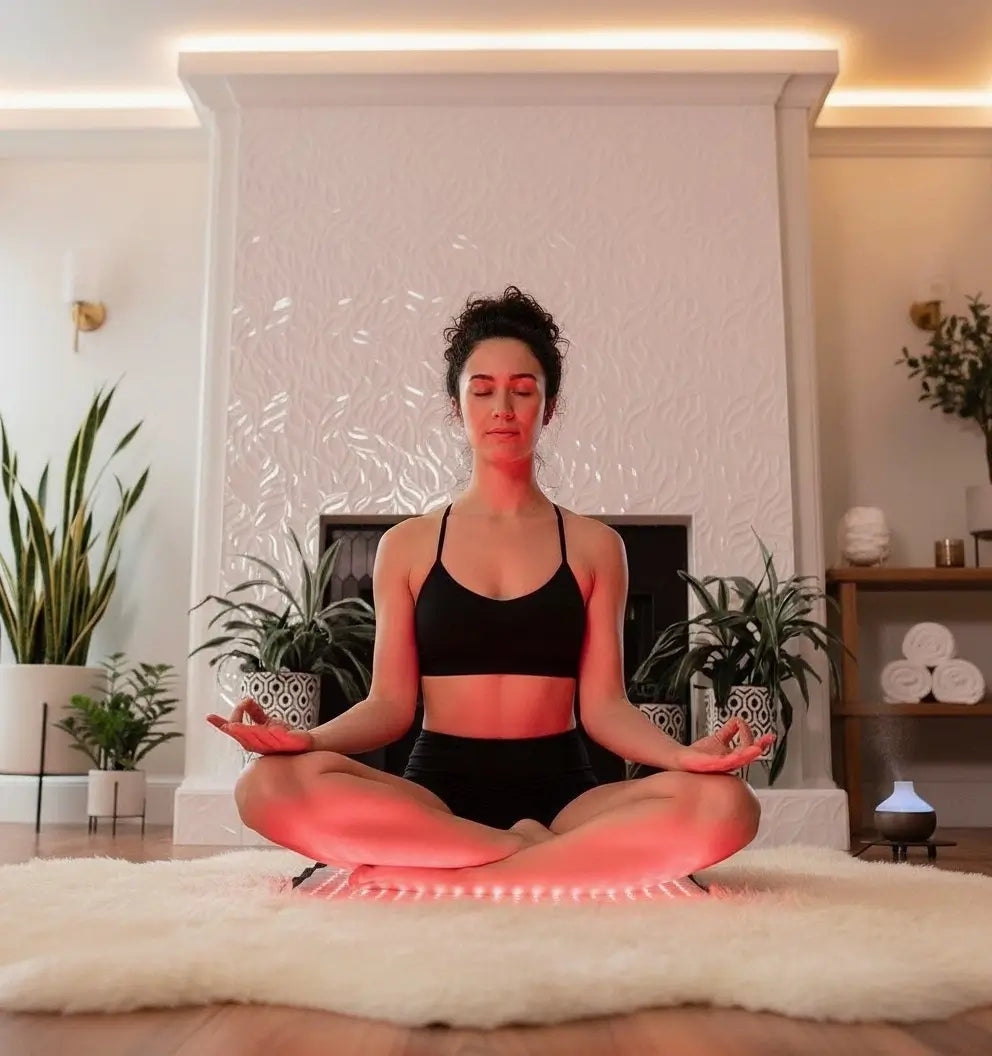
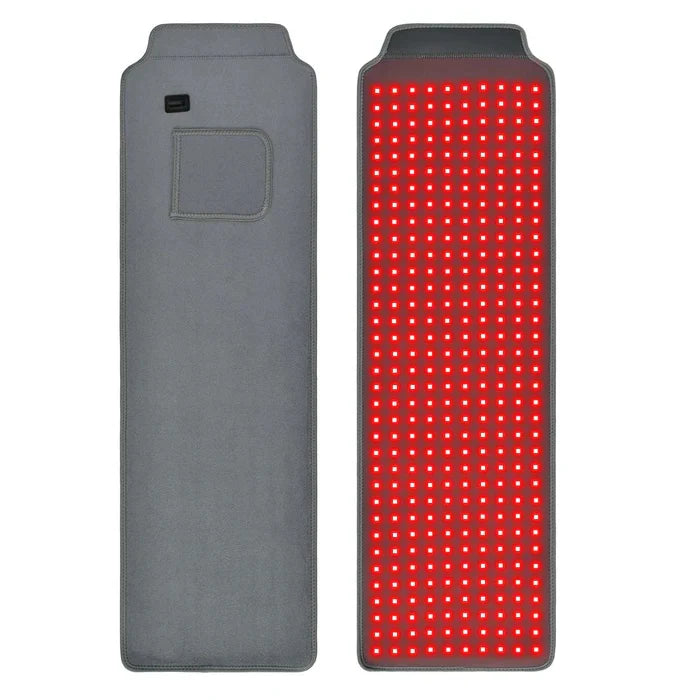
A red light therapy wrap for the knee excels at contouring and frees your hands during the session. A panel covers a broader area and works well when both knees need attention in one sitting.
A simple four-week rehab pairing
These exercises build capacity step by step. Move within comfort. Slow tempo is your friend.

Week 1
- Quad sets with a rolled towel under the knee. Ten holds of five seconds.
- Heel slides to explore a gentle bend. Two sets of ten.
- Calf stretch against a wall. Two holds of thirty seconds.
Week 2
- Straight-leg raises. Two sets of ten.
- Sit-to-stand from a higher chair. Two sets of eight to ten.
- Hamstring stretch on the edge of a bed. Two holds of thirty seconds.
Week 3
- Mini squats with support if needed. Two sets of ten.
- Step-ups on a low step. Two sets of eight per side.
- Balance practice on flat ground. Three holds of twenty seconds.
Week 4
- Deeper sit-to-stand. Two sets of ten to twelve.
- Step-down from a low step. Two sets of six to eight per side.
- Add a short walk after sessions and note how the knee feels twelve to twenty-four hours later.
Run red light therapy for knee pain sessions before exercise if stiffness blocks the range. Place them after exercise if soreness is your main barrier.
Progress tracking
Numbers help you see change that might feel subtle day to day.
- Pain during a standard task, such as stairs or a five-minute walk, on a 0 to 10 scale
- Time to take comfortable steps after waking
- Stair tolerance going up and down
- Five-times sit-to-stand test from a standard chair
- A weekly note on range of motion: less, same, or more
If progress stalls for two weeks, adjust time, distance, or placement. Swap in an exercise that challenges you without flaring symptoms.
What to expect
Most people notice easier movement during the first two weeks. Pain relief and function improvements usually stack over four to eight weeks of steady work. Keep the gains with walking, gradual strength progressions, and good sleep habits. Red light therapy knee sessions create a window for better movement. Training fills that window.
Safety & When to Seek Professional Advice
Red light therapy for knee pain is generally well tolerated. A mild warmth during a session is common. Occasional temporary redness or a brief ache after a busy day can occur and usually settles by the next morning.
Practical safety tips
- Do not treat overactive skin infections or bleeding wounds unless a clinician guides you.
- People who take photosensitizing medications should ask their prescriber before starting.
- Avoid shining light directly into the eyes. Wear eye protection with high-output panels at close range.
- Be careful with recent injection sites or recent surgery. Follow the timeline given by your care team.
- Pause and reassess if swelling accelerates, pain sharpens at night, or you cannot bear weight.
Get timely care for injuries that involve a twist or fall, a knee that locks or gives way, rapid swelling that does not ease with rest and elevation, a sudden change in limb color or temperature, or fever with joint pain. These situations need a professional exam.
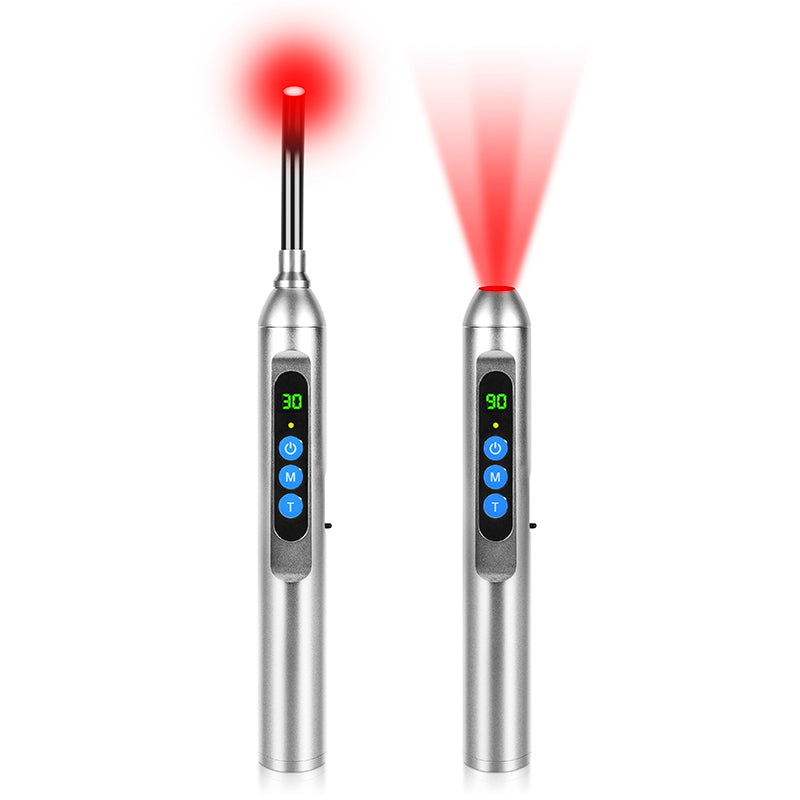
Choosing a Red Light Therapy Knee Device
Pick a device that reaches your target tissue, covers the right zones, and fits your routine. You can read spec sheets with a few simple pointers.
Wavelengths
- 660 nm red: Suits skin and superficial structures. Helpful when the area over the joint is sensitive to touch.
- 850 nm near-infrared: Travels farther in tissue and supports deeper goals around the joint. Near-infrared light for knee pain is a common choice when deeper structures feel irritated.
A combined array covers both depths. Many devices list both wavelengths in the same unit.

Irradiance and time
Irradiance is the power per area delivered to the skin at a specific distance. Common listings fall between 25 and 100 mW per cm² at two to six inches. That number tells you how long to run a session to reach your energy target. If a product page lists only input wattage, you still need the irradiance at a named distance to plan sessions. A built-in timer helps you stay consistent.
Example calculation: Your device lists 50 mW per cm² at four inches. You want 6 J per cm². Time equals energy divided by power density. Six divided by 0.05 equals 120 seconds. Two minutes reaches your target.
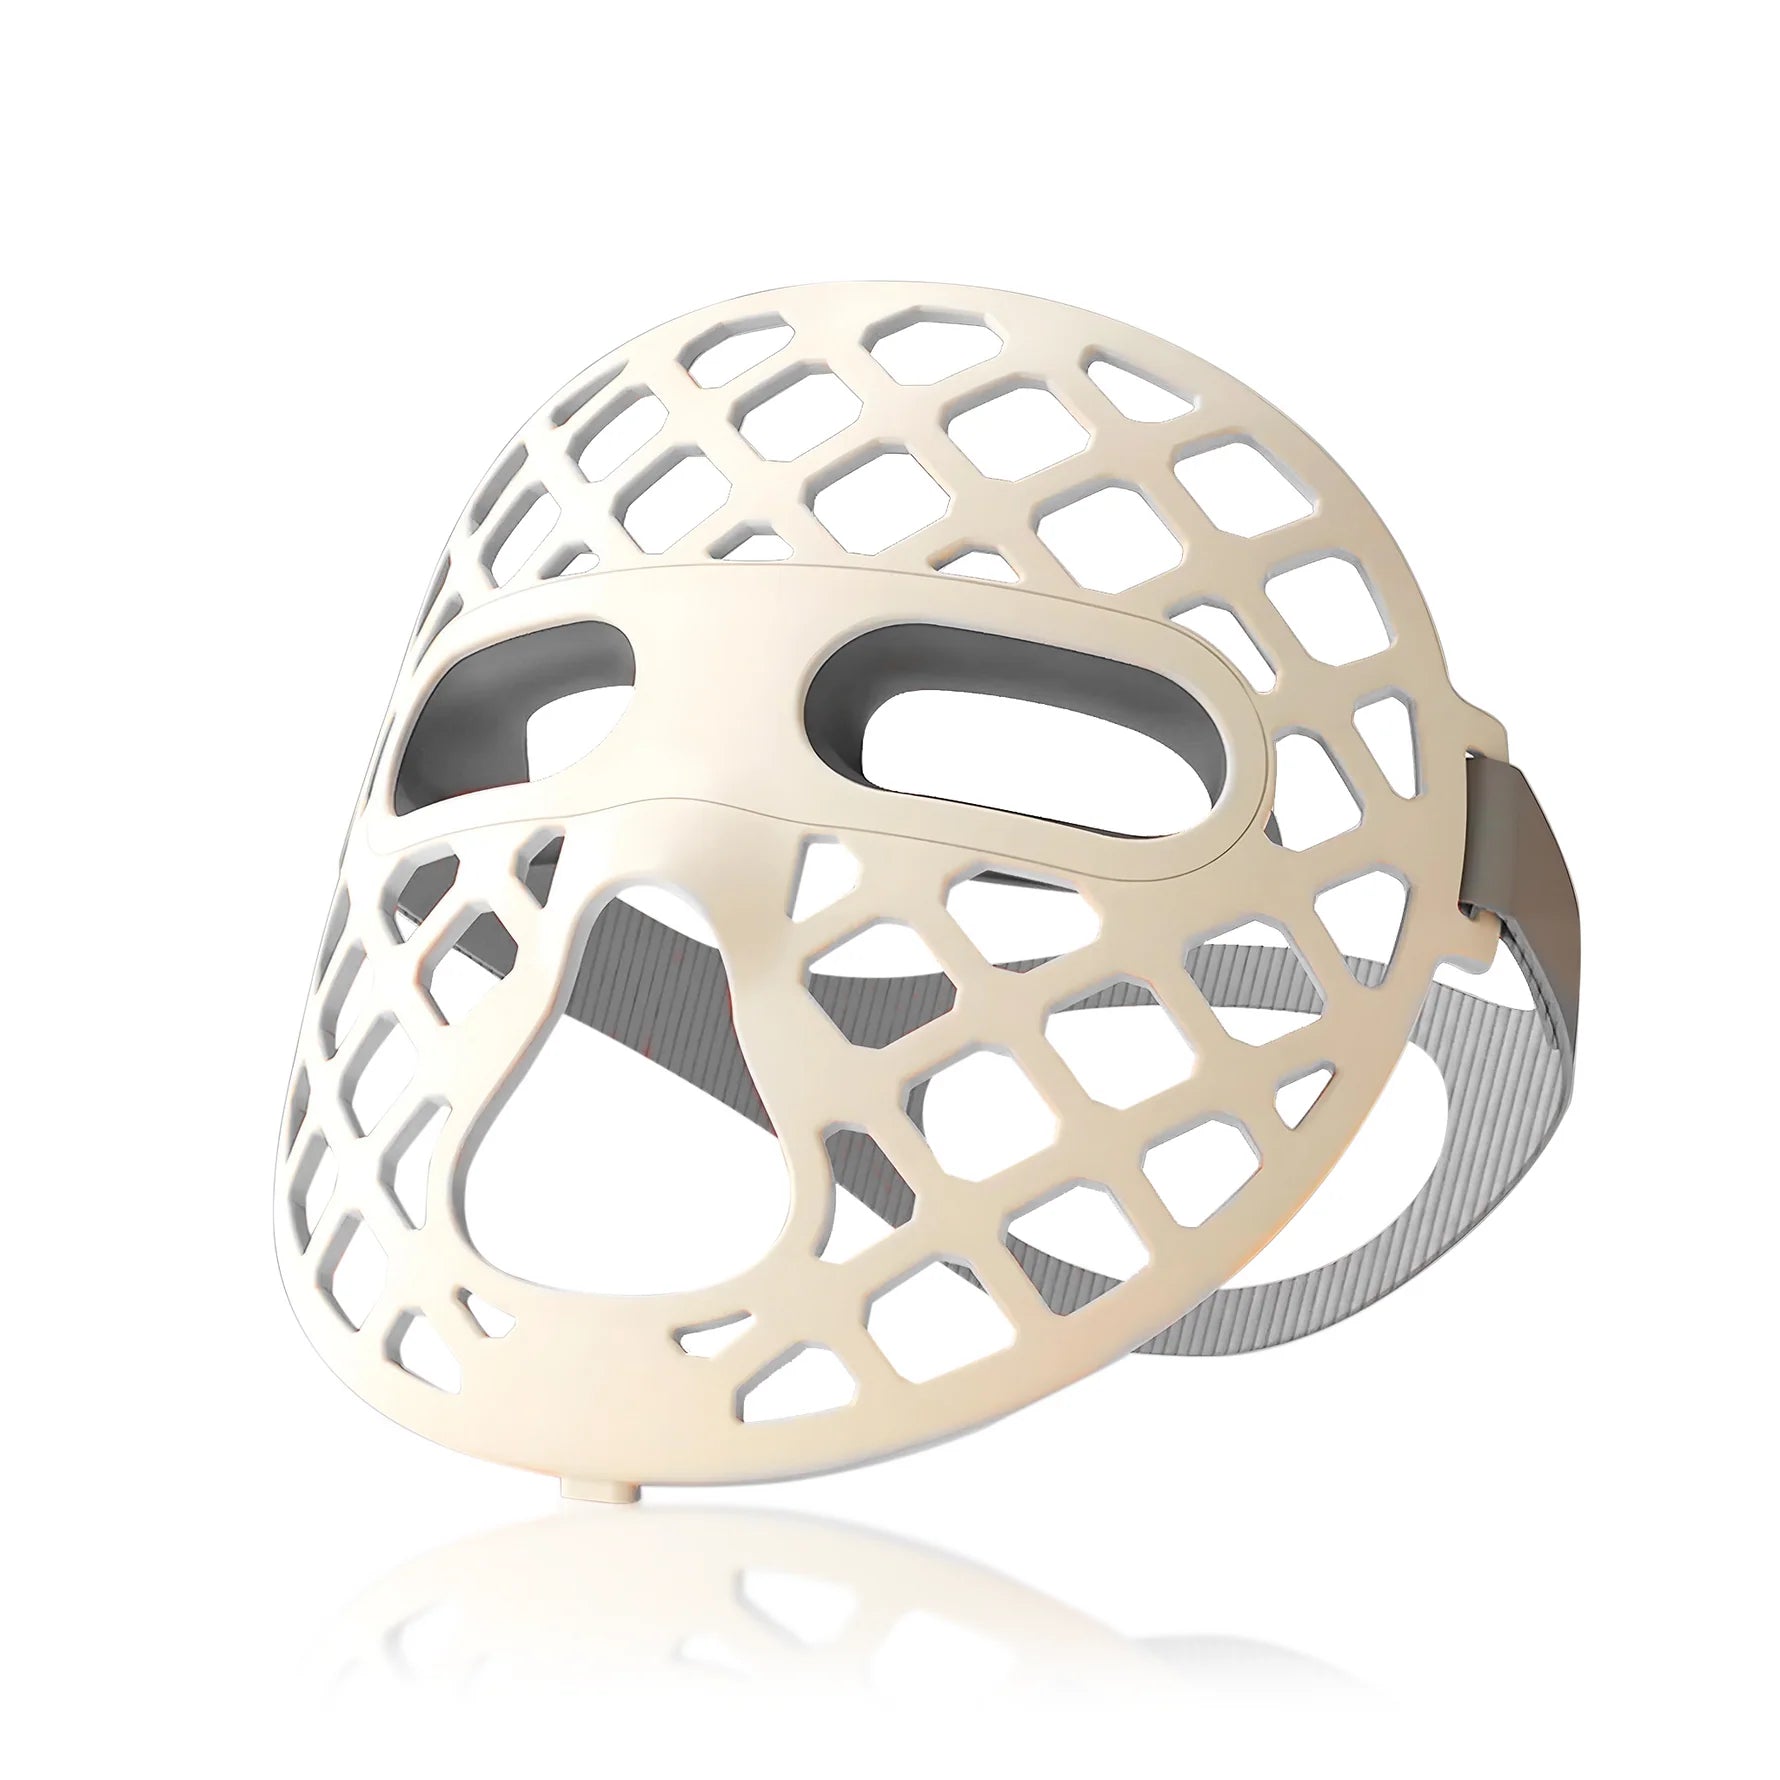
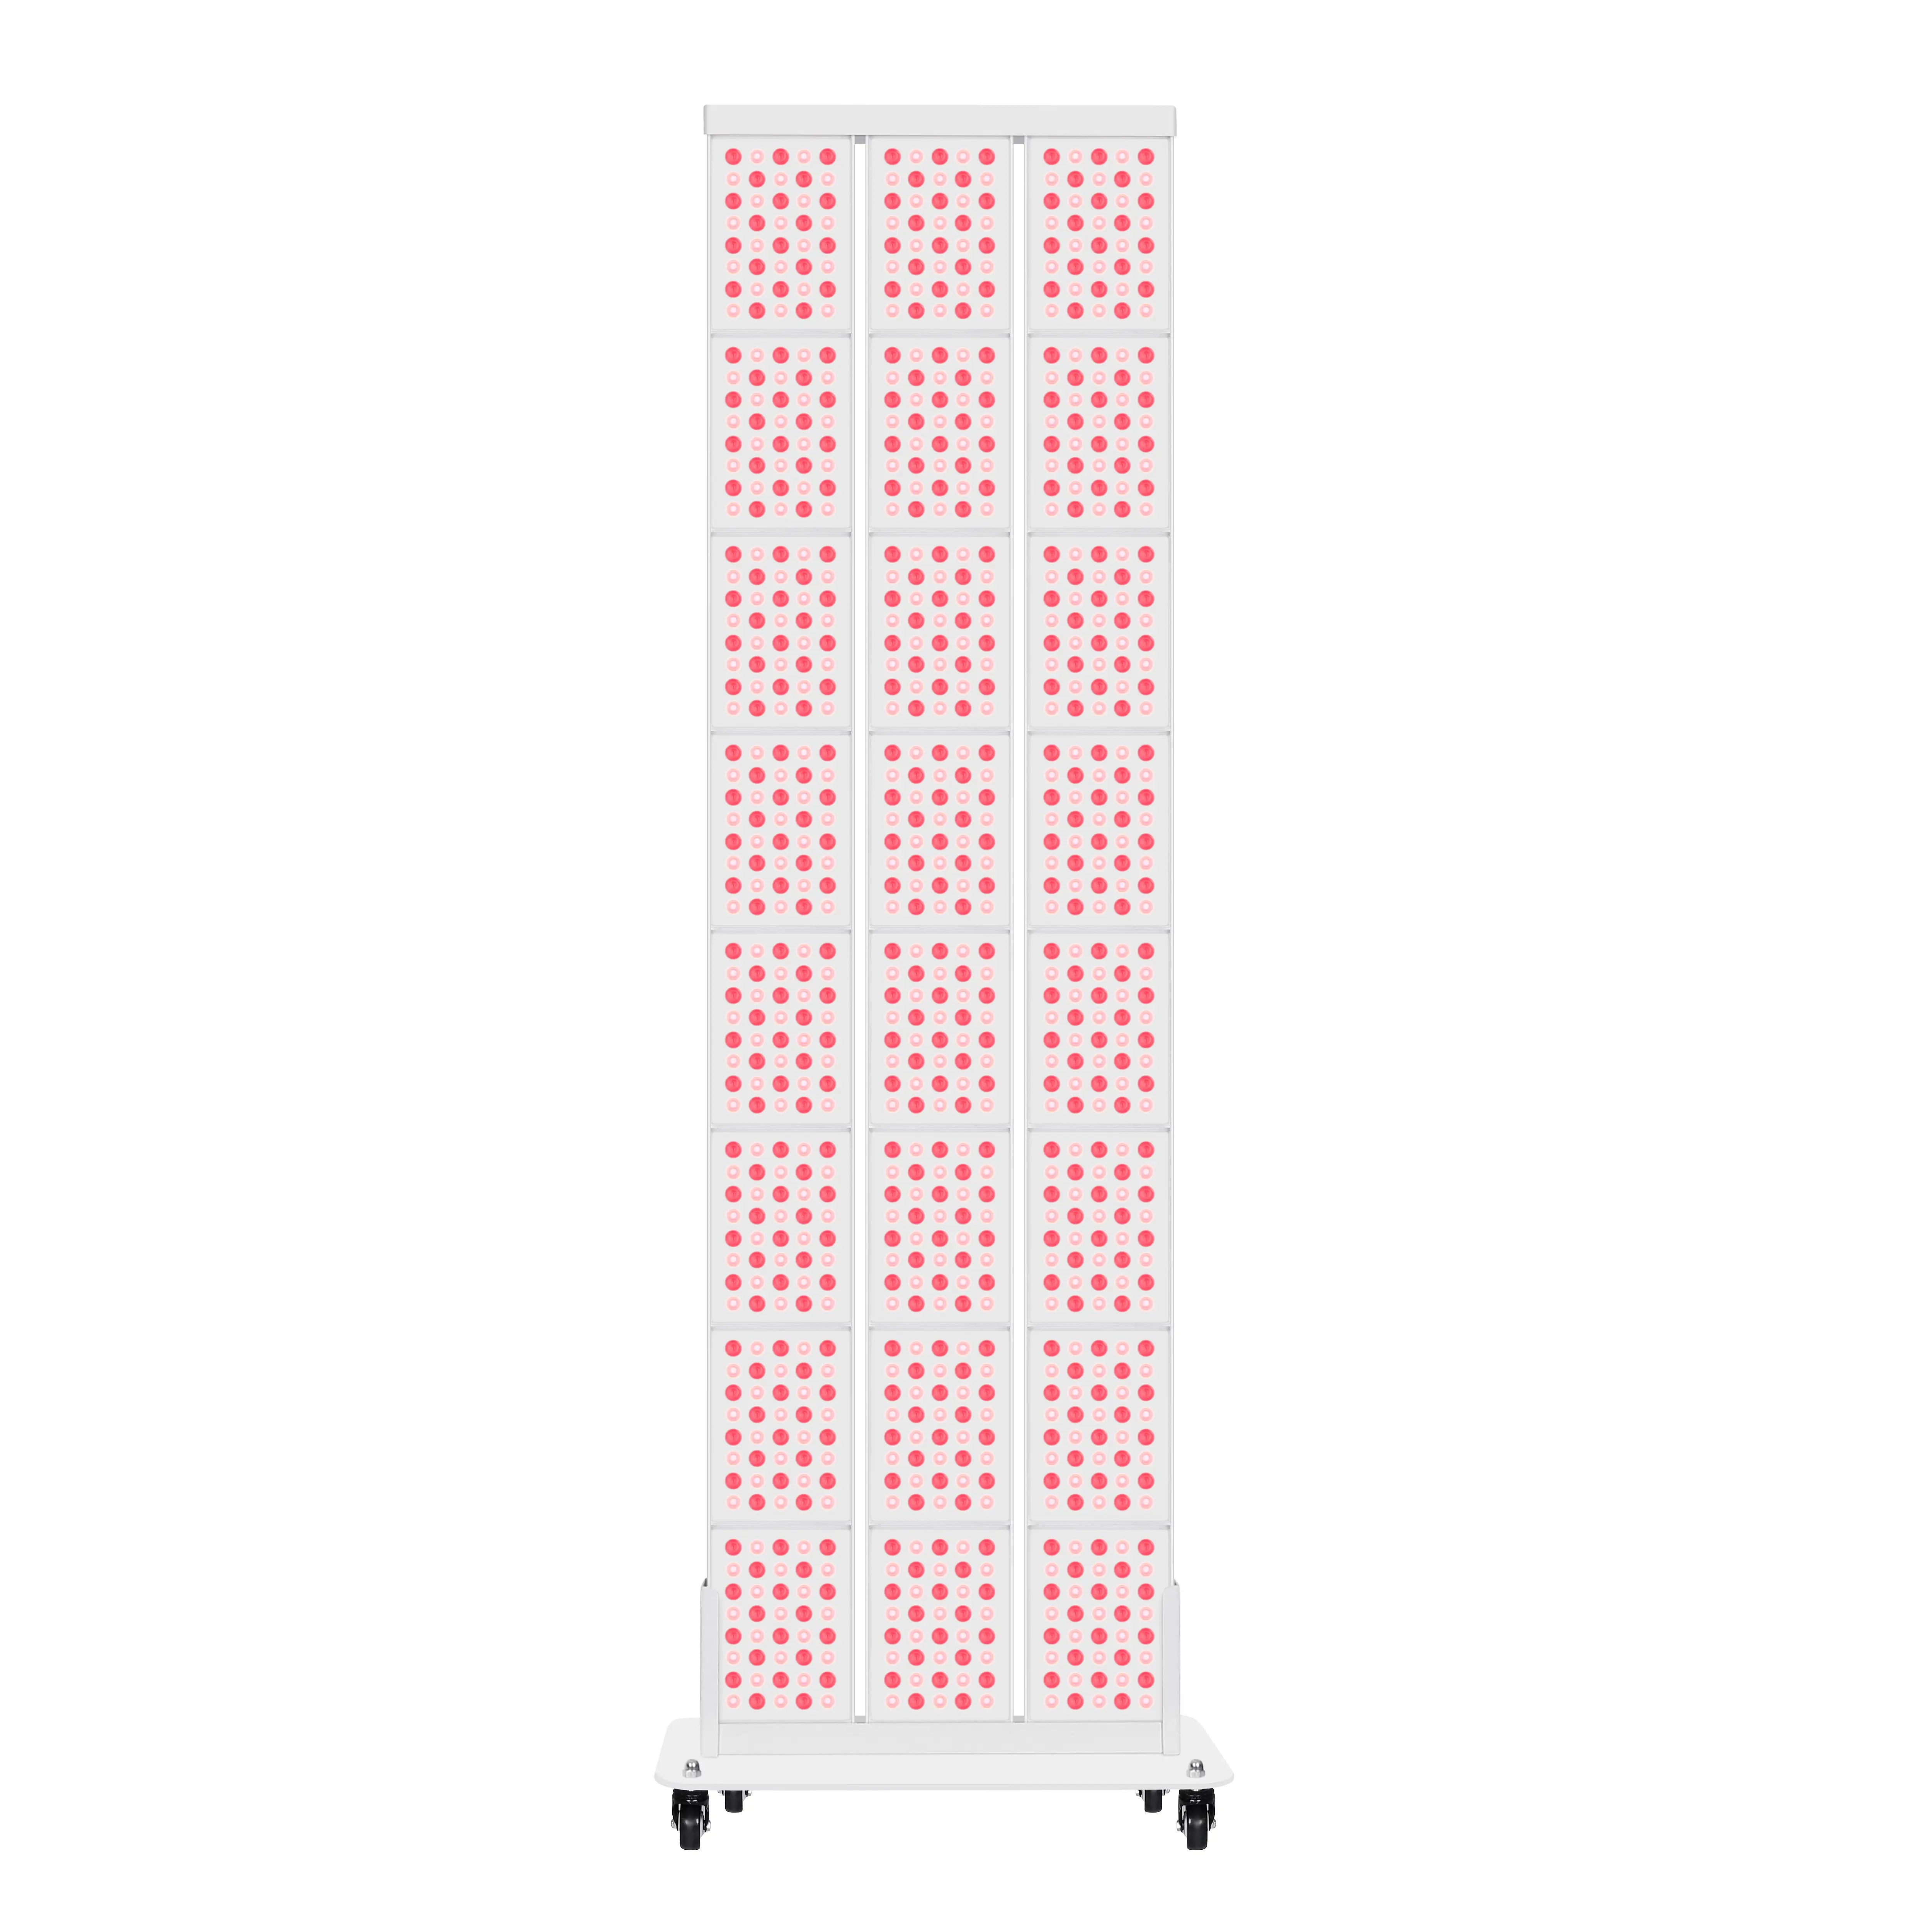
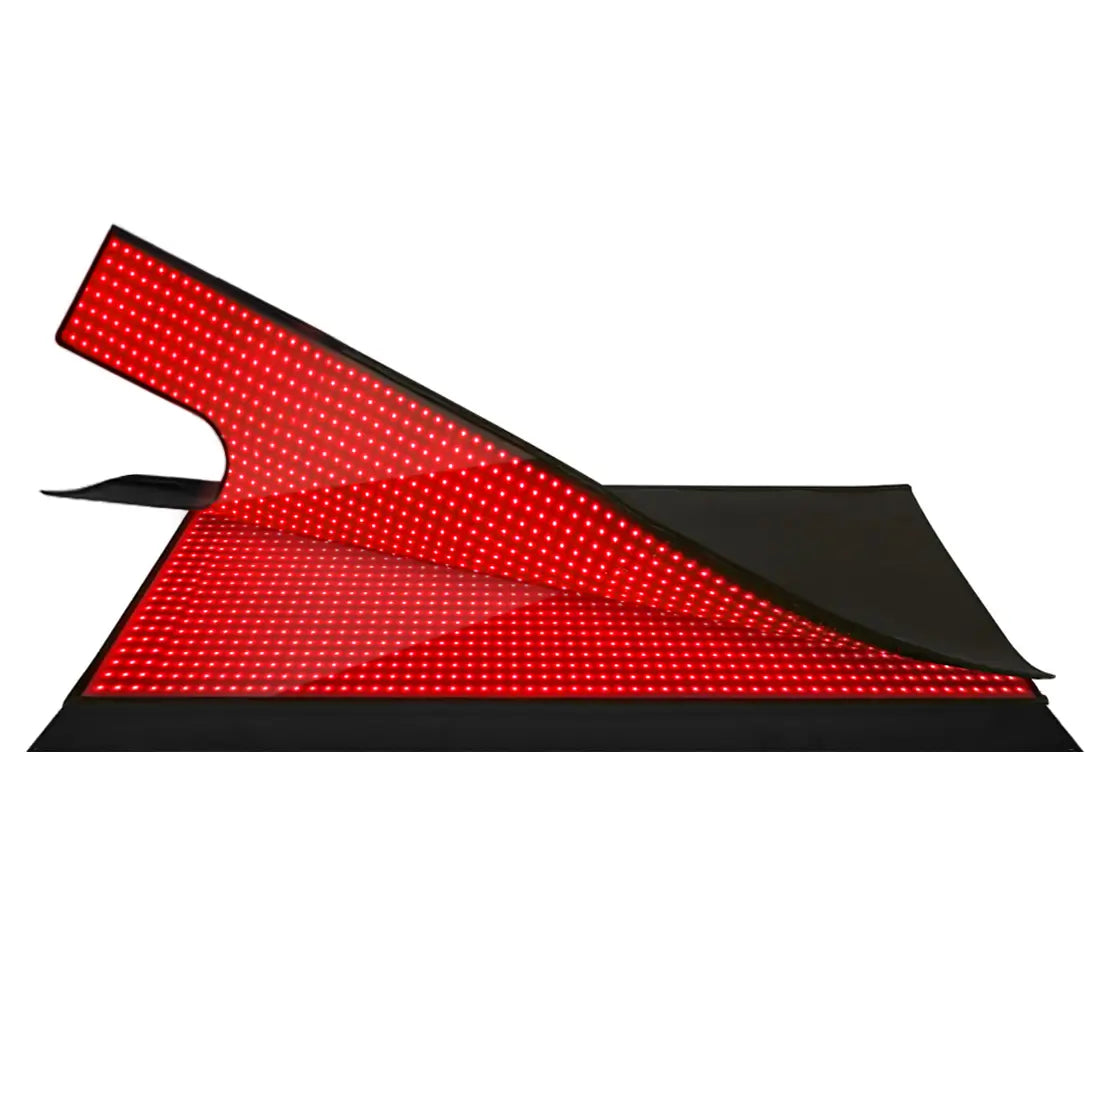
Device types
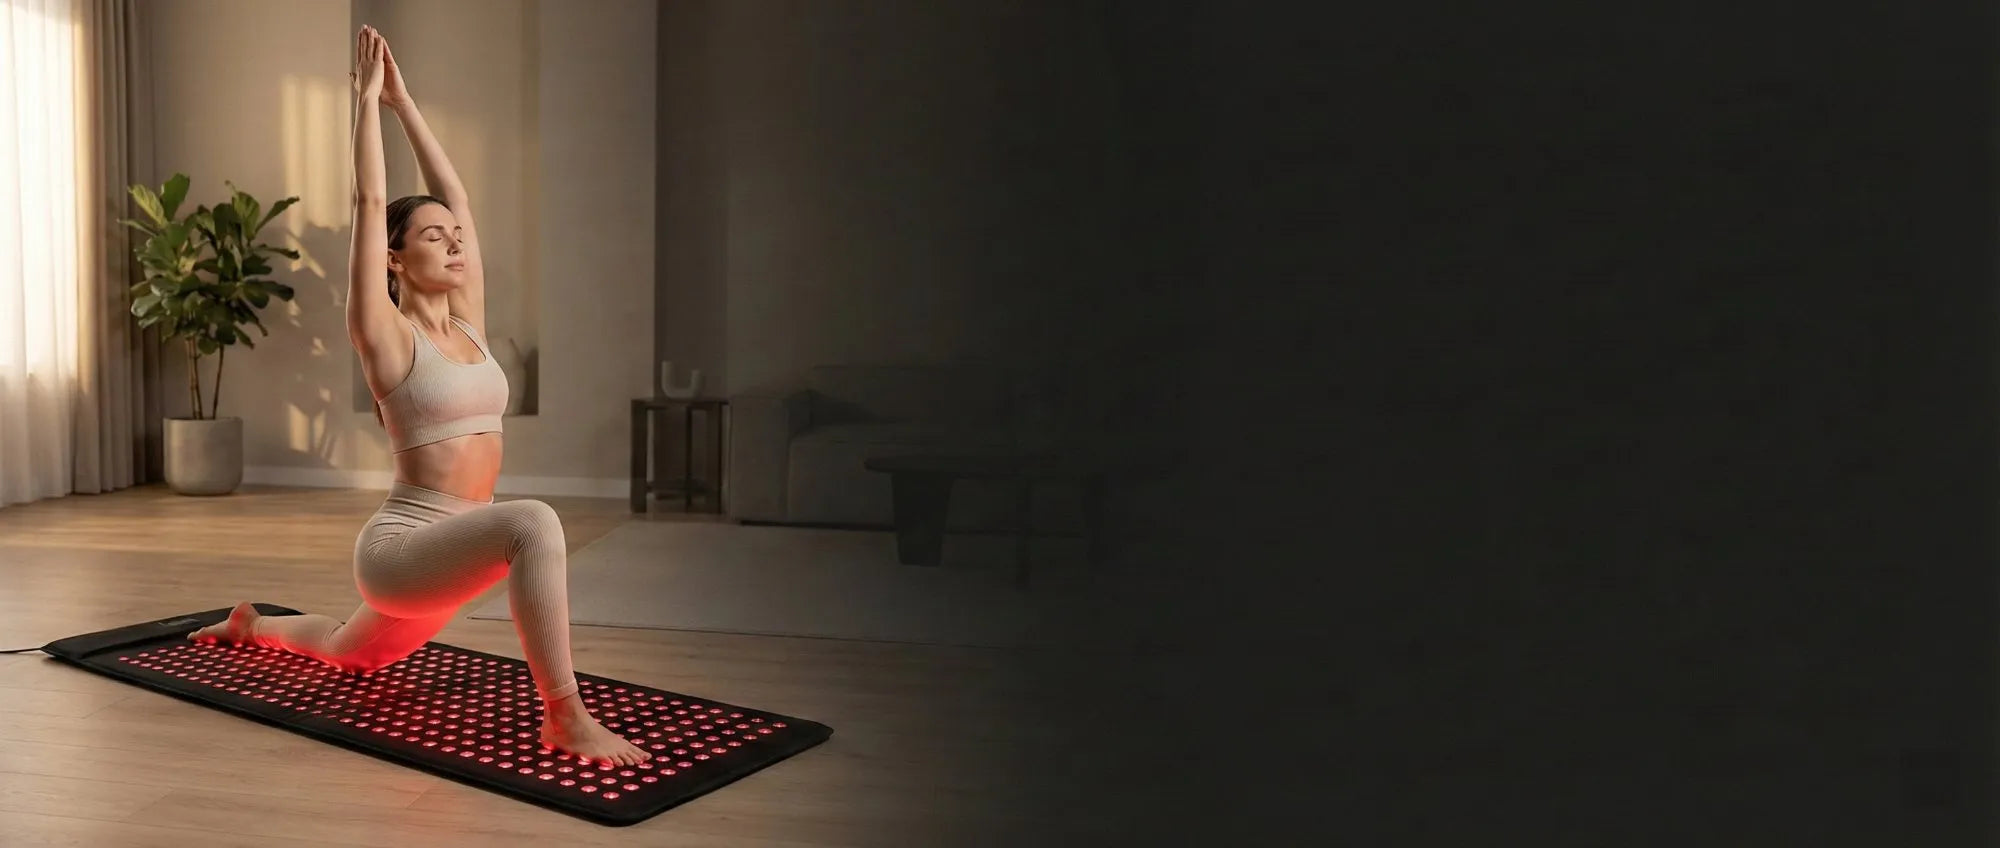
- Pads and wraps: Flexible, close to the skin, and easy to position. Great for a single joint. A red light therapy wrap for the knee allows hands-free sessions.
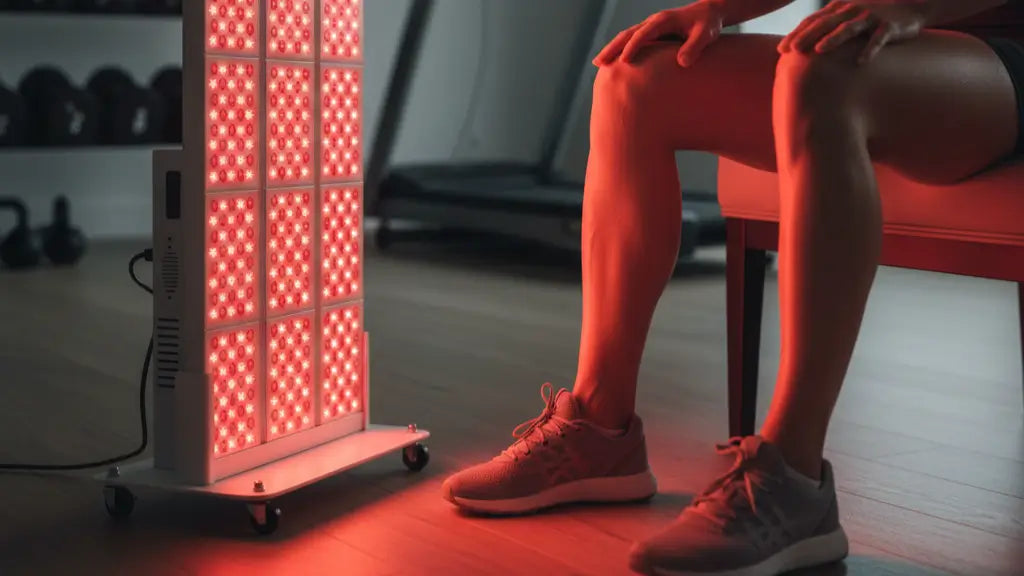
- Panels: Broad coverage for both knees or other areas in the same session. A red light therapy panel for knee treatment works at a short distance and can deliver a predictable output across a larger field.
- Handheld units: Portable and focused. Good for a small tender spot or travel days.
Choose based on how localized your symptoms are, how much time you have, and whether you plan to treat other regions, such as hips or back.
Practical checklist before you buy
- Wavelengths include 660 nm and near-infrared around 850 nm
- Published irradiance at a stated distance, plus a timer or app control for session length
- Coverage matches the kneecap and both joint lines
- Electrical and materials safety marks such as CE, ETL, FCC, and RoHS
- Clear user instructions, cleaning guidance, and support resources
Long-tail queries often ask about 660nm and 850nm, irradiance mW per cm², and how to reach a J per cm² target. Keep your device at the distance used for its published irradiance and your plan will stay consistent.
Your Next Steps With Red Light Therapy for Knee Pain
Start with a plan you can sustain. Run sessions three to five days a week for four to eight weeks. Pair them with simple strength and mobility work. Track pain during a standard task, morning stiffness, and a chair stand test once a week. Adjust time and placement if progress slows. Ask a clinician for guidance when symptoms change or persist. Small, steady steps add up to less pain, better function, and more confident movement.
FAQs
Q1. Can I use red light over a total knee replacement or metal screws?
Yes, for most people. The light does not heat metal meaningfully. Avoid treating fresh incisions until cleared by your surgeon. Start with shorter sessions if sensation is reduced and stop if you notice unusual warmth or prolonged redness.
Q2. How should I combine red light therapy with ice, heat pads, or topical creams?
Use light on clean, dry skin first. Wait about thirty minutes before applying heat or any topical product. If you plan to ice after training, complete the light session, finish exercises, and then ice at the end to manage soreness.
Q3. Do skin tone or tattoos change dosing at the knee?
Darker skin and tattoo ink absorb more visible red, which can lower tissue reach. Near infrared is less affected. Keep distance constant, begin at the lower end of your time range, and increase by twenty to thirty percent only if needed.
Q4. Is knee treatment with red light safe during pregnancy or while breastfeeding?
Knee-only sessions are local and noninvasive. Evidence in pregnancy is limited, so discuss with your obstetric clinician first. Do not treat the abdomen or pelvis. Stop if swelling or discomfort increases and resume only after medical guidance.
Q5. How do I maintain the device so the output stays consistent?
Wipe LEDs with a soft alcohol pad, keep vents clear, and store the unit cool and dry. Do not use UV sterilizers on the device. Check timers periodically and keep a fixed treatment distance so your delivered energy remains predictable.