
Getting the most from red light therapy means matching your dosing parameters to your specific goal. Surface skin healing generally responds well to moderate, repeatable doses delivered close to the skin, while deep tissue recovery for muscle or joint issues often requires higher fluence at the surface, careful attention to distance and device power, and more realistic expectations about what actually reaches the target tissue.

Photobiomodulation (PBM), the scientific term for red light therapy, is highly parameter-dependent. Outcomes depend on irradiance (power density), fluence (energy delivered per area in J/cm²), treatment time, wavelength, and the depth of the target tissue. A universal dosage chart therefore oversimplifies the process and can lead to underdosing or ineffective results.
Common Misconceptions About Red Light Therapy Dosing
Many users assume that simply choosing 660 nm for skin or 850 nm for deeper issues, then sitting for a fixed time, will deliver the desired outcome. In reality, wavelength influences penetration but does not alone determine the useful dose. Delivered power, distance from the device, tissue properties, and individual anatomy all play major roles.
Another widespread myth is that skin and deep tissue follow the same dosing logic. Evidence is generally stronger and more comfortable for superficial applications such as wound support and collagen-related skin benefits. Deeper targets are more sensitive to setup variables, making results less predictable in home use.
Finally, the belief that longer sessions are always better ignores the biphasic dose response common in PBM. Too little energy may produce no noticeable effect, while too much can reduce benefits or lead to diminishing returns.
How Dosing Parameters Differ for Skin vs Deep Tissue
The correct comparison framework treats surface skin healing and deep tissue recovery as distinct problems rather than interchangeable uses of the same device settings.
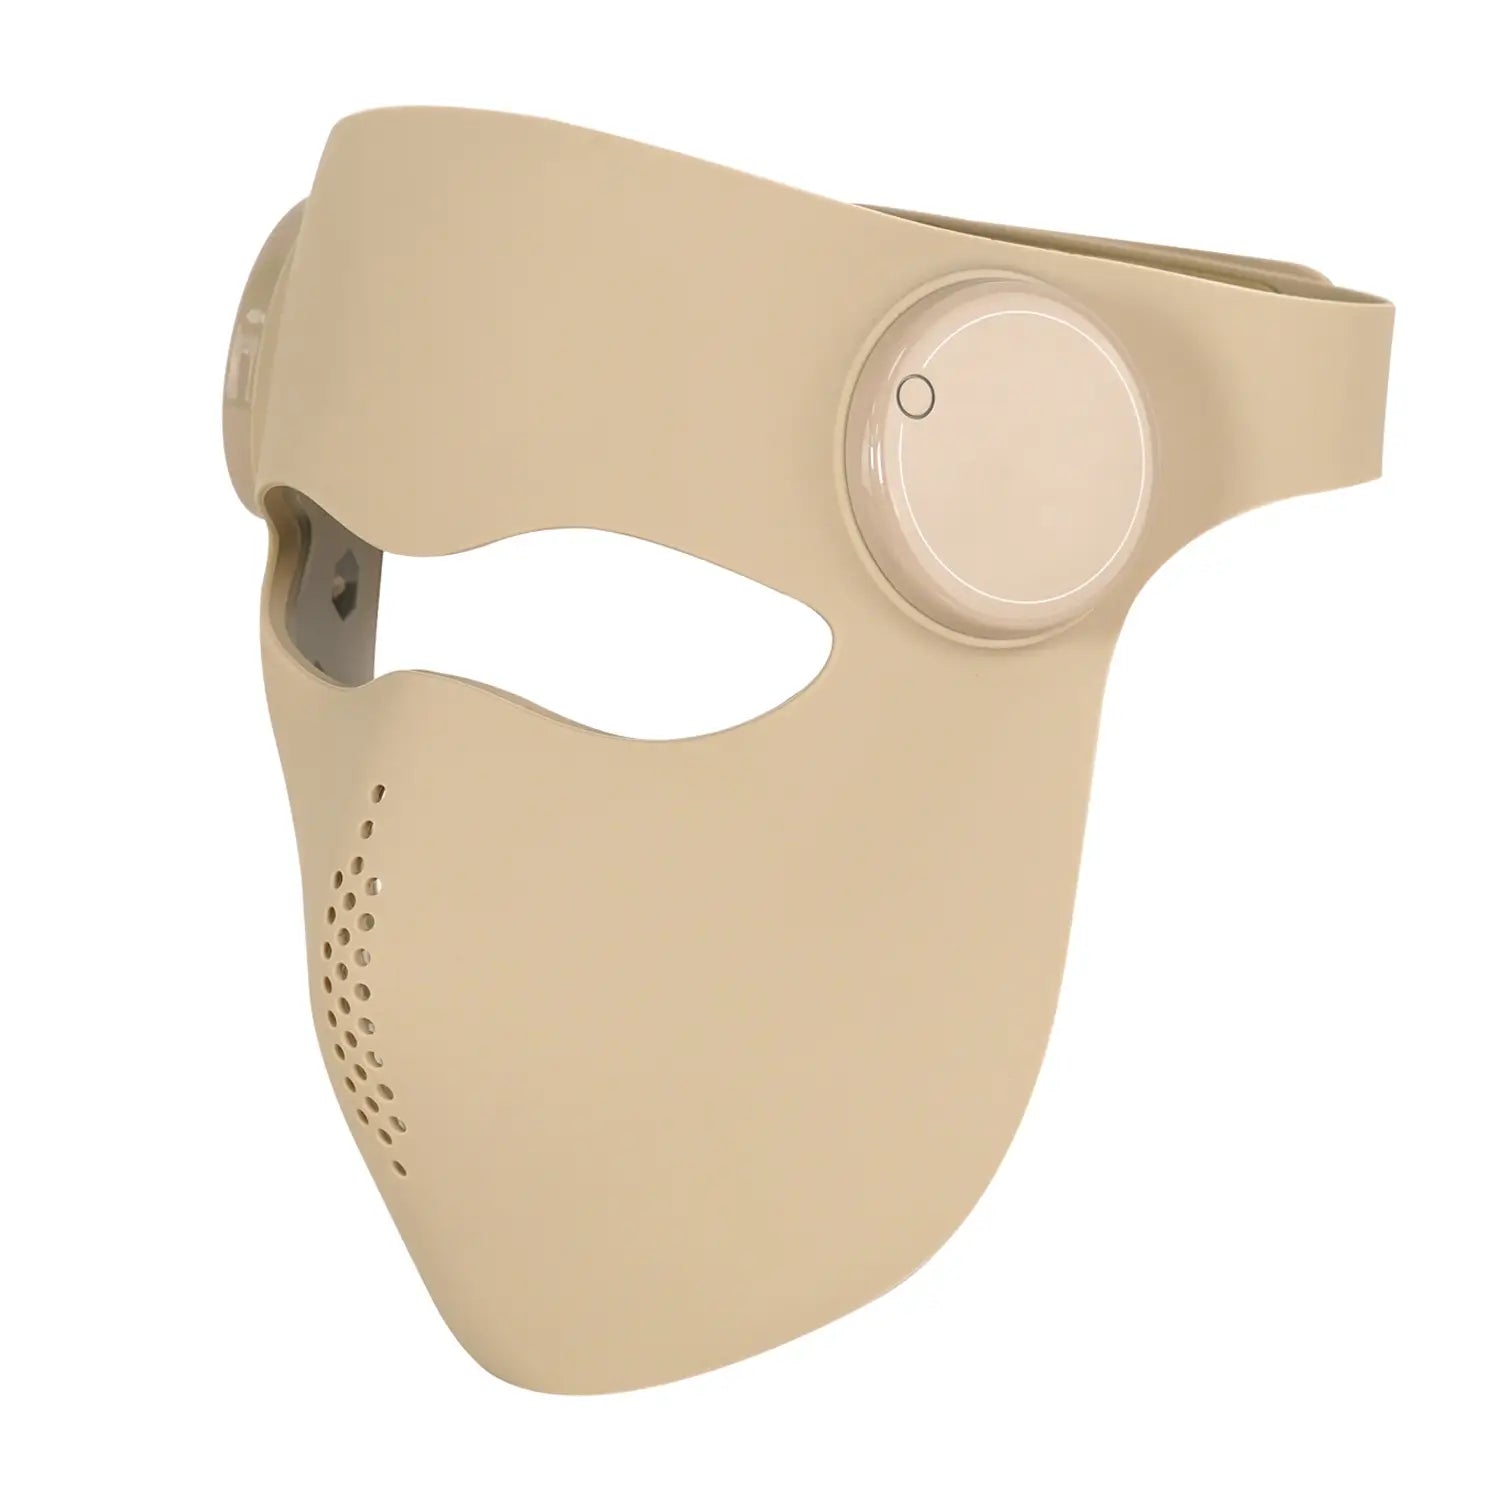
For surface skin goals such as supporting collagen production or aiding minor wound healing, focus on controlled, repeatable moderate doses. Wavelengths in the visible red range around 660 nm are commonly discussed for these applications. Keep the device close enough to deliver a consistent fluence, typically in a conservative 3–10 J/cm² range at the skin surface. Shorter sessions or proximity help maintain this range without unnecessary exposure.
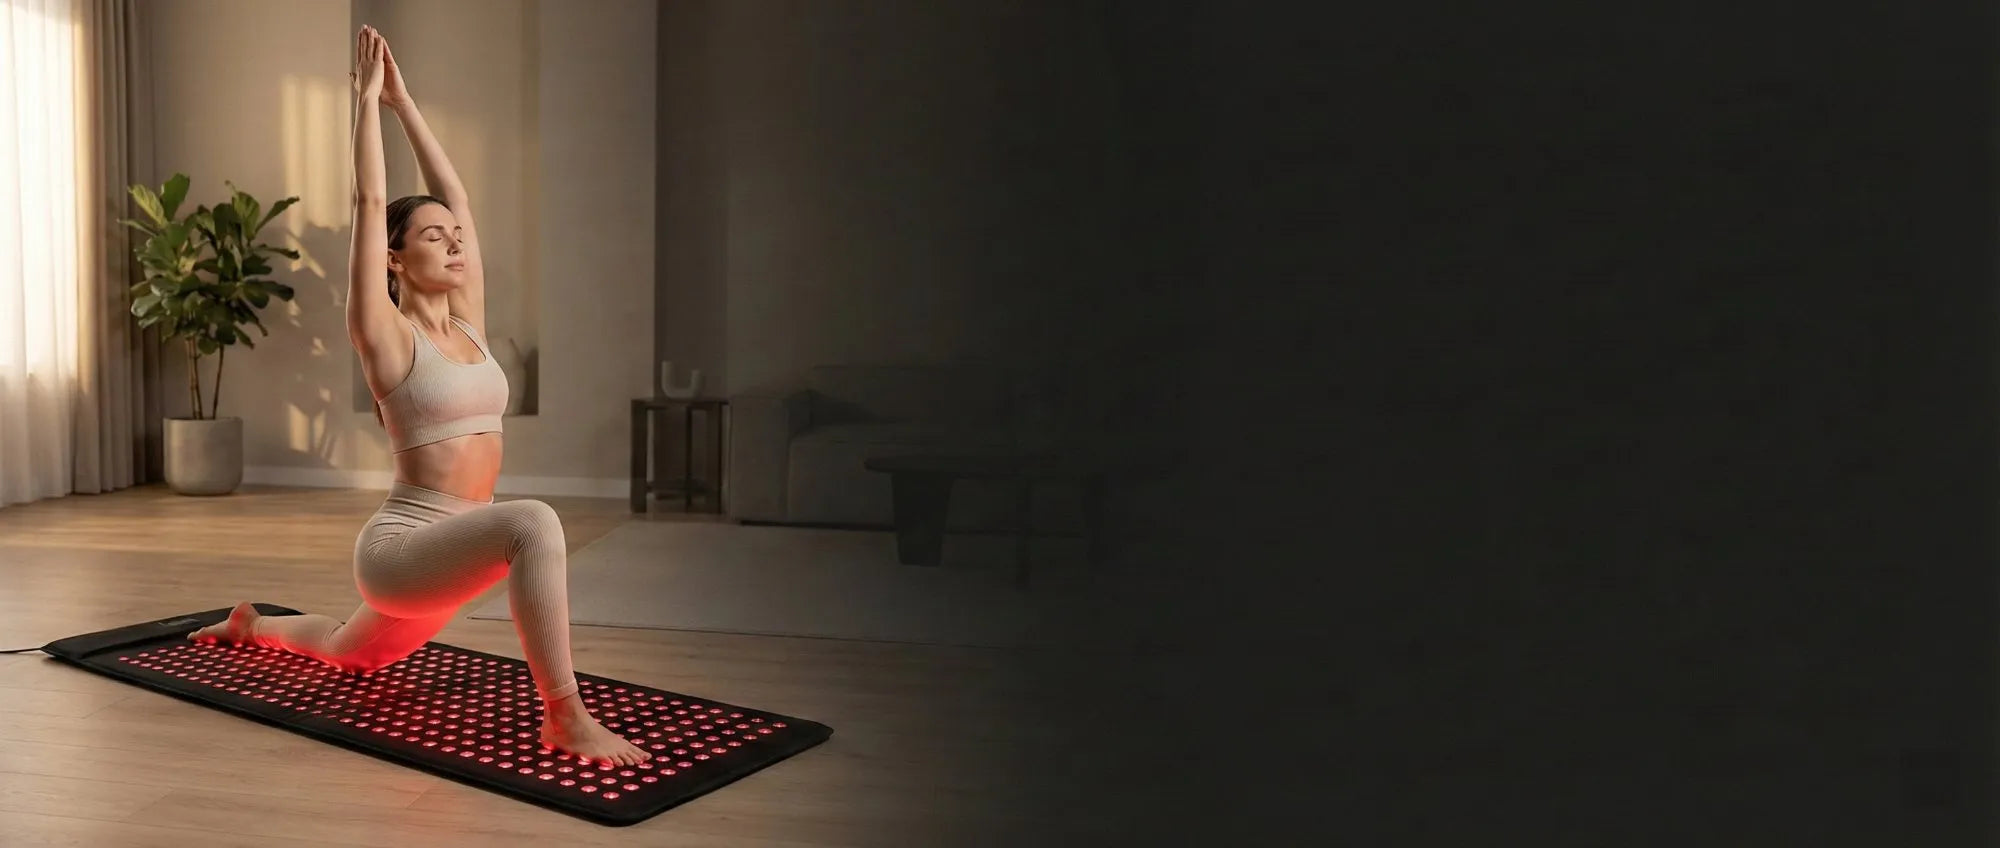
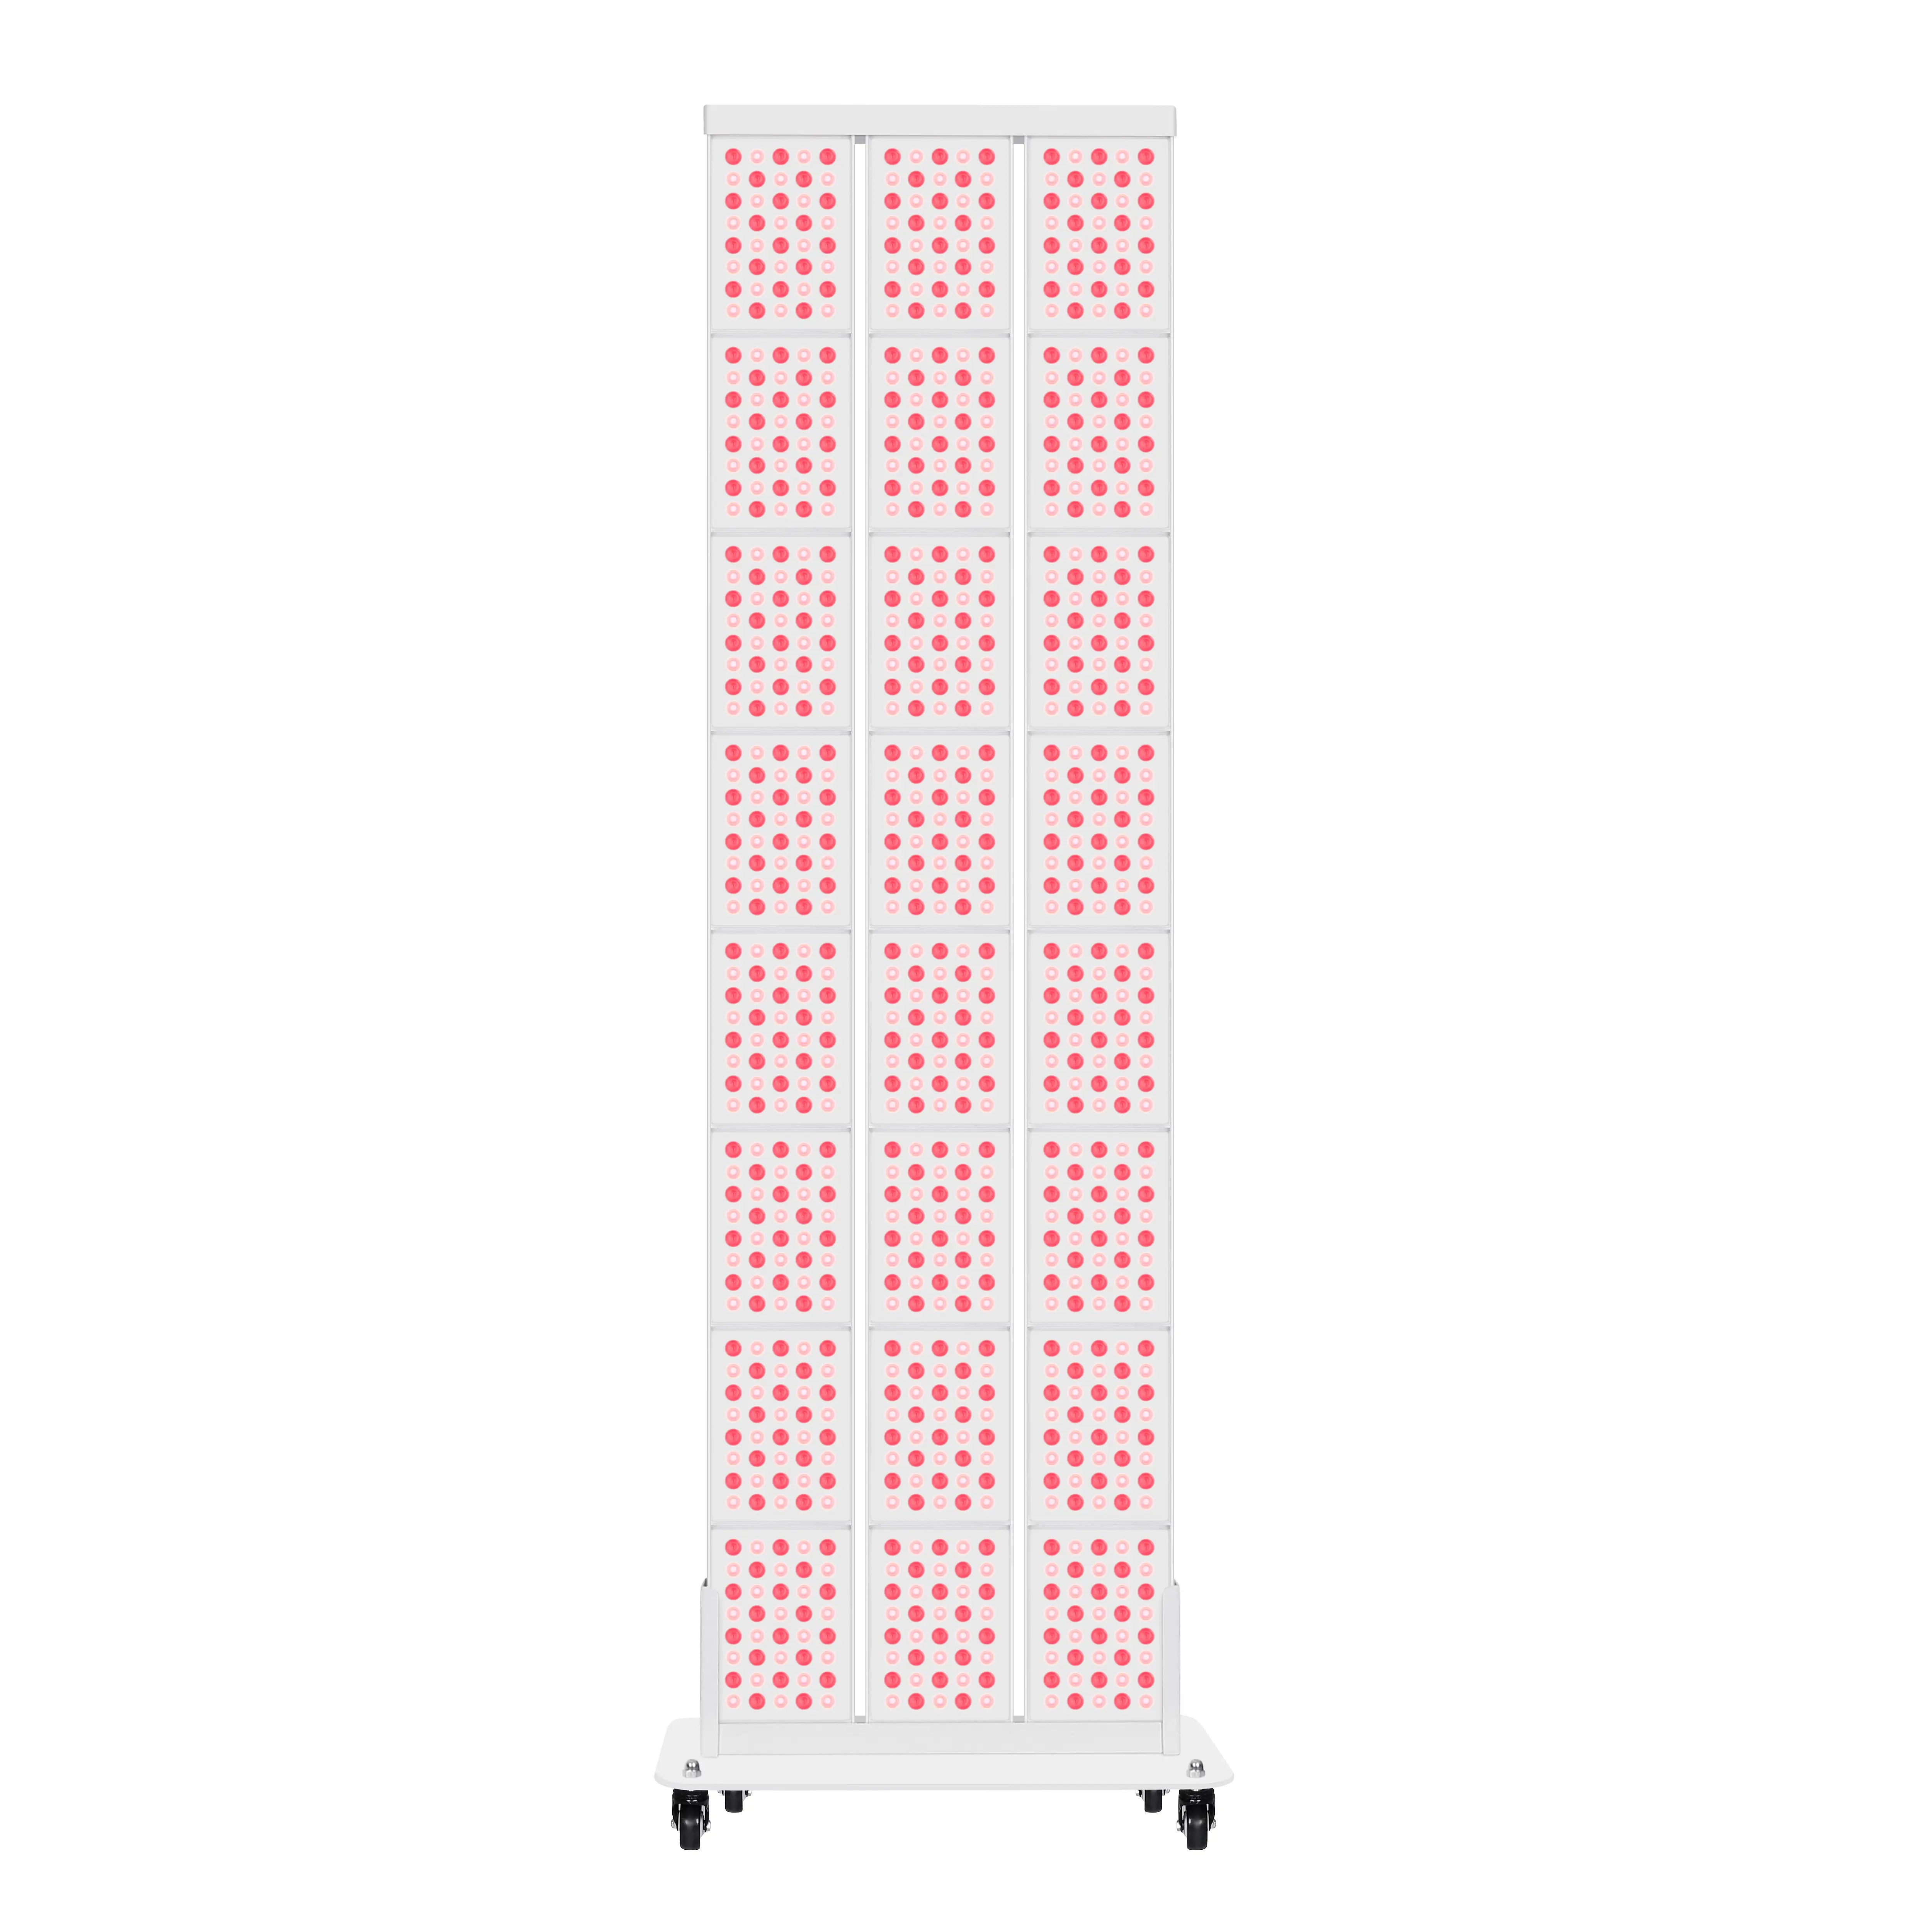
Deep tissue recovery for muscle soreness, joint discomfort, or post-workout relief shifts the priorities. Near-infrared wavelengths near 850 nm are often selected because they can penetrate farther, but wavelength alone is insufficient. Higher surface fluence in the 10–50+ J/cm² range is frequently referenced in literature, yet actual energy reaching deeper layers is attenuated by skin, fat, and blood. This makes distance, irradiance, and positioning critical. Panels are commonly used at 6–12 inches, while mats or contact-style devices reduce variability by allowing direct or near-contact application.
Session time should always be calculated from your device’s irradiance rather than chosen arbitrarily. At approximately 100 mW/cm² (a typical value for many quality panels), reaching 3 J/cm² takes roughly 30 seconds, while 50 J/cm² requires about 8–9 minutes. Higher irradiance shortens required time but raises the risk of crossing into the less-effective part of the biphasic curve.
This official photobiomodulation dose parameters review emphasizes that PBM dosing must be tailored to wavelength, irradiance, fluence, treatment time, and target tissue. Similarly, another review on photobiomodulation notes that tissue depth cannot be inferred from wavelength alone; power and distance matter significantly.
Illustrative Dosing Comparison
Illustrative Red Light Therapy Dosing by Target Depth
Bounded heuristic comparison for article use only; not a clinical prescription.
View chart data
| Category | Fluence (J/cm²) | Session time at 100 mW/cm² (min) |
|---|---|---|
| Skin healing (3 J/cm²) | 3.0 | 0.5 |
| Skin healing (10 J/cm²) | 10.0 | 1.7 |
| Deep tissue recovery (10 J/cm²) | 10.0 | 1.7 |
| Deep tissue recovery (50 J/cm²) | 50.0 | 8.3 |
Illustrative chart built from cited threshold ranges in the prompt (skin 3–10 J/cm²; deep tissue 10–50+ J/cm²), with session time heuristically modeled at ~100 mW/cm² using time ≈ fluence ÷ irradiance. Distance note: panels typically 6–12 inches; mats use contact or near-contact. This is bounded modeling, not measured trial data.
The chart above uses conservative modeled ranges to illustrate how fluence targets and resulting session times differ. These values are heuristic and device-specific; always verify your panel or mat’s irradiance at the actual treatment distance.

Practical Checklist for Choosing and Applying the Right Dose
To translate these concepts into daily use, follow this operational checklist before each session:
- Clarify your primary goal — skin tone and collagen support versus muscle or joint recovery. Skin goals usually need less aggressive parameters and have stronger supporting evidence.
- Select wavelength thoughtfully. Use your device’s 660 nm output for facial or surface treatments and favor 850 nm or combined output when targeting deeper areas, but remember depth also depends on power and proximity.
- Measure or estimate irradiance at your planned distance. Many quality panels list output at 6 inches or 12 inches; irradiance drops with distance.
- Calculate approximate fluence. Fluence equals irradiance (in W/cm²) multiplied by time (in seconds). Aim for the lower end of the target range when starting.
- Adjust distance and time accordingly. For panels, stay within 6–12 inches for most applications. Mats and belts allow direct contact, which improves dose consistency for larger body areas.
- Limit initial sessions to the calculated time and monitor response. Signs of possible overuse include temporary redness, fatigue, or lack of improvement; the biphasic response means more is not automatically better.
This checklist helps avoid the common regret of buying a powerful device but using it inconsistently or at the wrong distance.
Safety, Expectations, and When to Adjust Your Approach
Red light therapy is generally considered safe for home use when following manufacturer guidelines and staying within reasonable parameters. The American Academy of Dermatology provides consumer guidance that treats red light as a skin-care adjunct with realistic expectations. For any pain or recovery claims, refer to published trials rather than generic marketing statements.
Important note on health and comfort claims: This article discusses comfort, setup advice, and dosing parameters for general wellness. It does not constitute medical advice, diagnosis, or treatment. Red light therapy results vary by individual, device quality, and consistency. If you have existing eye conditions, skin disorders, are pregnant, or experience persistent discomfort or pain, consult a qualified healthcare professional before beginning or continuing use.
Deep tissue applications in particular should be approached conservatively. Evidence for substantial deep-organ effects is weaker than for superficial uses, and home devices may not deliver the same energy densities used in clinical studies. If results feel disappointing after several weeks of consistent, well-calculated use, the issue is often distance, irradiance, or mismatched expectations rather than the therapy itself.
Device Considerations for Different Goals
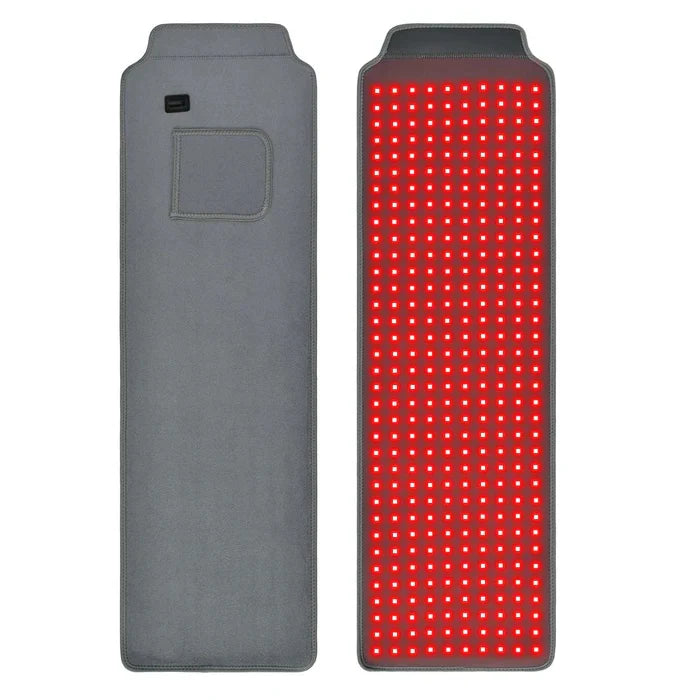
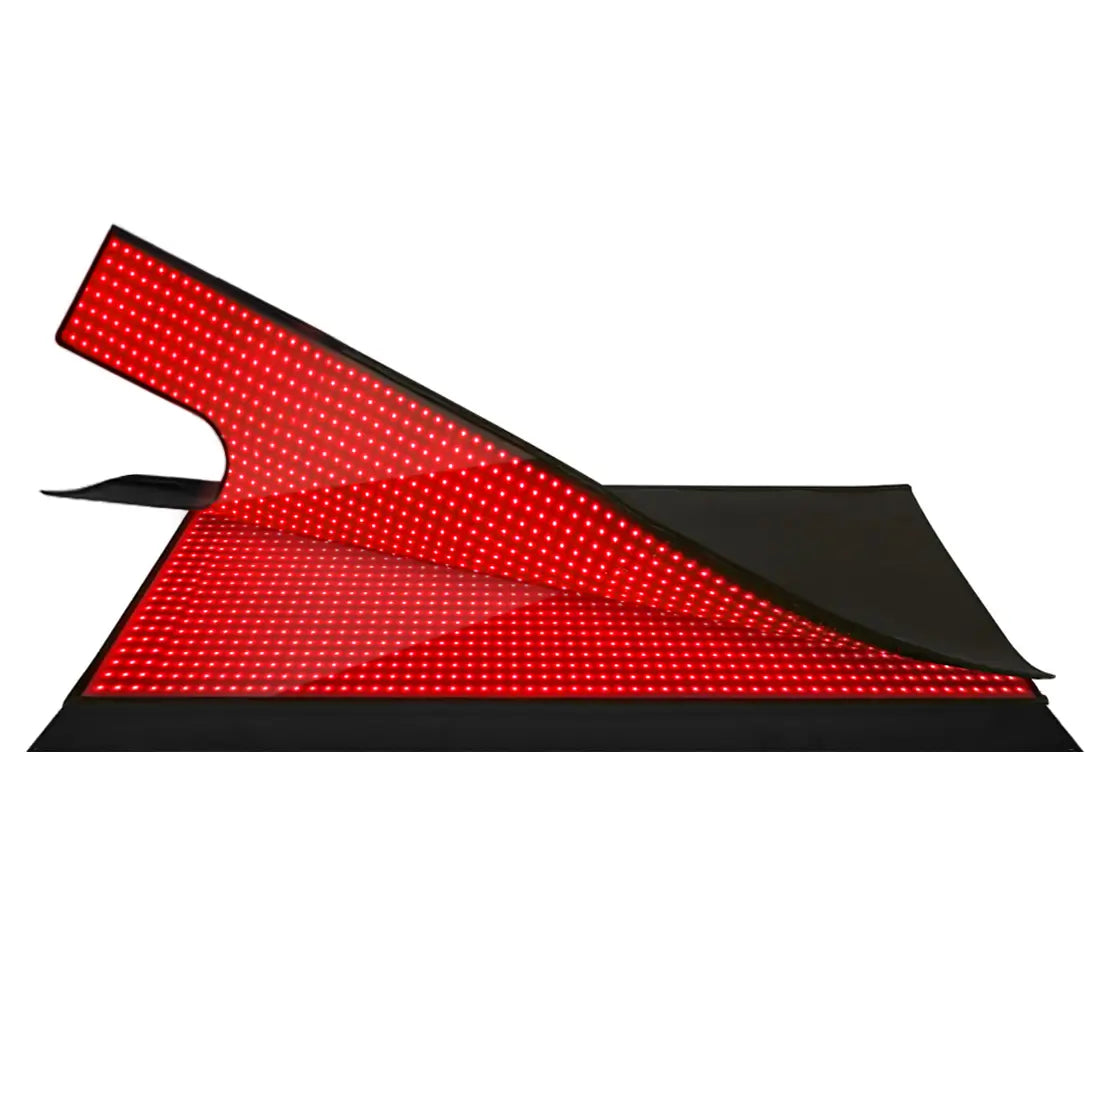
When comparing devices, prioritize those that clearly state irradiance at specific distances and allow easy adjustment of treatment time. Panels work well for targeted facial skin routines or localized muscle areas when used at consistent distances. Full-body mats or sleep bags offer convenience for larger areas and can simplify dosing through direct contact, though they may require longer overall exposure for equivalent fluence on deeper tissues.
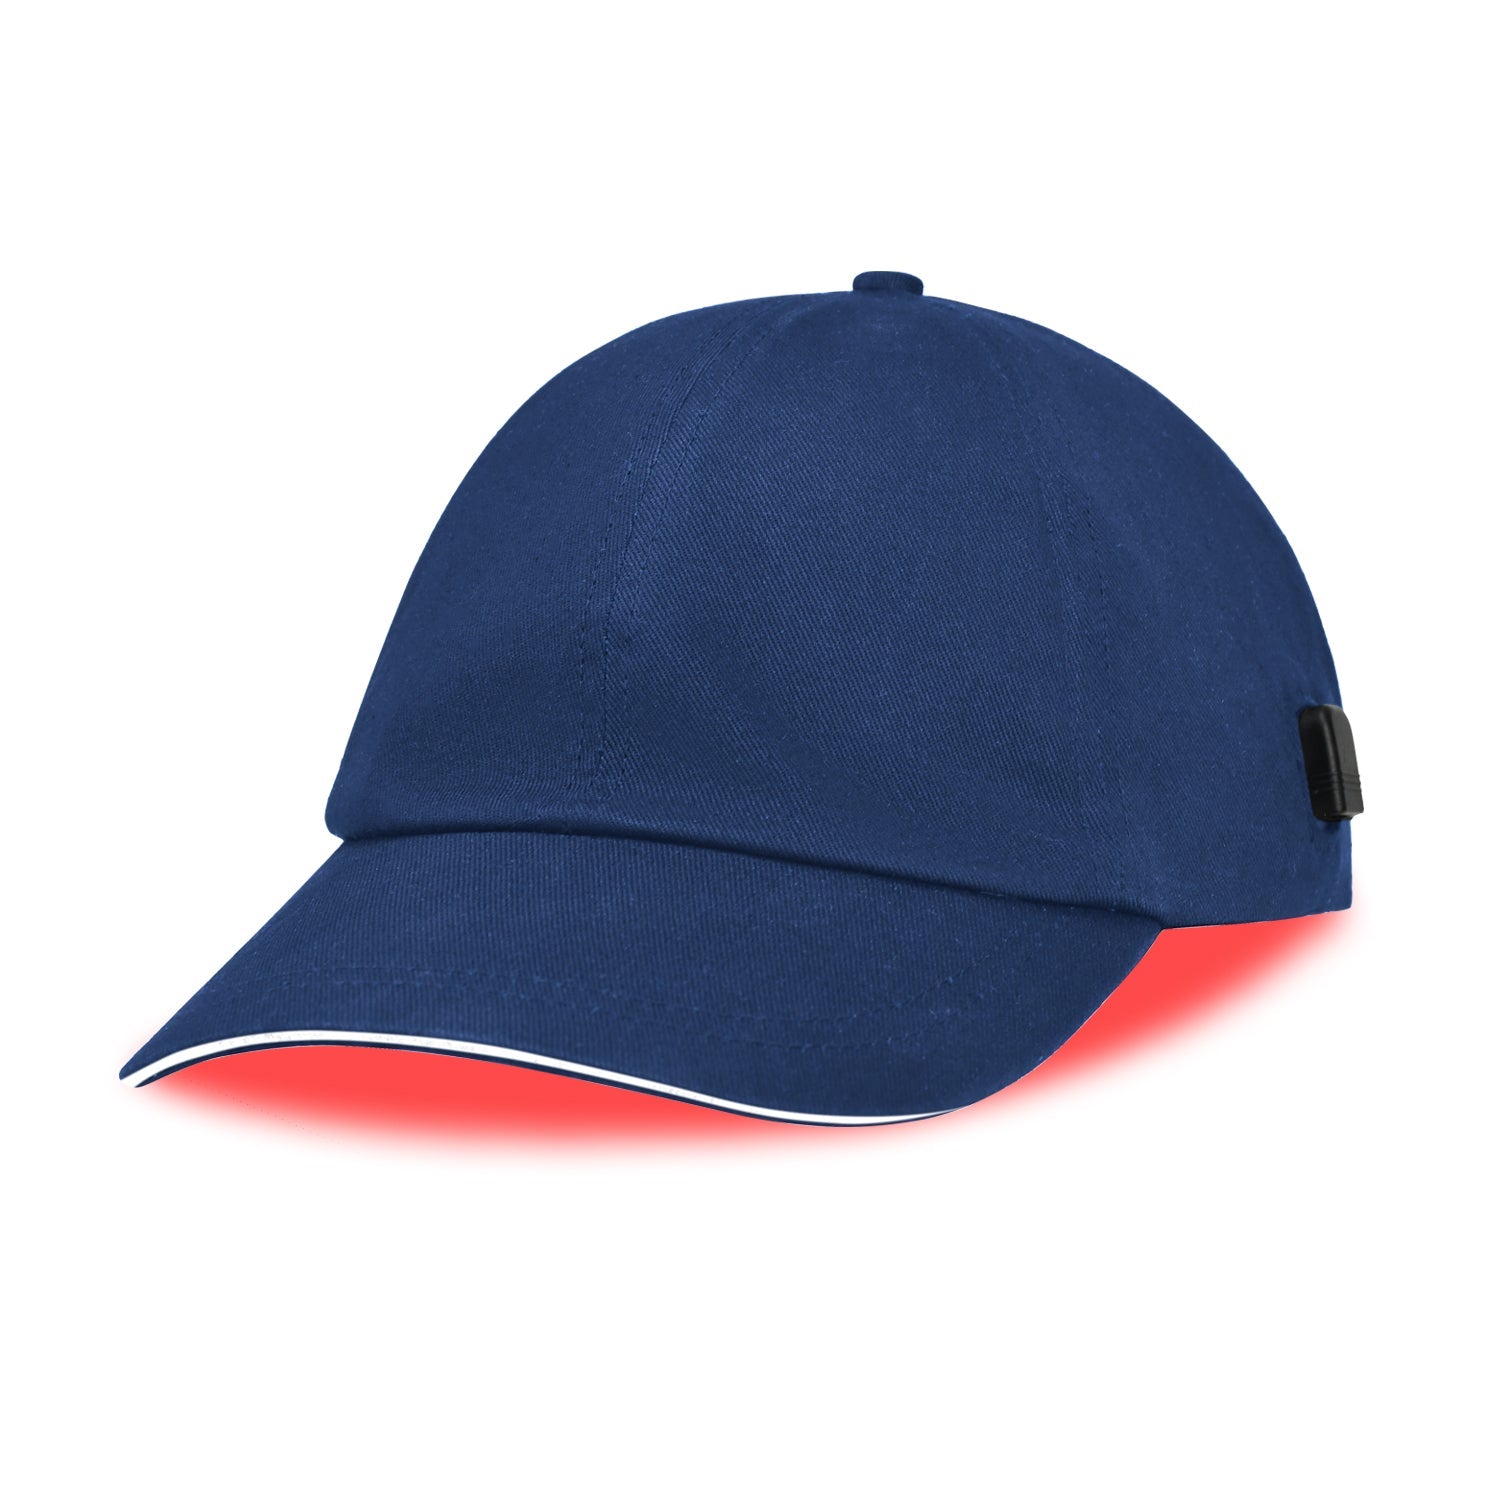
For skin-focused routines, consider compact panels that can be positioned close to the face. For recovery after workouts or targeted joint pain, larger panels or wearable options such as belts provide better coverage. Always confirm that the device uses quality LEDs with stable output.
Learn more about choosing the right wavelength in our guide to Decoding Red Light Therapy Wavelengths: 660nm vs. 850nm. Practical protocols for mats are covered in Red Light Therapy Mat Dosage: Time, Distance, & Frequency.
Explore our Red Light Therapy Panel collection to find options suitable for both skin and recovery goals. The Youlumi Pro Full Body Red Light Therapy Mat offers contact therapy advantages, while the YOULUMI Red Light Therapy Panel - IPR-005 provides flexible positioning for targeted use.
Additional practical comparisons appear in Red Light Therapy Mat vs. Panel: Which is Best for You? and safety limits are discussed in Can You Overdo Red Light Therapy? Understanding Safe Limits.
Final Thoughts
Effective red light therapy dosing depends far more on understanding your goal and controlling the actual energy delivered than on following a single generic chart. Surface skin applications generally succeed with moderate, close-range protocols and have more established support, while deep tissue work demands higher surface fluence, precise positioning, and tempered expectations. By calculating approximate fluence from your device’s irradiance, maintaining consistent distance, and respecting the biphasic nature of the response, you can build a routine that delivers more reliable results.
Start conservatively, track your response over several weeks, and adjust one variable at a time. This measured approach helps avoid the frustration of underdosing or overexposure while maximizing the potential benefits of your red light therapy device.