
Finding the Right Balance: Red Light Therapy Dosing Explained
Getting red light therapy dosing right can feel overwhelming with conflicting advice on session length, device distance, and treatment frequency. In our experience helping users optimize their setups, the key takeaway is that effective dosing depends on your specific goal, the device's irradiance at the treatment distance, and reaching an appropriate fluence (total energy delivered, measured in J/cm²). For most home users with quality panels, this often translates to 10–20 minute sessions at 6–18 inches, 3–5 times per week. However, we recommend starting conservatively to match your individual tolerance and confirming your device's actual output.

Effective red light therapy, also known as photobiomodulation (PBM), relies on delivering the right amount of light energy to your cells. Too little may result in minimal changes; conversely, excessive exposure in a single session can follow the Arndt-Schulz law, where the biological benefits plateau or even decrease. Understanding the interplay between irradiance (power density), distance, and time is essential for achieving consistent outcomes at home.
Understanding Key Dosing Terms: Irradiance, Fluence, and Distance
Irradiance tells you how much light power reaches a given area at a specific distance. Most quality full-body panels claim high output (often cited over 100–150 mW/cm²) at close range, but this value drops quickly as you move farther away. Fluence, or the total energy dose (J/cm²), is what actually drives the biological effect. It is calculated as irradiance (converted to W/cm²) multiplied by exposure time (in seconds).
Distance is a critical variable because light intensity decreases as you move away from the source. Standing twice as far away can reduce irradiance significantly, requiring much longer sessions to reach the same fluence. This is why many protocols specify both a recommended distance and time for a given device.
This authoritative guide to photobiomodulation standards explains how proper measurement of irradiance using spectroradiometry helps avoid inflated manufacturer claims and supports reliable dosing.
How Distance Affects Irradiance and Required Treatment Time
The farther you stand from a red light therapy panel, the lower the irradiance and the longer the session needed to deliver a target fluence. Closer distances (6–12 inches) deliver higher power density for shorter, more efficient sessions, while greater distances (18–24+ inches) spread the energy over a larger area but require proportionally more time.
The following illustrative model shows this trade-off for a typical high-output panel (anchored at approximately 160 mW/cm² at 6 inches). The chart demonstrates how treatment time scales to reach common fluence targets of 30 J/cm² (often cited for skin support) and 60 J/cm² (commonly referenced for deeper tissue or muscle recovery).
Modeled Irradiance Drop vs. Treatment Time at Distance
Modeled comparison for planning: closer distance raises irradiance and shortens time to reach common fluence targets, while farther distance does the opposite.
View chart data
| Category | Irradiance (mW/cm²) | Time for 30 J/cm² (min) | Time for 60 J/cm² (min) |
|---|---|---|---|
| 6 in | 160.0 | 31.25 | 62.5 |
| 12 in | 40.0 | 125.0 | 250.0 |
| 18 in | 18.0 | 278.0 | 556.0 |
| 24 in | 10.0 | 500.0 | 1000.0 |
Illustrative modeling only. Irradiance is approximated from a typical close-range panel claim (>150 mW/cm² at ~6 in) and a bounded inverse-square-style distance decay to show the trade-off between distance, irradiance, and treatment time. Treatment time is derived as time (minutes) = fluence target (J/cm²) / irradiance (W/cm²), with results rounded to practical planning values. Actual panels, beam spread, angle, and user position can shift the curve materially.
This modeling is for planning guidance only and assumes ideal conditions. Real-world performance varies with your specific red light therapy panel, beam angle, and positioning. We suggest consulting your device's specific irradiance charts rather than relying solely on general models.

Goal-Based Dosing Scenarios: When the Protocol Changes
The optimal combination of distance, session length, and frequency often shifts depending on your primary goal. Superficial skin support generally favors moderate distances to avoid overstimulation, while deeper tissue concerns may benefit from targeted devices that maintain higher irradiance at the treatment site.
Based on common user patterns and product guidance, here is a practical scenario matrix:
- Skin health (face, fine lines, or cosmetic areas): Use a panel or targeted device at 6–12 inches for 10–15 minutes, 3–4 times per week. This placement concentrates energy on the surface without needing excessive intensity.
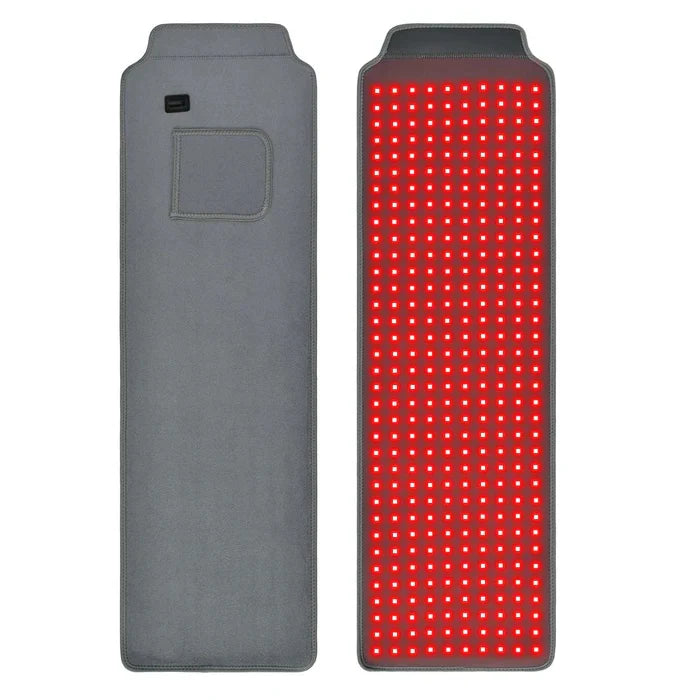
- Localized support (joints or specific muscle groups): A red light therapy belt or small panel held close (4–8 inches) for 15–20 minutes per area, up to 5 times per week, often works best for precise targeting.
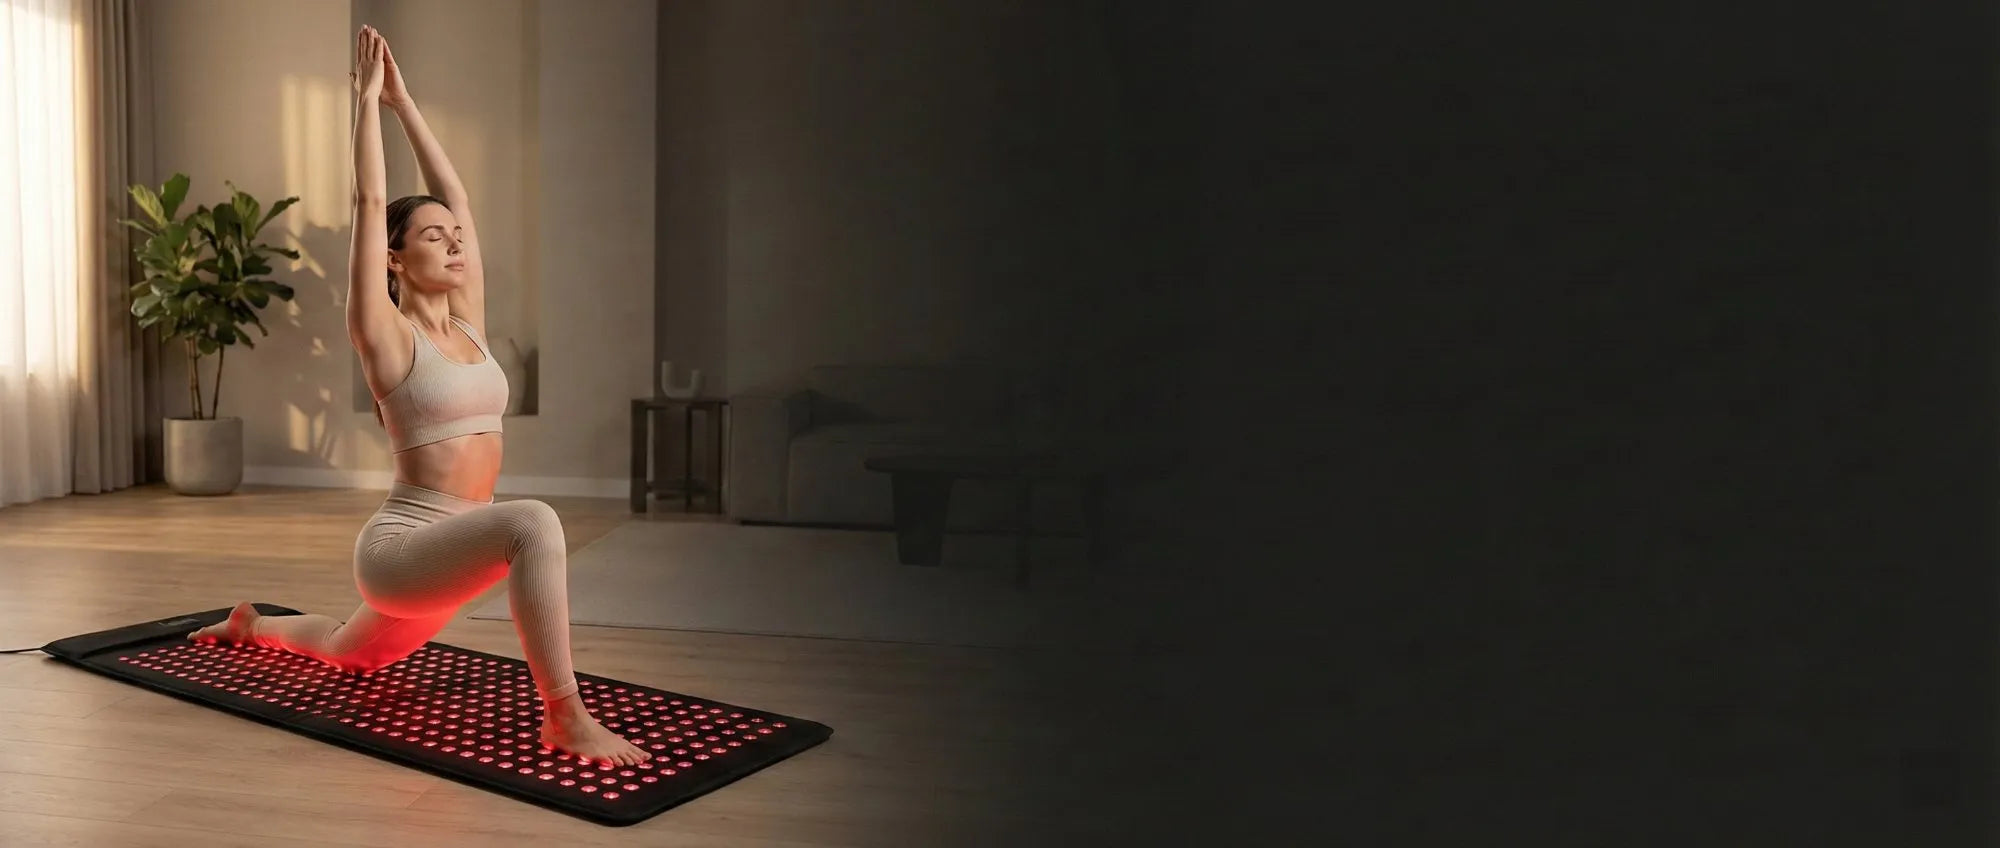
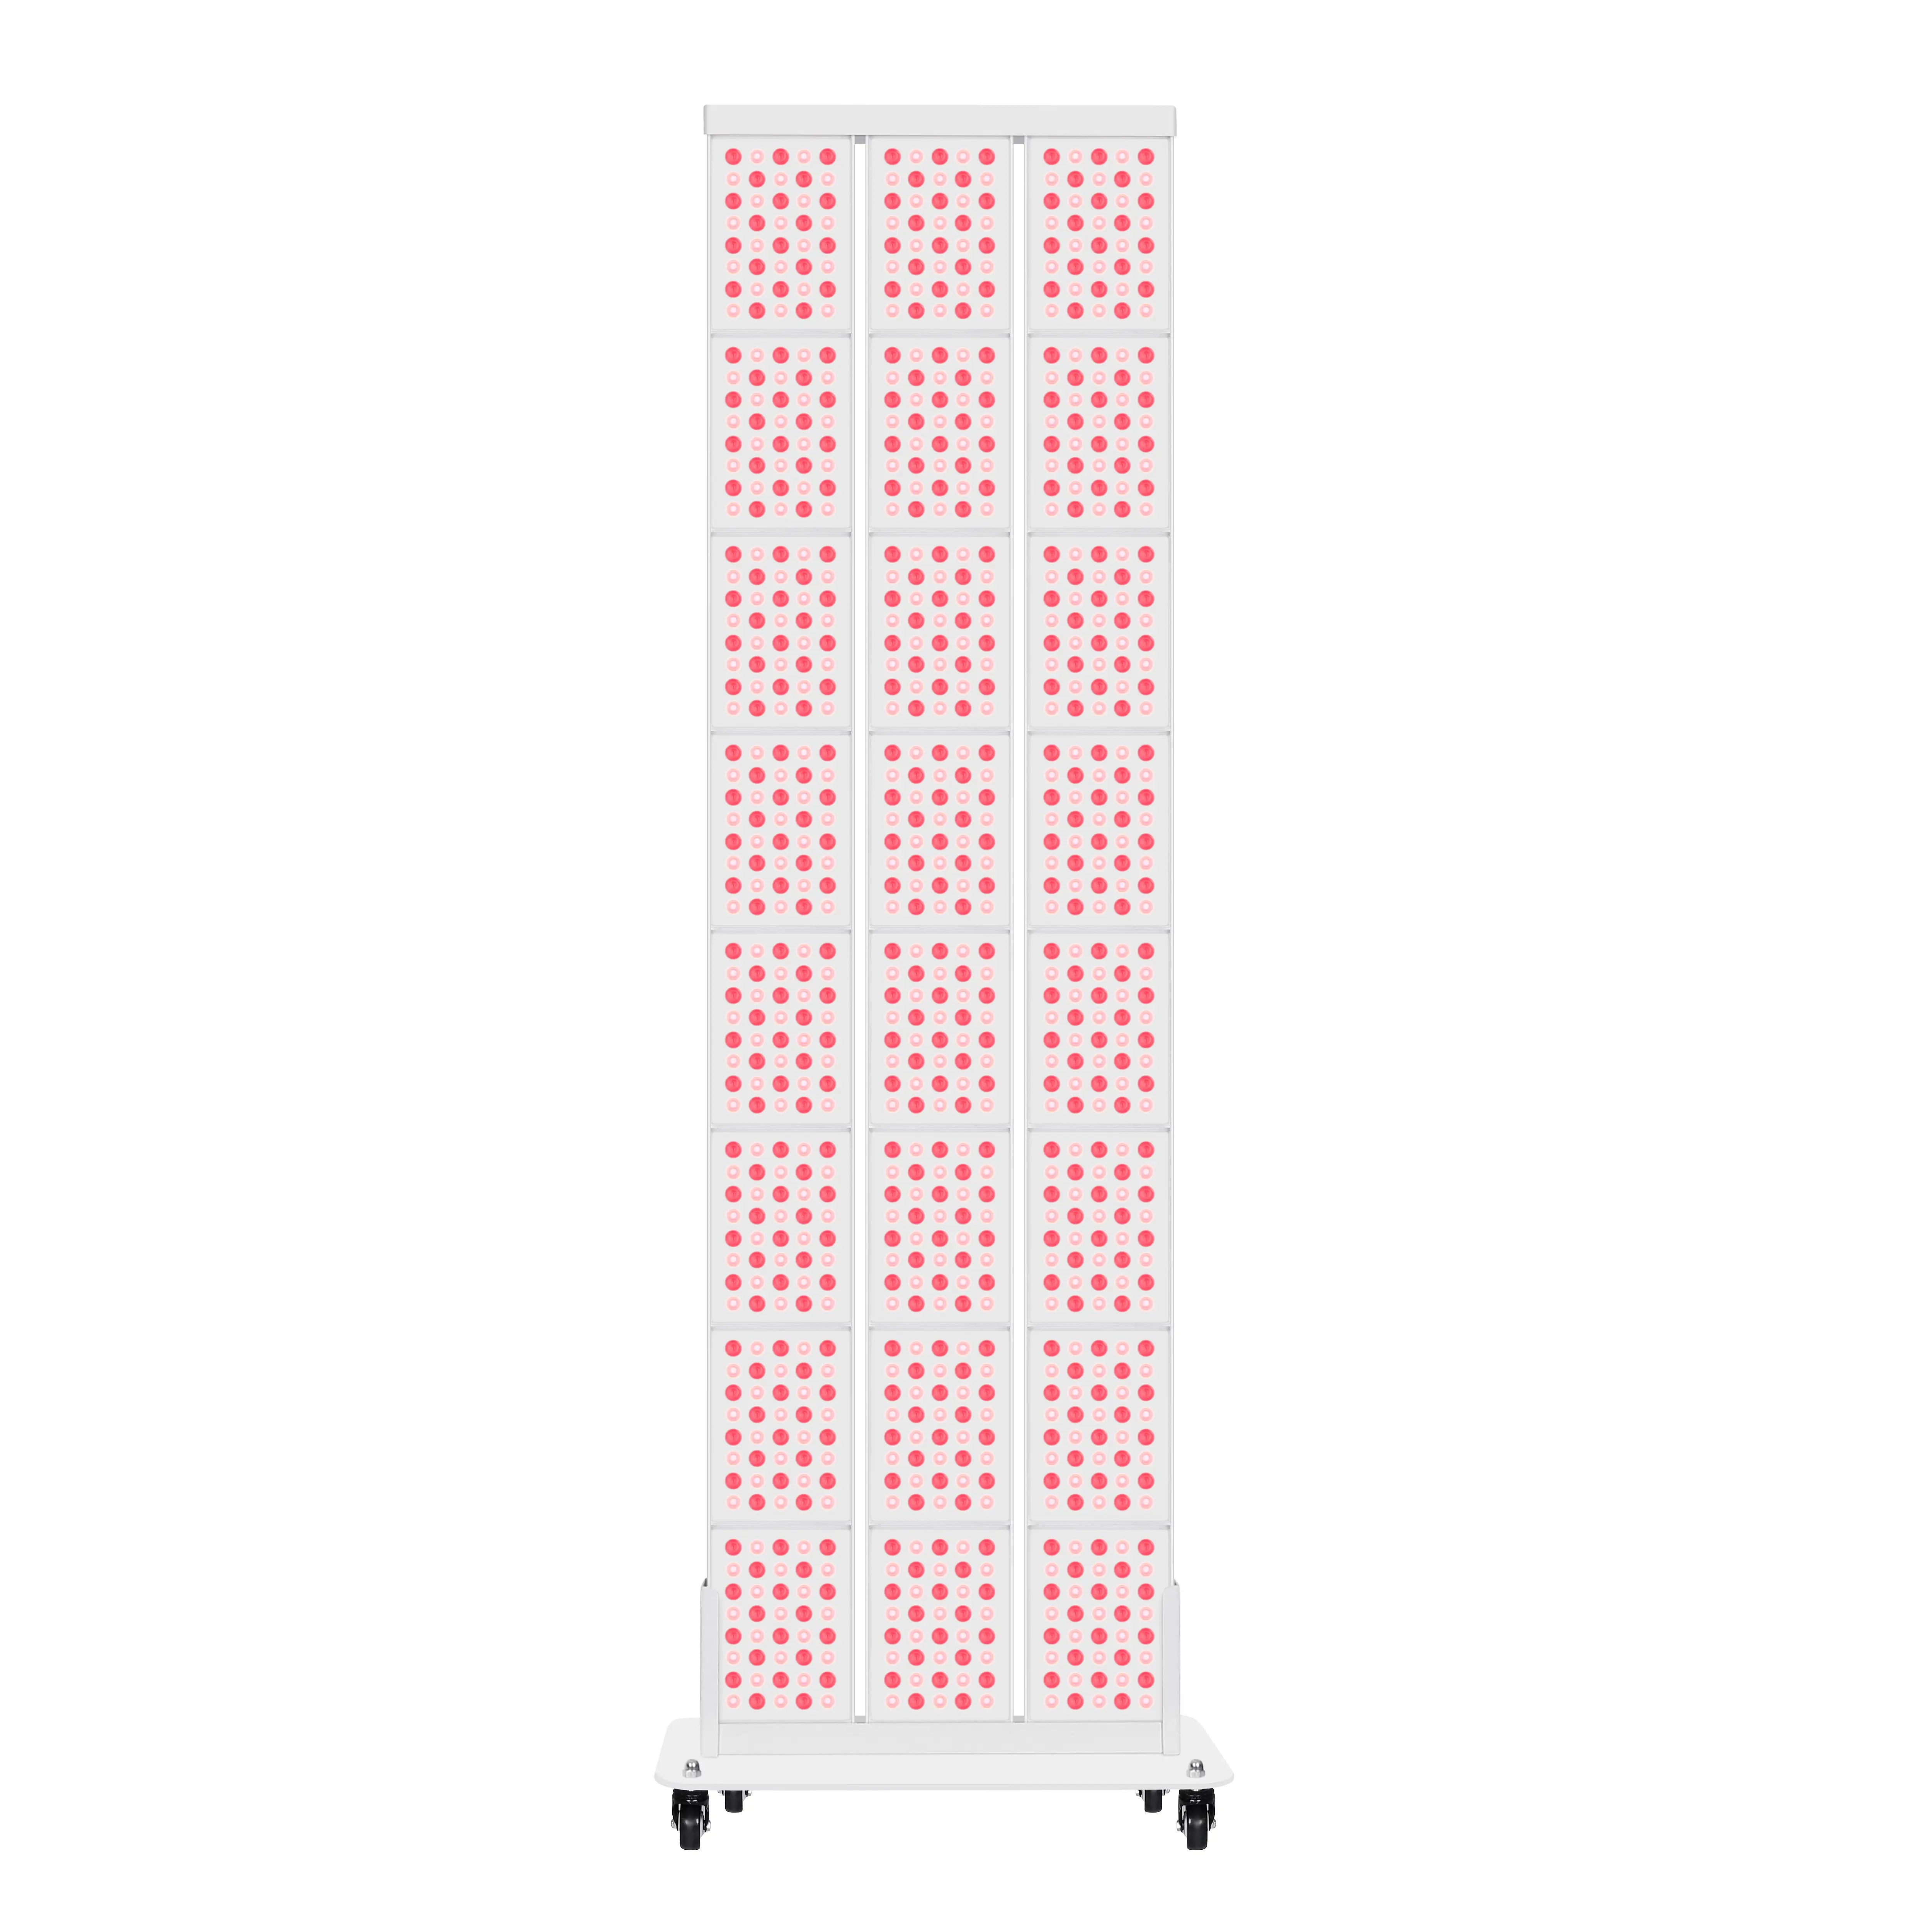
- Muscle recovery or larger areas: Full-body red light therapy panels or a red light therapy mat at 12–18 inches for 15–25 minutes, 3–5 times per week, provide broader coverage for repeatable routines.
- General wellness and relaxation: Mats or large panels at comfortable distances for 20 minutes, 3–4 times weekly, prioritize consistency over maximum intensity.
Individual response varies with skin tone, age, and overall health. For high-sensitivity skin, active inflammation, or photosensitivity, pause use and consult a healthcare professional. This article discusses setup guidance only and does not constitute medical advice or treatment.
Learn more about tailoring protocols in our guide to Red Light Therapy Dosage Protocols for Systemic Recovery.
Building a Safe Home Treatment Protocol
We recommend starting with shorter sessions (5–10 minutes) at a moderate distance (12–18 inches) to assess your body's response. A common beginner protocol is 10–20 minutes per area, 3–5 days per week, with at least one rest day to avoid a potential biphasic response where excessive dosing might reduce benefits.
For deeper tissue support, many users aim for 30–60 J/cm² of delivered energy. Skin-focused routines often stay in the 20–40 J/cm² range. You can calculate your approximate fluence using this formula: Fluence (J/cm²) = Irradiance (W/cm²) × Time (seconds).
Frequency matters as much as duration. While daily use is common for acute issues in the short term, most long-term wellness users settle on 3–5 sessions weekly. Overdoing it—such as sessions exceeding 30 minutes per area daily—can lead to diminishing returns, as discussed in our resource on safe limits.
Always protect your eyes with appropriate goggles and avoid staring directly at the LEDs. Position yourself squarely to the panel for even exposure and consider rotating areas if treating multiple body parts.
Our in-depth article on Irradiance vs. Fluence: Calculating Your True Red Light Therapy Dose provides further math and examples for precise home calculations.
Practical Checklist: What to Check Before Each Session
To translate theory into consistent results, follow this operational checklist:
- Verify Irradiance: Confirm your device's output at your chosen distance using manufacturer data.
- Define Your Goal: Choose your distance and time based on whether you are targeting skin, muscle, or general wellness.
- Set a Timer: Start conservatively and note how your skin feels during and after the session.
- Prioritize Consistency: Aim for 3–5 sessions per week rather than infrequent, very long exposures.
- Safety First: Protect your eyes and avoid use if you have photosensitivity or are taking light-sensitive medications.
- Reassess Periodically: Every 4–6 weeks, evaluate your progress. If results plateau, consider small adjustments to distance or frequency.
For mat-specific guidance, see Red Light Therapy Mat Dosage: Time, Distance, & Frequency.
Choosing the Right Device for Your Dosing Preferences
Panel users often appreciate the flexibility of adjusting distance for different goals, while red light therapy mats offer convenient full-body contact with less positioning effort. Belts excel for targeted, on-the-go support with close-proximity irradiance.
High-output options like the YOULUMI 1700W Red/NIR Light Panel or 1500W models support efficient dosing at practical distances. Review detailed specifications in our guide on how to read red light therapy specs like a pro before purchasing.
Mastering dosing comes down to understanding your device's real output, aligning it with your goals, and staying consistent while listening to your body. Begin conservatively and refine your routine over time for the best results.
References
- Photobiomodulation Standards: Irradiance, EMF, and Safety (Internal Resource)
- Clinical principles of photobiomodulation and dose-response patterns in light therapy literature.