
Many people assume that longer red light therapy sessions will deliver stronger results, but the science of photobiomodulation shows this is often not the case. Because of the biphasic dose response, increasing your exposure time, frequency, or moving too close to the device can actually reduce or eliminate the benefits you are seeking. The key is finding the right dose for your specific goal, device, and setup rather than simply adding more minutes.

This guide explains why overdoing red light therapy can backfire, how to calculate a practical session length, and the common mistakes that prevent users from seeing consistent results. You will finish with a clear, goal-based framework and checklist you can apply immediately.
Understanding the Biphasic Dose Response in Photobiomodulation
Photobiomodulation shows a biphasic dose response, so increasing exposure beyond an optimal range can reduce benefit. This principle, sometimes called the Arndt-Schulz law in light therapy literature, means that very low doses may produce little effect, moderate doses stimulate cellular processes such as ATP production and reduced inflammation, and higher doses can inhibit those same benefits or even produce the opposite outcome.
Review literature on photobiomodulation also reports a biphasic dose-response pattern, where lower doses can outperform higher doses for some outcomes (Biphasic Dose/Response of Photobiomodulation Therapy). University-hosted research has reported similar patterns, with lower doses stimulating ATP while higher doses can lose that benefit.
The practical takeaway is that “more is better” does not apply. Once you cross the useful window for your tissue and goal, additional time often yields diminishing or even negative returns. This explains why some long-term users report that their early results faded when they increased session length or used the device every day.

Why Minutes Alone Do Not Define Your Dose
Clinical guidance frames photobiomodulation dosing by irradiance and total dose, and the right settings depend on the device and target tissue (Photobiomodulation therapy - JADA Foundational Science). Irradiance (measured in mW/cm²) tells you how much power reaches the skin per second. Total dose, or fluence, is usually expressed in Joules per square centimeter (J/cm²) and equals irradiance multiplied by exposure time.
Distance changes delivered dose because the irradiance reaching tissue changes as setup geometry changes. Most consumer panels lose intensity rapidly as you move farther away, following the inverse square law in practice. Moving closer increases irradiance dramatically, which can push the same session time from an optimal dose into an inhibitory one.
Consensus-style PBM guidance is usually expressed in technical dose units such as irradiance and total dose, not just minutes per session. Standardized, universal minute-based red light therapy protocols do not exist across all devices and goals. Professional guidance for photobiomodulation is goal-specific, so session time should be chosen from the intended use, device output, and treatment area rather than by guesswork (WALT Recommendations).
Common Dosing Mistakes That Reduce Effectiveness
The most frequent errors stem from treating red light therapy like a simple timer rather than a dose-dependent therapy. Here are the mistakes that appear repeatedly in community discussions and how they connect to the biphasic response.
Myth 1: More time is always better. This is misleading because PBM often shows a biphasic dose response; past the useful window, extra exposure may add little or can reduce benefit.
Myth 2: Use the device as close as possible. This is misleading because distance changes irradiance and therefore dose; too close can overshoot the intended range, while farther distance may underdose.
Myth 3: Everyone should follow the same session length or frequency. This is misleading because the right schedule depends on device power, target tissue, and treatment goal.
Additional practical mistakes include changing multiple variables at once (time, distance, and frequency simultaneously), expecting overnight results and escalating dose prematurely, and ignoring consistency in favor of occasional marathon sessions. For many photobiomodulation uses, the optimal dose is still being refined, so protocol ranges are best treated as starting points rather than universal rules.
How Long Should You Use Red Light Therapy? Goal-Based Starting Points
There is no single universal minute-based protocol that fits every red light therapy device and goal. Instead, use these heuristic starting points derived from clinical consensus and adjusted for typical consumer panel irradiance (roughly 100–150 mW/cm² at recommended distances). Treat them as conservative entry points and adjust based on your response.
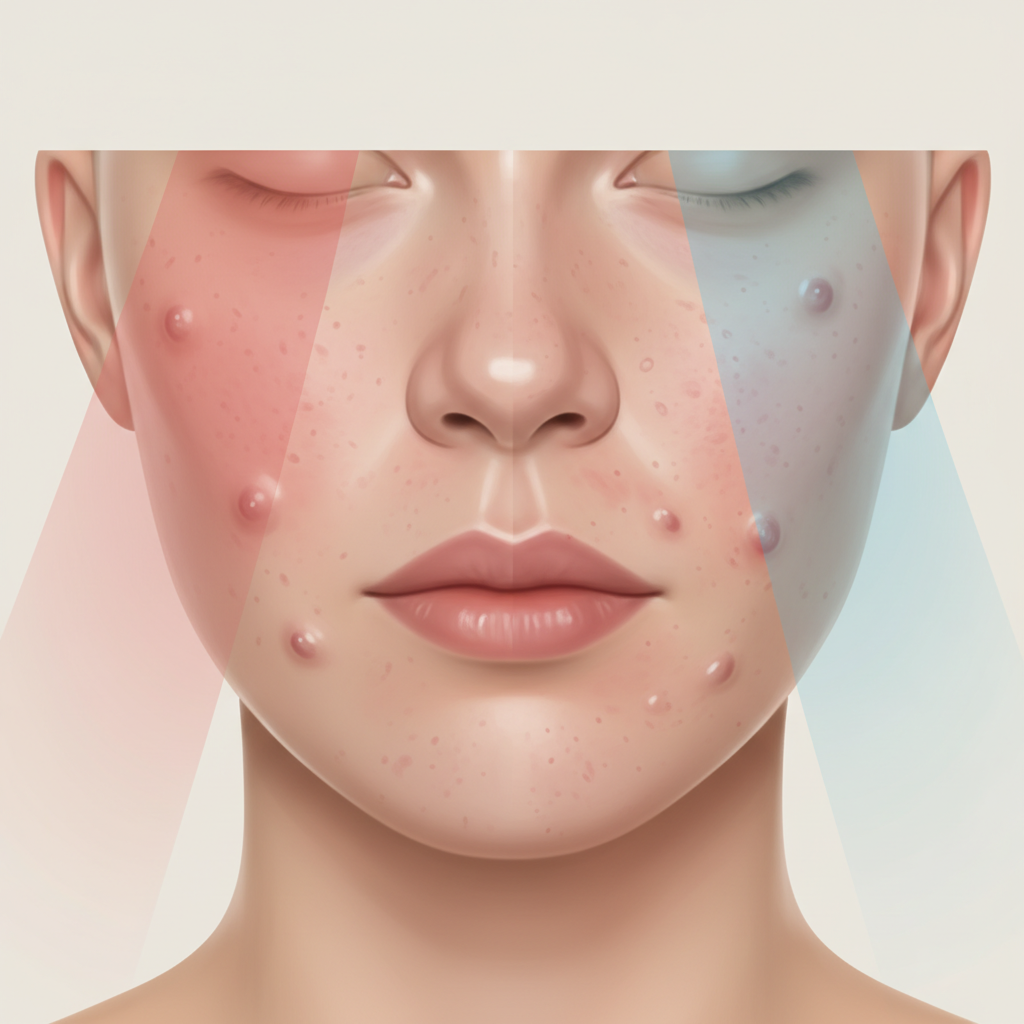
For skin health, acne, redness, or texture improvement, start with 3 to 10 minutes per area, 3 to 5 times per week. Closer distances are often acceptable if the panel does not feel hot, but maintain the exact same setup each session. Skin tissue often responds well to lower doses, so increasing time too quickly can trigger the inhibitory side of the biphasic curve.
For pain relief or joint soreness, begin with 8 to 15 minutes per target area, 3 to 5 times per week. Choose a repeatable distance that feels comfortably strong and keep it consistent. If results plateau, adjust only one variable—either move slightly closer or add a few minutes—rather than both.
Recovery from exercise or post-workout use usually starts at 5 to 12 minutes, often immediately after training or on rest days, 3 to 6 times per week depending on training load. Moderate distance tends to support better long-term consistency than forcing maximum intensity every session.
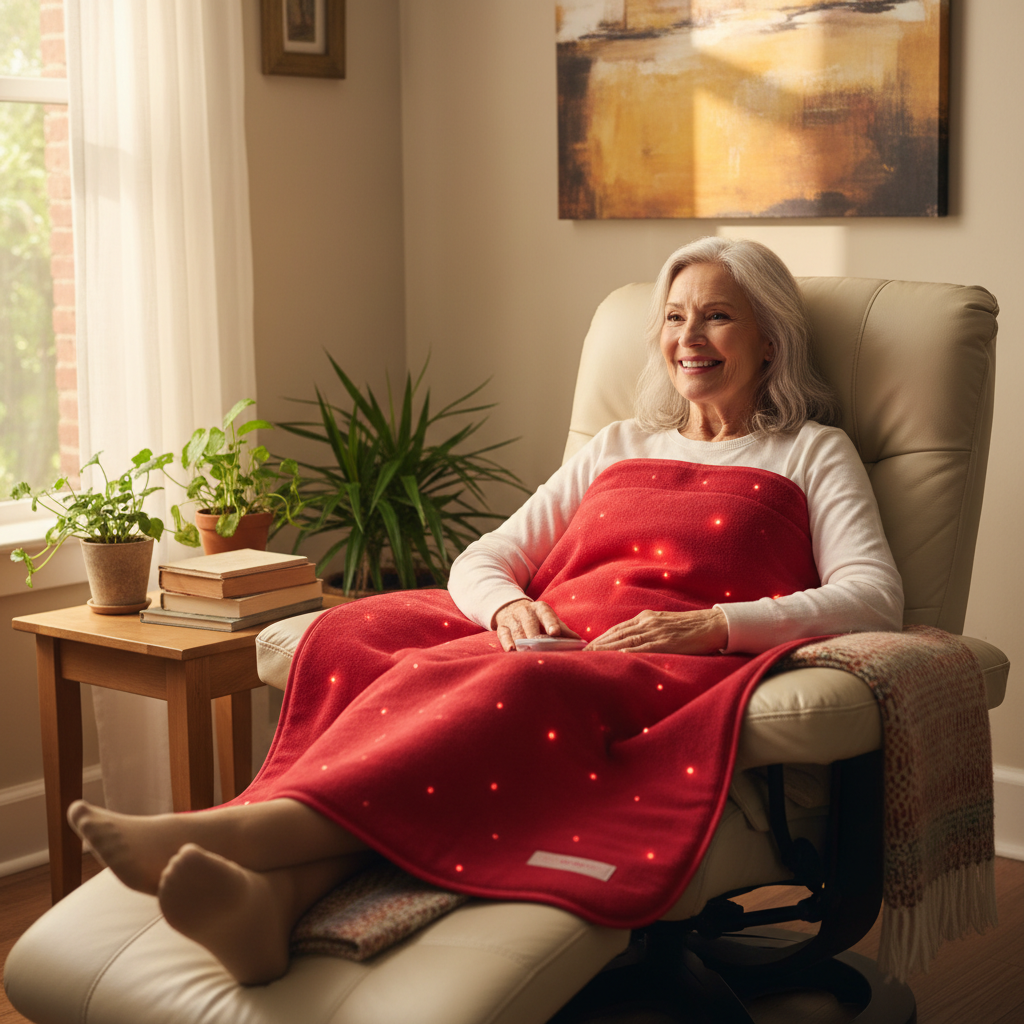
General wellness or sleep-adjacent routines work well with 5 to 10 minutes, 2 to 4 times per week at a comfortable, repeatable distance. These goals rarely justify aggressive dosing; conservative schedules help maintain the biphasic sweet spot without risking inhibition.
When troubleshooting lack of results after several weeks of consistent use, first verify that your distance and schedule have been identical. If the dose may be too low, try moving modestly closer or extending time by 2–3 minutes while keeping frequency stable. If you suspect you have been overdoing it, reduce session length or frequency for two weeks and reassess. Always change only one variable at a time.
For more detailed frequency guidance tailored to different devices, see our companion article on how often to use red light therapy panels. Users working with full-body options may also benefit from the specific protocols in Red Light Therapy Mat Dosage: Time, Distance, & Frequency.
Modeled Delivered Dose vs Session Time at Typical Consumer Irradiance
The curves show how longer sessions raise delivered fluence quickly at typical panel irradiances, so “more minutes” can move a session beyond a commonly used biphasic planning window rather than improving it.
View chart data
| Category | 100 mW/cm² | 125 mW/cm² | 150 mW/cm² |
|---|---|---|---|
| 5 min | 30.0 | 37.5 | 45.0 |
| 10 min | 60.0 | 75.0 | 90.0 |
| 15 min | 90.0 | 112.5 | 135.0 |
| 20 min | 120.0 | 150.0 | 180.0 |
| 25 min | 150.0 | 187.5 | 225.0 |
| 30 min | 180.0 | 225.0 | 270.0 |
| 40 min | 240.0 | 300.0 | 360.0 |
| 50 min | 300.0 | 375.0 | 450.0 |
| 60 min | 360.0 | 450.0 | 540.0 |
Illustrative dose model: J/cm² = irradiance (W/cm²) × time (s). Uses typical consumer panel irradiance levels at recommended distances (100–150 mW/cm²). The dose range for the biphasic window is shown as a planning guide, informed by PBM literature and clinical guidance; actual optimal dose varies by target and condition.
This modeled chart illustrates how delivered fluence rises with session time across typical consumer irradiance levels. The biphasic planning window (commonly discussed in the 3–50 J/cm² range for many applications) is crossed quickly at higher irradiance, showing why simply extending minutes can move you out of the effective zone. These values are illustrative and derived from standard irradiance measurements and the dose formula; your actual device output and exact distance will vary the numbers. Always prioritize consistency over chasing higher numbers.
How Often Should You Use Red Light Therapy?
Weekly frequency should be adjusted to the goal, tissue target, and response rather than assumed to improve simply because it is higher. Most evidence-based starting protocols fall between 3 and 5 sessions per week, with rest days allowing the body to respond. Daily use is not automatically superior and can push cumulative dose into the inhibitory range for some users.
For maintenance or wellness, 2–4 sessions per week often suffice. Recovery or pain-focused routines may tolerate or benefit from the higher end of 4–6 sessions, provided you monitor for signs of reduced response. If results stall, dropping frequency for 1–2 weeks is a smarter first step than increasing time or moving closer.
Our in-depth article The Ultimate Guide to Red Light Therapy Protocols provides phased schedules and systemic versus targeted strategies that complement the dosing principles here.
Practical Checklist: How to Estimate Optimal Session Time
Use this execution heuristic before every new routine or device:
- Record your exact device model, measured irradiance if available (phone apps are often inaccurate), and the precise distance and angle you will use.
- Choose a goal-specific starting time from the ranges above or your device manual.
- Calculate approximate fluence: multiply irradiance in mW/cm² by session minutes and divide by 60 to estimate J/cm². Stay within a conservative 10–40 J/cm² window for most general applications unless your device documentation specifies otherwise.
- Commit to the exact same setup for at least 2–3 weeks before changing anything.
- Track subjective response (skin appearance, pain levels, energy, sleep) rather than assuming more exposure equals faster progress.
- If results plateau or regress, reduce time or frequency first before increasing dose.
For accurate measurement guidance, review Measuring RLT Irradiance: Why Phone Apps are Inaccurate.
Choosing the Right Device for Reliable Dosing
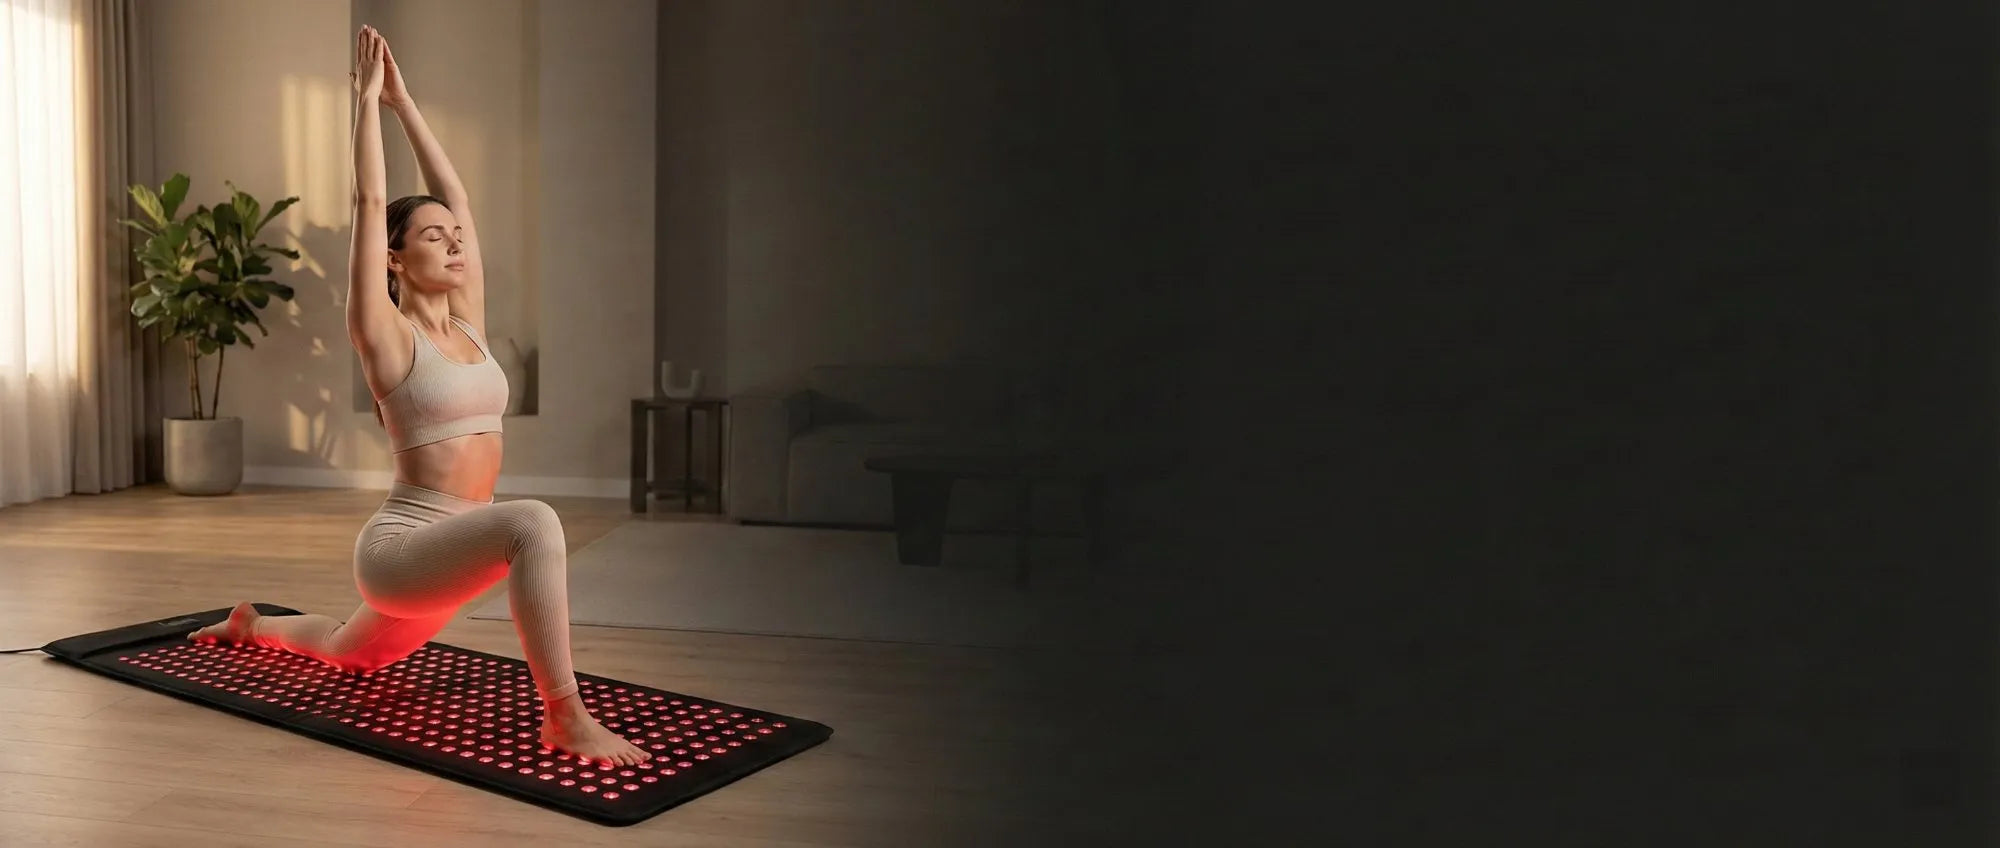
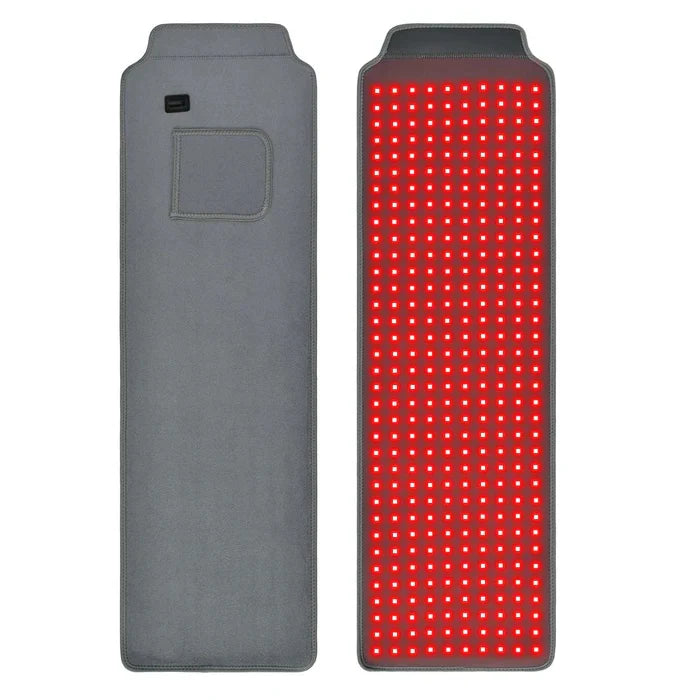
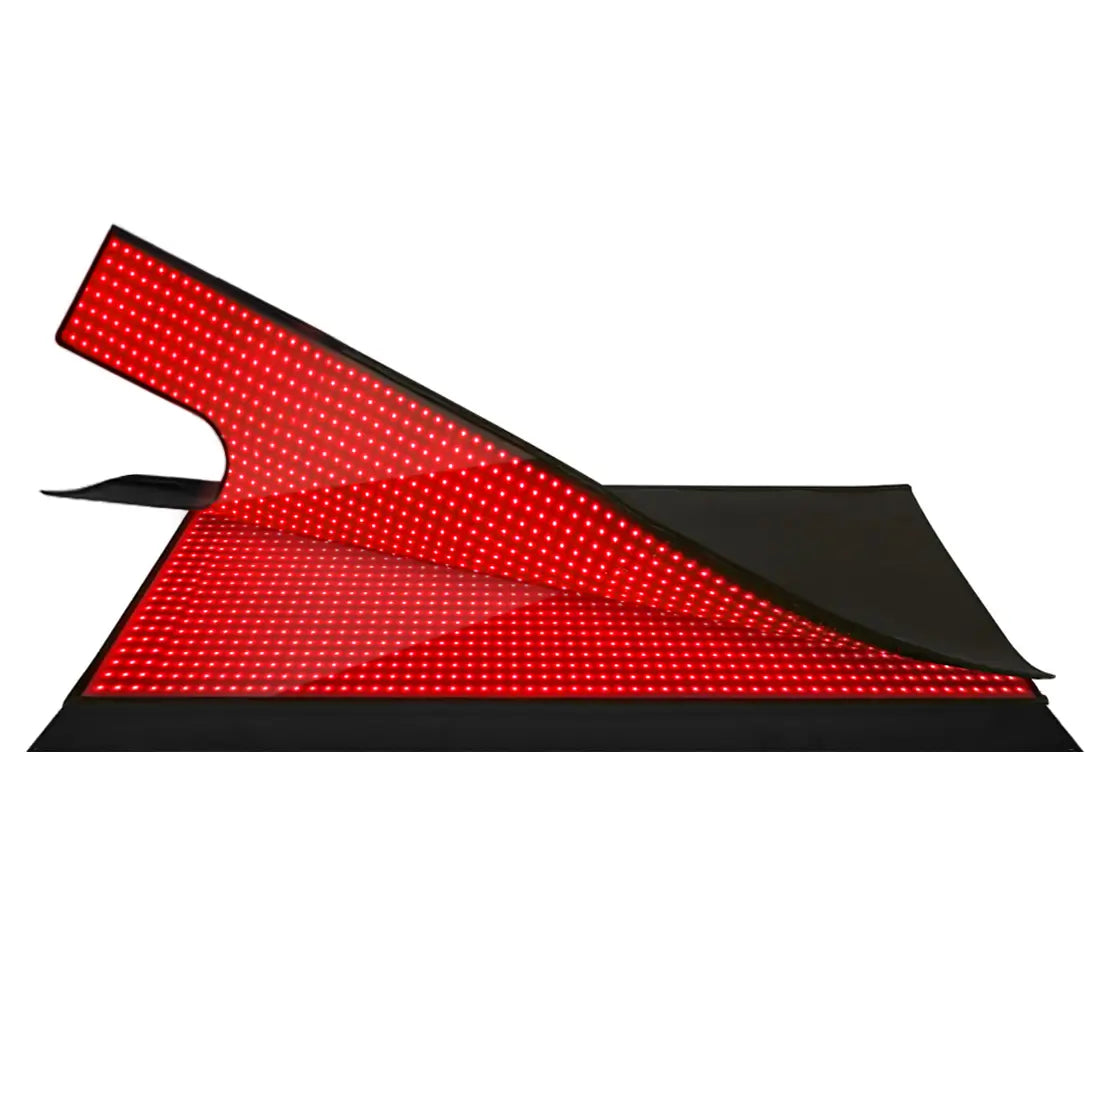
Consistent dosing is easier when your device delivers predictable irradiance. Full-body panels and mats allow repeatable full-coverage sessions, while targeted panels suit localized treatment without overexposing surrounding tissue.
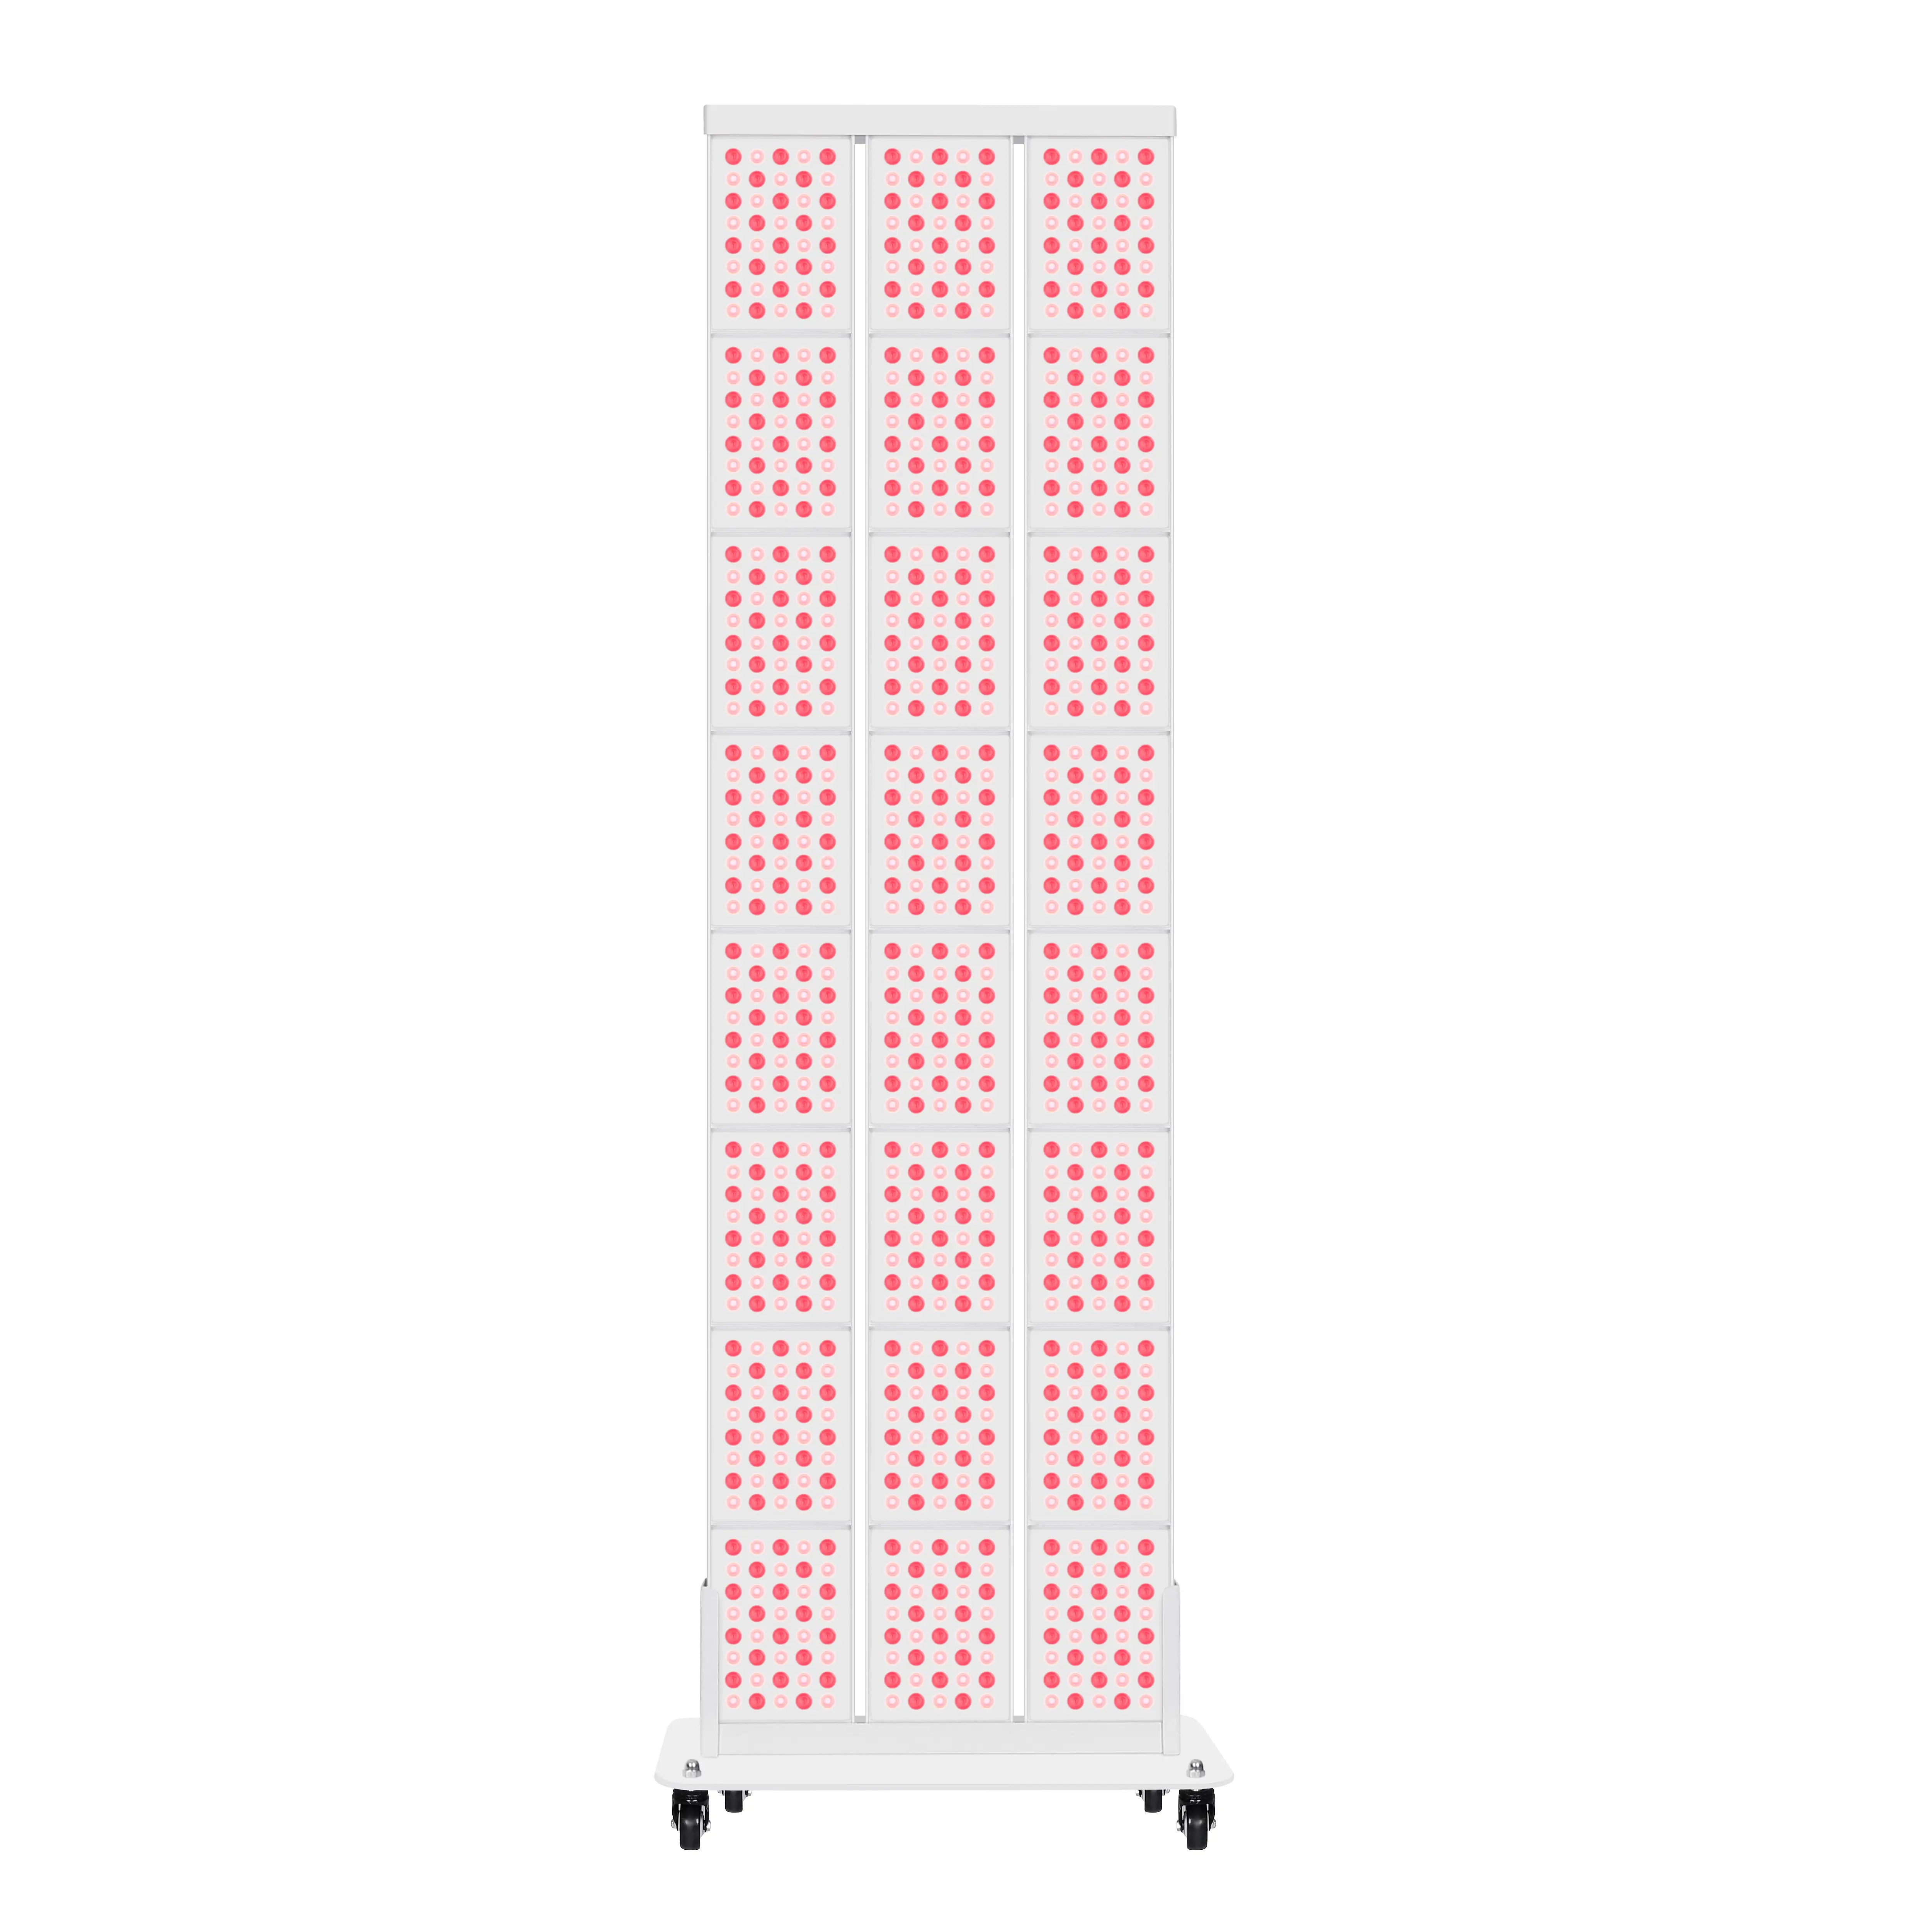
Consider the YOULUMI IRP010-08T 600W Red Light Therapy Panel for versatile full-body or half-body use with high output that supports shorter effective session times. For complete coverage in a lying position, the Youlumi Pro Full Body Red Light Therapy Mat offers contact therapy advantages and precise dosing at zero distance. Smaller options like the YOULUMI IPR010-04T 300W Red Light Therapy Panel work well for facial or localized routines where shorter times are preferred.
Explore the full Red Light Therapy Panel collection to compare irradiance specifications before deciding on a protocol. Understanding wavelength effects can further refine your choices—see Decoding Red Light Therapy Wavelengths: 660nm vs. 850nm for details on when each performs best. The Red Light Therapy Mat vs. Panel: Which is Best for You? comparison also clarifies dosing differences between formats.
Safety and Important Boundaries
This article discusses comfort, setup advice, and evidence-based dosing principles for home red light therapy devices. It does not constitute medical advice, diagnosis, or treatment. Red light therapy is generally considered safe, but individual responses vary. For many photobiomodulation uses, the optimal dose is still being refined.
If you have existing eye conditions, photosensitivity, are pregnant, take medications that increase light sensitivity, or experience persistent discomfort, consult a qualified healthcare professional before beginning or changing any protocol. Always follow your specific device’s safety instructions and never stare directly into the lights.
Final Takeaway: Dose Smarter, Not Longer
The biggest red light therapy dosing mistake is assuming more minutes, higher frequency, or closer distance will always improve outcomes. The biphasic dose response means the goal is to hit the right window consistently, not to maximize exposure. Start conservatively, track one variable at a time, prioritize repeatable setups, and adjust based on real results rather than the calendar.
By treating session time as part of a calculated dose instead of a simple timer, most users see more stable benefits and avoid the frustration of diminishing returns. Use the scenario ranges and checklist above as your starting framework, refine with your specific device, and remember that consistency over weeks and months matters more than any single long session.
For deeper technical standards on irradiance and safety, the companion guide Photobiomodulation Standards: Irradiance, EMF, and Safety provides additional context for making confident protocol decisions.
References