
Understanding Red Light Therapy for Localized Joint Pain
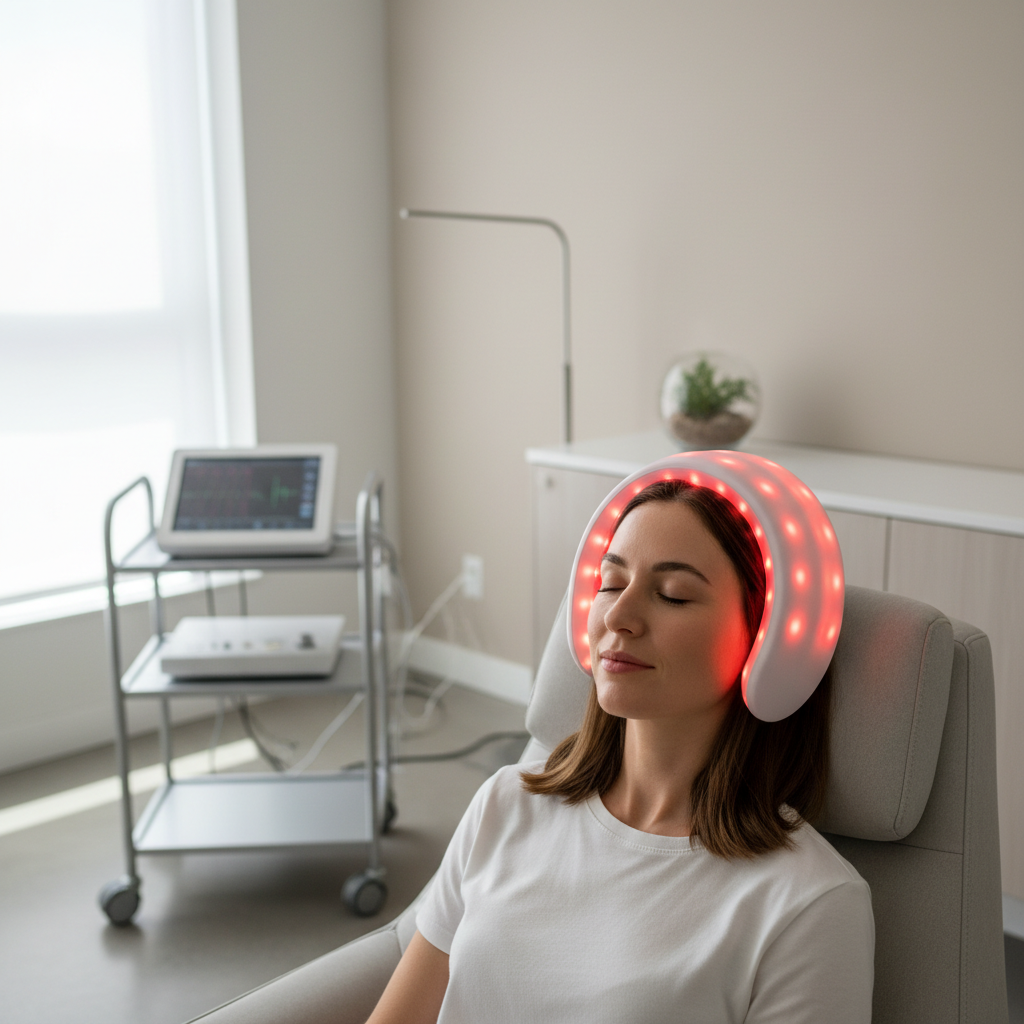
Red light therapy (RLT), or photobiomodulation, uses specific wavelengths—typically 660nm (red) and 850nm (near-infrared)—to interact with cellular mitochondria. For localized joint pain, the primary advantage of a targeted approach is the ability to deliver a higher "dose" of light energy directly to the area of discomfort, such as the knee or shoulder, without the time commitment of a full-body bed or large-scale panel session.
While the official stance from medical organizations suggests that RLT may support symptom management, it is important to view it as a supportive tool rather than a standalone cure. In our experience, the most successful users are those who treat RLT as one component of a broader recovery "stack" that includes movement and proper load management.

Choosing the Right Equipment: Beyond the Marketing Specs
Selecting a device for joint pain requires looking past "peak power" claims. For localized treatment, the relationship between irradiance (the intensity of light hitting your skin) and coverage is what determines your results.
1. Irradiance and the Inverse Square Law
A common mistake is ignoring the distance. If a panel claims 100 mW/cm² at the surface, that intensity drops significantly just 6 inches away. For deep joints like the hip or lower back, you need higher irradiance to ensure enough photons reach the target tissue.
- Pro Tip: Always check the manufacturer’s irradiance-at-distance chart. If they only provide "at-surface" data, they may be overstating the device's effective range.
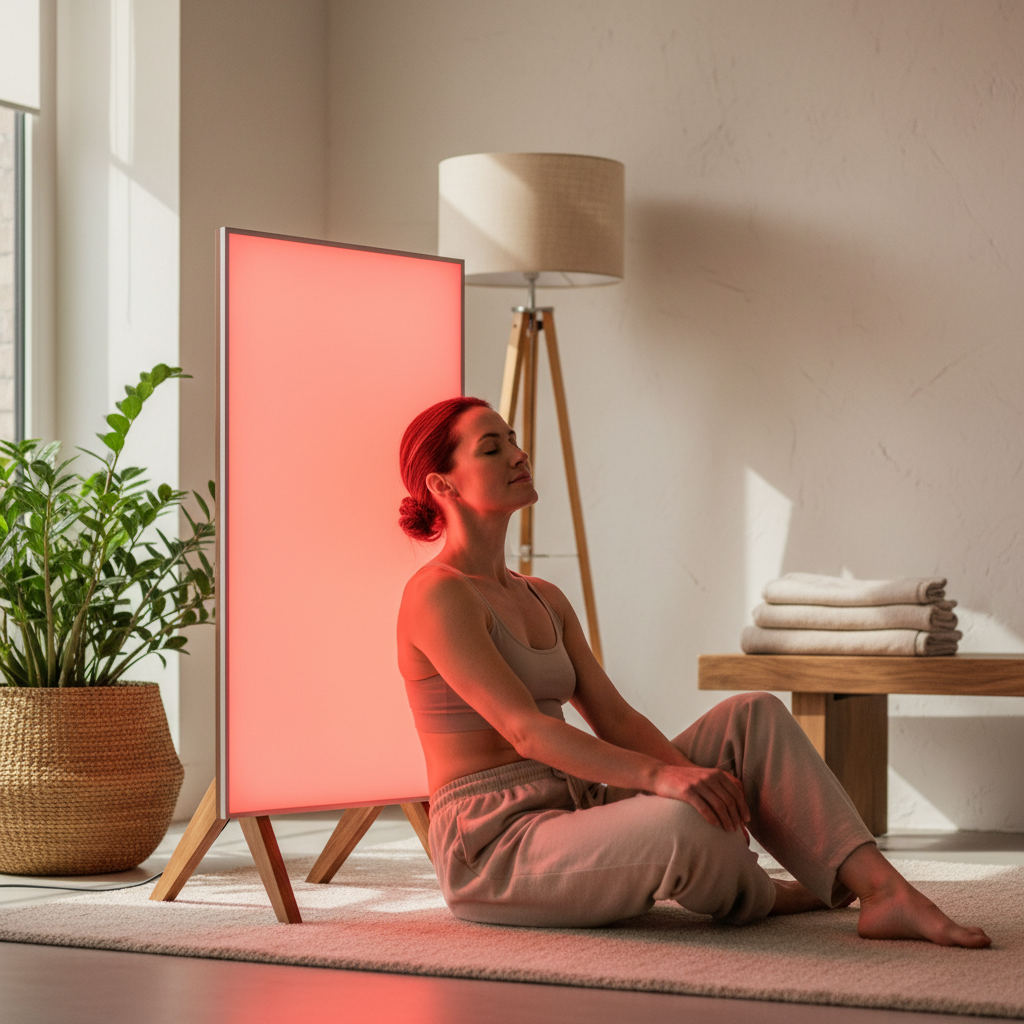
2. Form Factor: Panels vs. Wraps
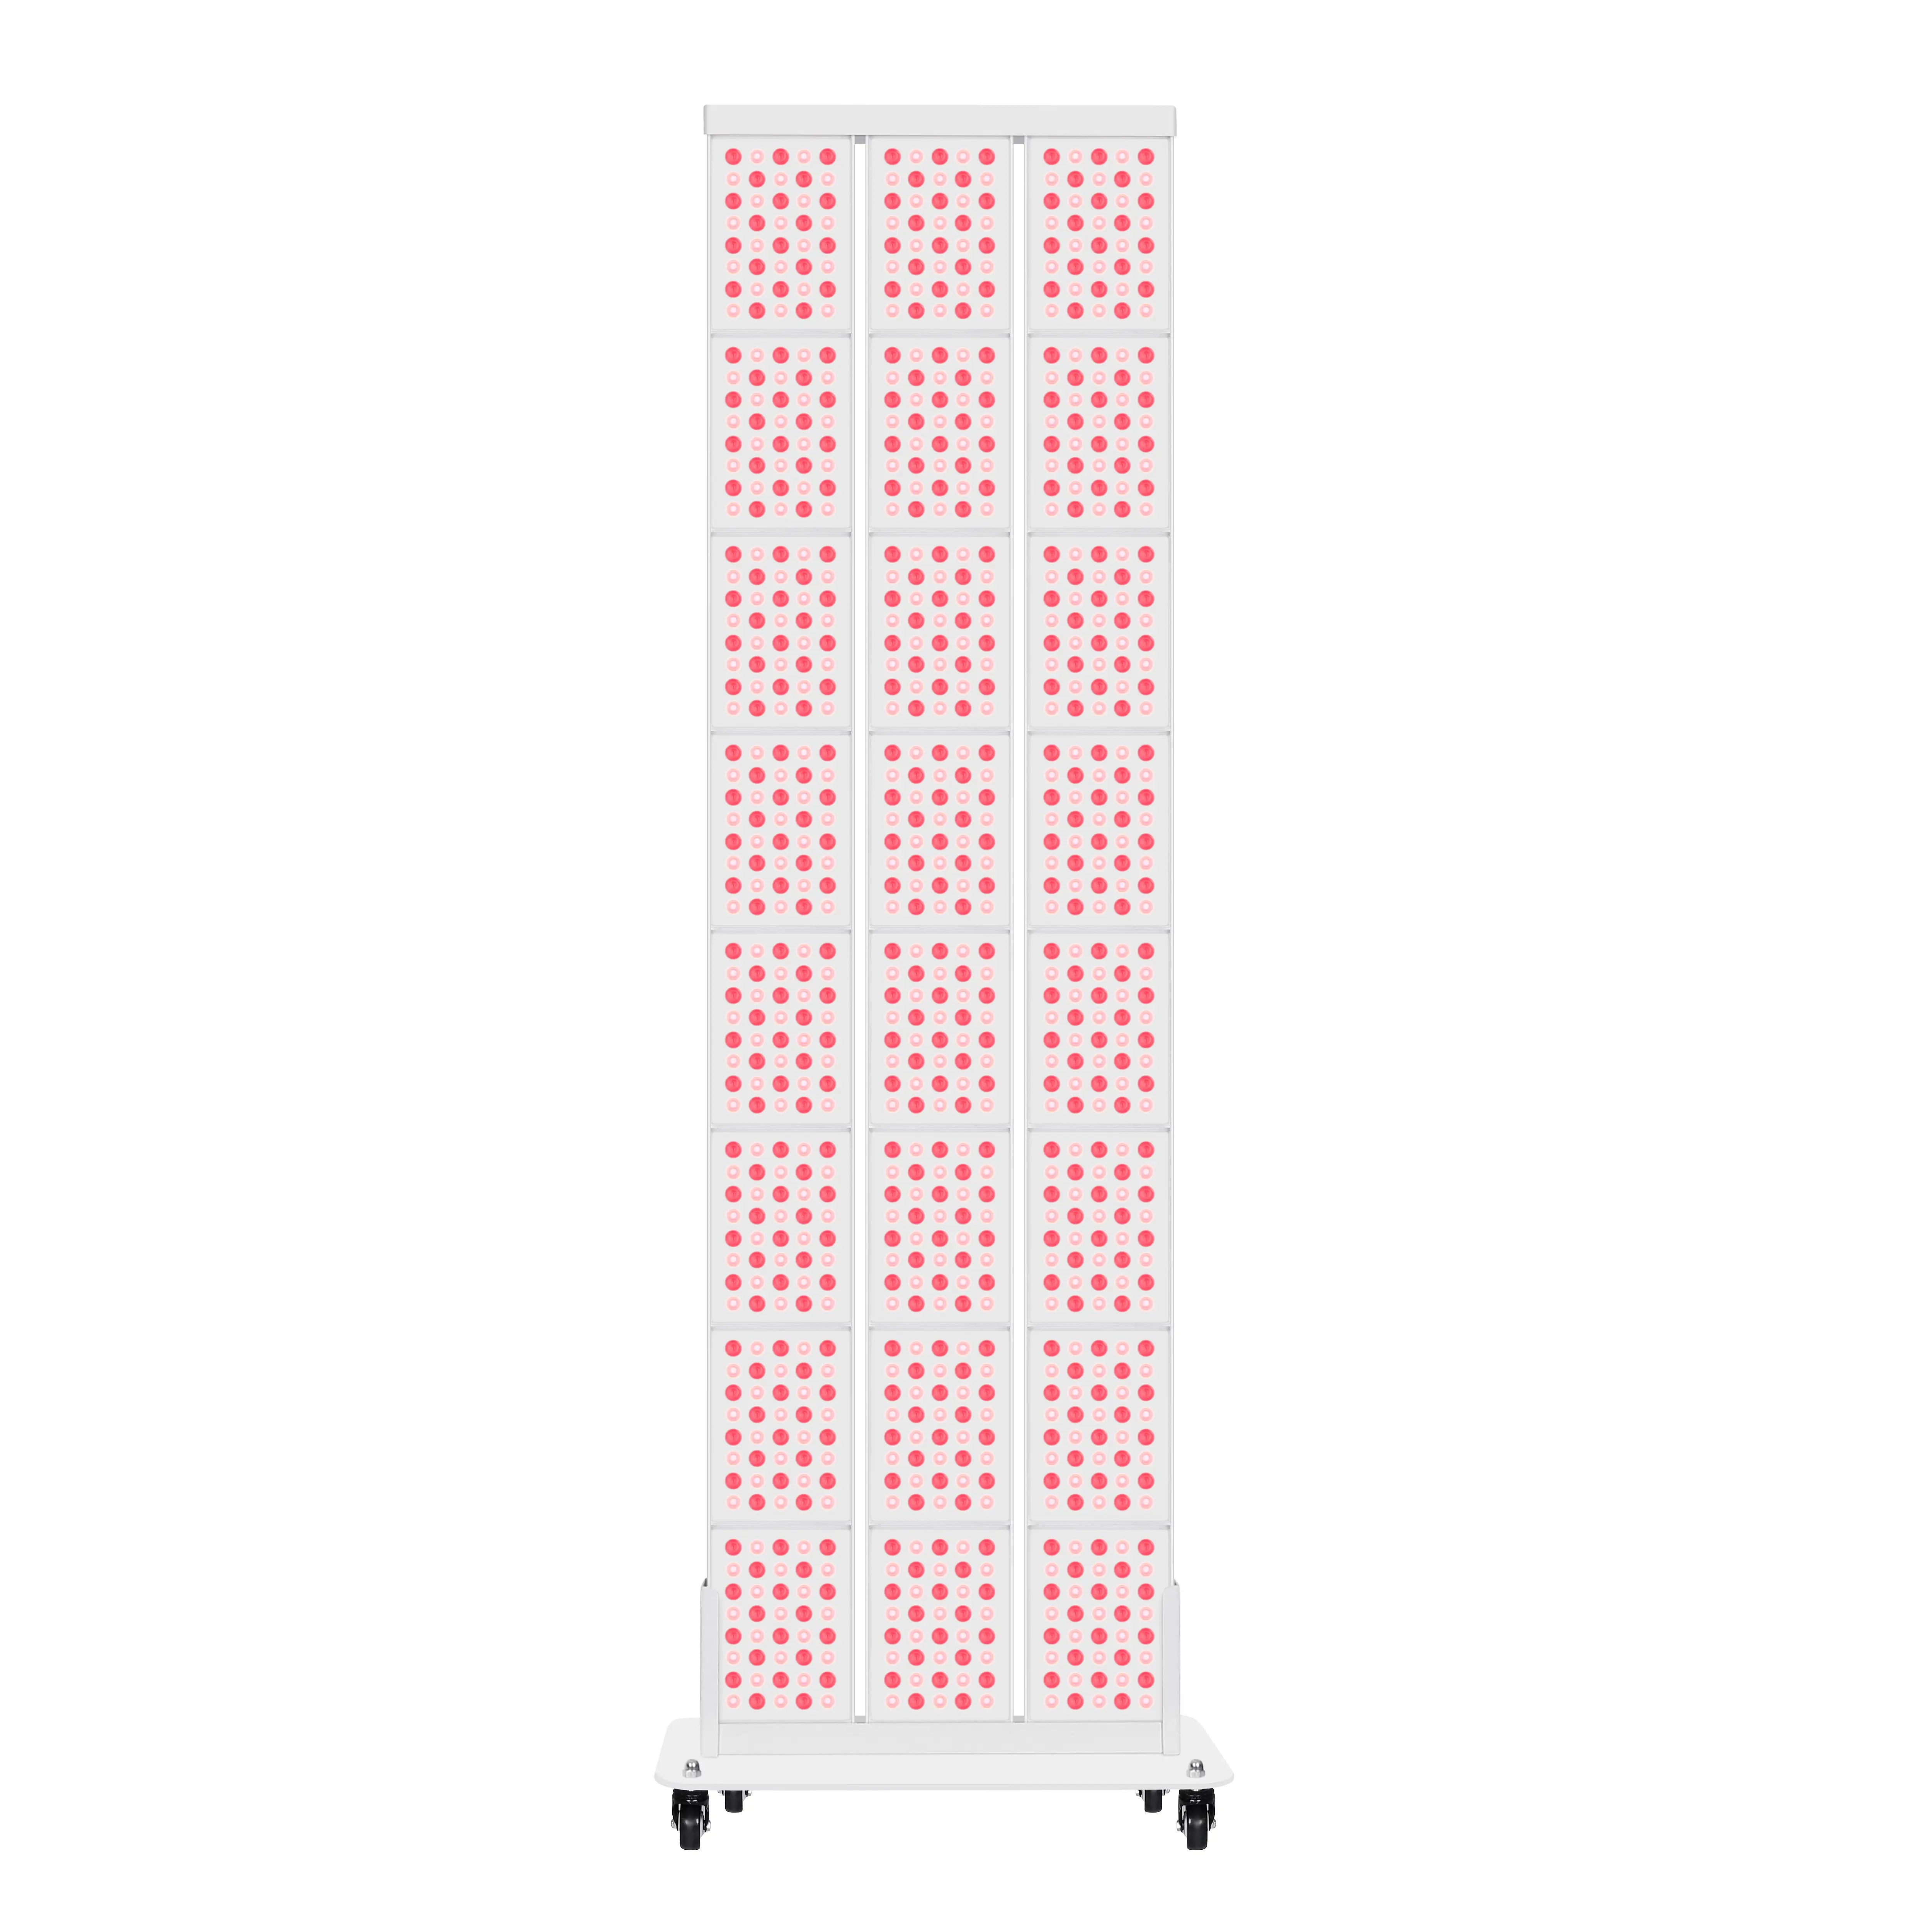
- Panels: Best for shoulders and upper backs where you can sit or stand comfortably. They generally offer higher irradiance but require you to remain stationary.
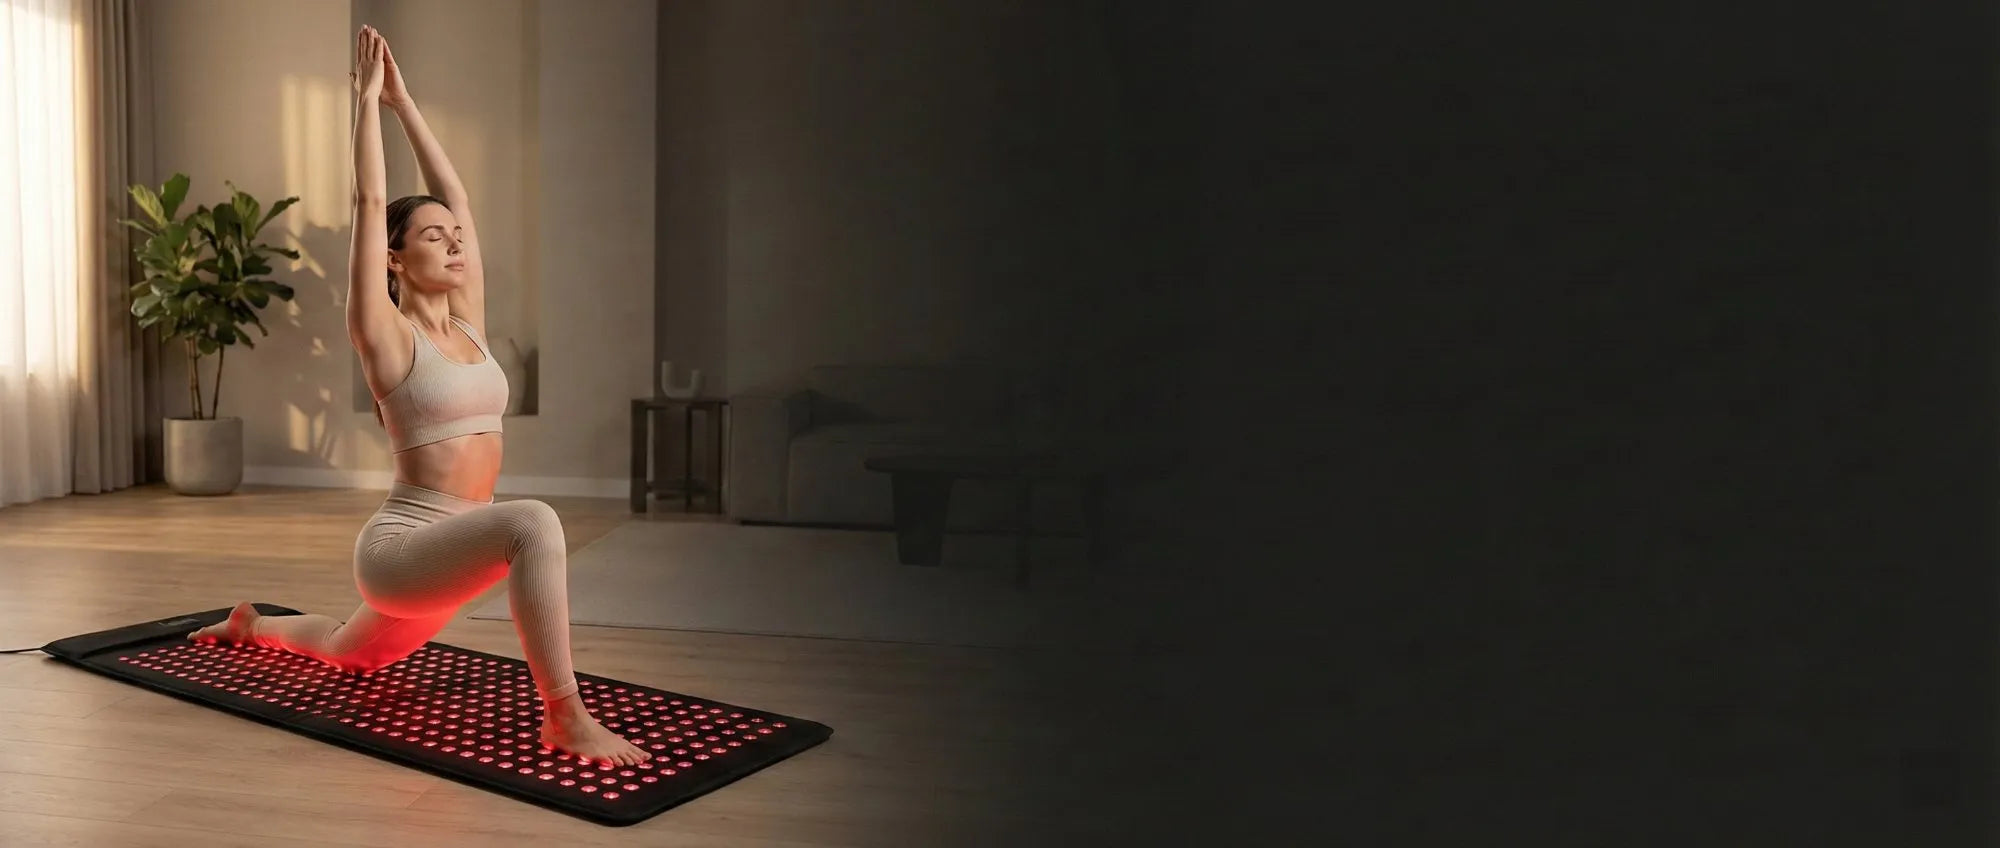
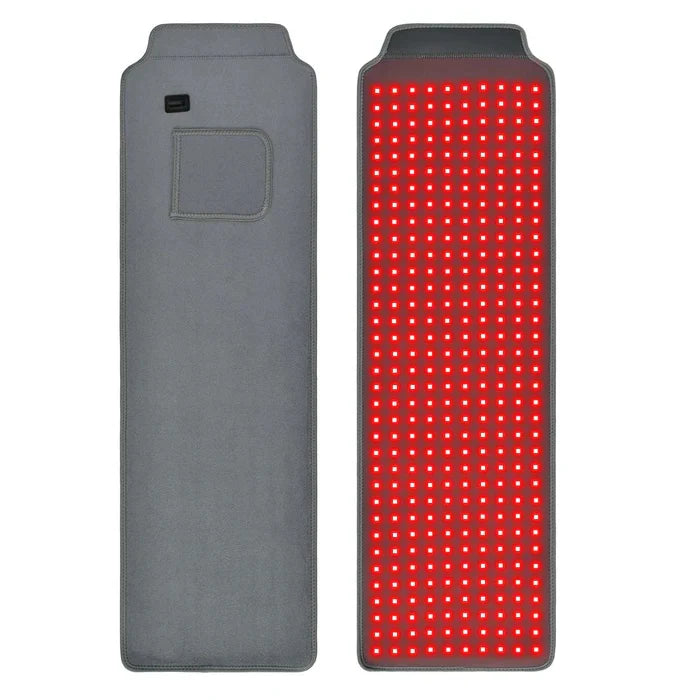
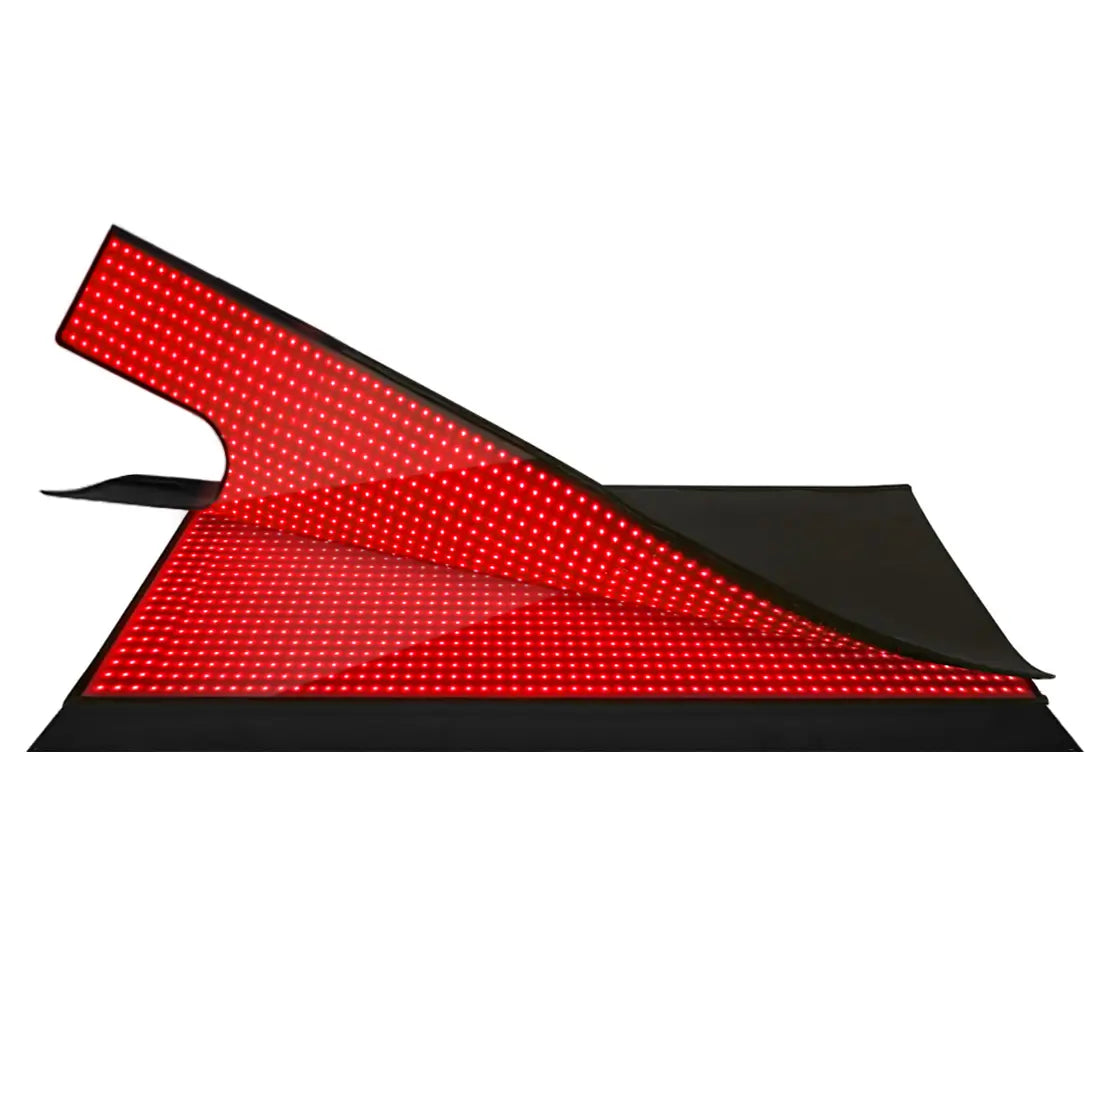
- Belts/Wraps: A red light therapy belt is often more practical for the lower back or knee. Because these can be worn directly against the skin, they minimize "reflection loss" and allow for consistent dosing even if you move slightly.

Targeted Protocols for Common Pain Points
Effective protocols are built on consistency. We typically see the best feedback when users follow a "less is more" approach initially to gauge skin sensitivity.
Knee Pain (Overuse or Stiffness)
The knee is a relatively "shallow" joint, making it highly responsive to red light.
- Positioning: Treat the knee from three angles—front (patella), and both sides. If using a panel, keep it 6 inches away.
- Duration: 10–15 minutes per angle.
- Frequency: 3–5 times per week.
- Common Failure: Treating only the front of the knee. Pain often involves lateral ligaments that require side-angle exposure.
Shoulder Pain (Rotator Cuff or Impingement)
The shoulder's complex anatomy requires "wrapping" the light around the joint.
- Positioning: Aim the light at the top and front of the shoulder. Because the shoulder is mobile, using a mounted panel that allows you to rotate your body is often easier than holding a device.
- Duration: 15 minutes.
- Frequency: Daily for the first 2 weeks, then tapering to 3 times per week.
- Pro Tip: Use the light before your physical therapy or mobility exercises to help "warm up" the joint environment.
Lower Back Pain (Lumbar Strain)
The lower back requires the most power because the tissue is denser and the target (vertebrae/discs) is deeper.
- Positioning: Direct skin contact is preferred here to maximize penetration. A high-powered belt or a large panel is ideal.
- Duration: 20 minutes.
- Frequency: 5 times per week.
- Common Failure: Using a device that is too small. A "spot" treatment device rarely provides enough coverage for the broad muscle groups of the lumbar spine.
Troubleshooting: Why You Might Not See Results
If you’ve been using red light therapy for 4 weeks without a change in comfort, consider these three common "failure points" we’ve observed:
- The "Under-Dosing" Trap: Using a low-powered consumer device at a distance of 12+ inches often results in negligible energy reaching the joint. If your device feels "weak," try moving it closer (while monitoring for heat).
- Inconsistent Timing: RLT works through a cumulative biological response. Skipping sessions for several days breaks the momentum of cellular signaling.
- Ignoring the "Angle of Incidence": Light is most effective when it hits the skin at a 90-degree angle. If the light is glancing off your shoulder at a sharp angle, much of the energy is reflected away rather than absorbed.
Maximizing Results: The Mobility Connection
Red light therapy is not a "magic lamp." It is most effective when paired with functional movement. We recommend a "Sandwich Protocol":
- Light Session (10-15 mins): To support localized circulation and comfort.
- Active Mobility: Gentle range-of-motion exercises (e.g., cat-cow for the back, pendulum swings for the shoulder).
- Hydration: Photobiomodulation affects cellular water; staying hydrated helps the metabolic process.
Illustrative Protocol Comparison Chart
This chart provides a heuristic overview of how to prioritize your setup based on the target area. These are estimates based on typical high-quality home panels (approx. 50-80 mW/cm² at 6 inches).
Illustrative Red Light Therapy Choice Guide for Joint Pain
Use this as a scenario-based chooser, not a treatment dose chart. Relative scales show how protocol emphasis may differ by pain location; the final column marks when professional evaluation should take priority.
View chart data
| Category | Coverage need | Typical distance sensitivity | Need for mobility pairing | Care escalation signal |
|---|---|---|---|---|
| Knee pain | 4.0 | 2.0 | 3.0 | 0.0 |
| Shoulder pain | 3.0 | 3.0 | 3.0 | 0.0 |
| Back pain | 5.0 | 4.0 | 4.0 | 0.0 |
| Seek professional care | 0.0 | 0.0 | 0.0 | 5.0 |
Illustrative heuristic mapping based on protocol differences, device-selection considerations (coverage, irradiance, distance), frequency/duration guidance, mobility pairing, and clinician-evaluation triggers. Relative scores only; not a dosage claim or verified clinical ranking.
Note: Always defer to your specific device's manual for safety and irradiance verification.
When to Seek Professional Care
Red light therapy is a supportive tool, not a diagnostic one. You should pause self-treatment and consult a clinician if:
- Pain is accompanied by significant swelling, redness, or heat (signs of acute infection or severe inflammation).
- You experience "shooting" pains, numbness, or weakness traveling down your arms or legs.
- The pain resulted from a high-impact trauma or fall.
- There is no improvement after 6 weeks of consistent use.
Final Checklist for Success
- Verify Irradiance: Does your device provide enough power for deep tissue (NIR 850nm)?
- Check Distance: Are you following the manufacturer's recommended distance for "deep" vs. "surface" treatment?
- Set a Schedule: Can you commit to at least 3 sessions a week for a month?
- Track Progress: Use a simple 1-10 pain scale journal to see if your "baseline" comfort is improving over time.
Disclaimer: This guide is for educational and informational purposes only. It does not constitute medical advice, diagnosis, or treatment. Always seek the advice of your physician or other qualified health provider with any questions you may have regarding a medical condition. Never disregard professional medical advice or delay in seeking it because of something you have read in this article.