
Scars can be hard on confidence because they rarely change in a straight line. Some weeks, they look calmer, then a hot shower or a sunny day makes them stand out again. That back and forth is normal, and it’s a big reason people look into red light therapy. In medicine, this approach is often discussed under photobiomodulation, meaning specific wavelengths of light used to influence cellular activity. Clinicians also point out that evidence varies by use case and device, and that safety habits, especially eye protection, matter.
Which Types of Scars People Most Often Target
The fastest way to set realistic expectations is to name the scar type. Many disappointments come from using the right tool on the wrong problem, or expecting a scar to “erase” when the best outcome is usually a quieter, less noticeable mark.
Surgical Scars
Incisions from C-sections, orthopedic procedures, thyroid surgery, and cosmetic surgery often begin pink or red, then gradually fade as the tissue matures. Goals that tend to feel meaningful include less contrast in everyday lighting, less tightness, and a smoother edge where scar meets normal skin.
Hypertrophic Scars
Hypertrophic scars are raised yet stay within the original wound border. They can feel firm, itchy, or “pulled.” When progress happens, it often shows up first as softness and reduced itch, with flattening and fading following later.
Keloids
Keloids grow beyond the original injury. They often persist without treatment and can keep expanding. They also respond unpredictably, so home approaches should be framed as supportive, not definitive. If a keloid is enlarging, painful, or limiting movement, a dermatologist-led plan is usually the right next step.
Acne Scars
acne scars usually fall into depressed scars (rolling, boxcar, ice pick) and raised scars. Depressed scars are a contour issue, so depth changes tend to be slow. Earlier improvements are more likely to involve redness settling, smoother surface texture, and easier makeup blending.

What Red Light Therapy Results Tend to Look Like Over Weeks and Months
Scars change on a biological schedule. Even after the surface has closed, deeper remodeling continues for months. That timeline explains why quick comparisons can feel discouraging, even during real progress.
Against that background, red light therapy results often look subtle at first. Many people notice comfort and texture changes before obvious cosmetic shifts.
Weeks 2 to 4
In this early window, many changes are easier to feel than to photograph. A scar may itch less, feel less tight, or look less reactive after heat and exercise. Photos often lag because redness depends heavily on lighting direction, hydration, and temperature.
Weeks 6 to 12
This is a common point where consistent photos begin to show small differences, especially for newer surgical scars and hypertrophic scars. Redness can soften, borders may look less sharp, and the tissue can feel more pliable. Some clinical research on post-surgical LED use has reported improvements in scar pliability and appearance ratings at certain dosing levels, while still emphasizing that outcomes vary.
Months 3 to 6
Trends often become easier to trust here. Many scars continue flattening and fading as collagen reorganizes. For depressed acne scars, surface smoothness and color may improve while deeper contour shadows remain, particularly under side lighting.
What “Before and After” Usually Shows
When people search for red light therapy before and after photos, they often expect a dramatic shift. A more typical before-and-after red light therapy comparison looks like reduced contrast in normal lighting, smoother edges, less stiffness, and fewer flare-ups of redness. Since outcomes vary, patience and consistency matter when judging red light therapy results.
Red Light Therapy Mask vs Panel for Face and Body Scars

Device choice is less about “best” and more about repeatability. Scar remodeling takes time, so the device that gets used consistently tends to be the one that performs better in real life.
When a Mask Fits Best
A mask is often chosen for facial use because placement and distance are built in. That can reduce day-to-day variation, which helps when you are tracking gradual changes in redness and texture. Masks also suit routines where convenience drives consistency.
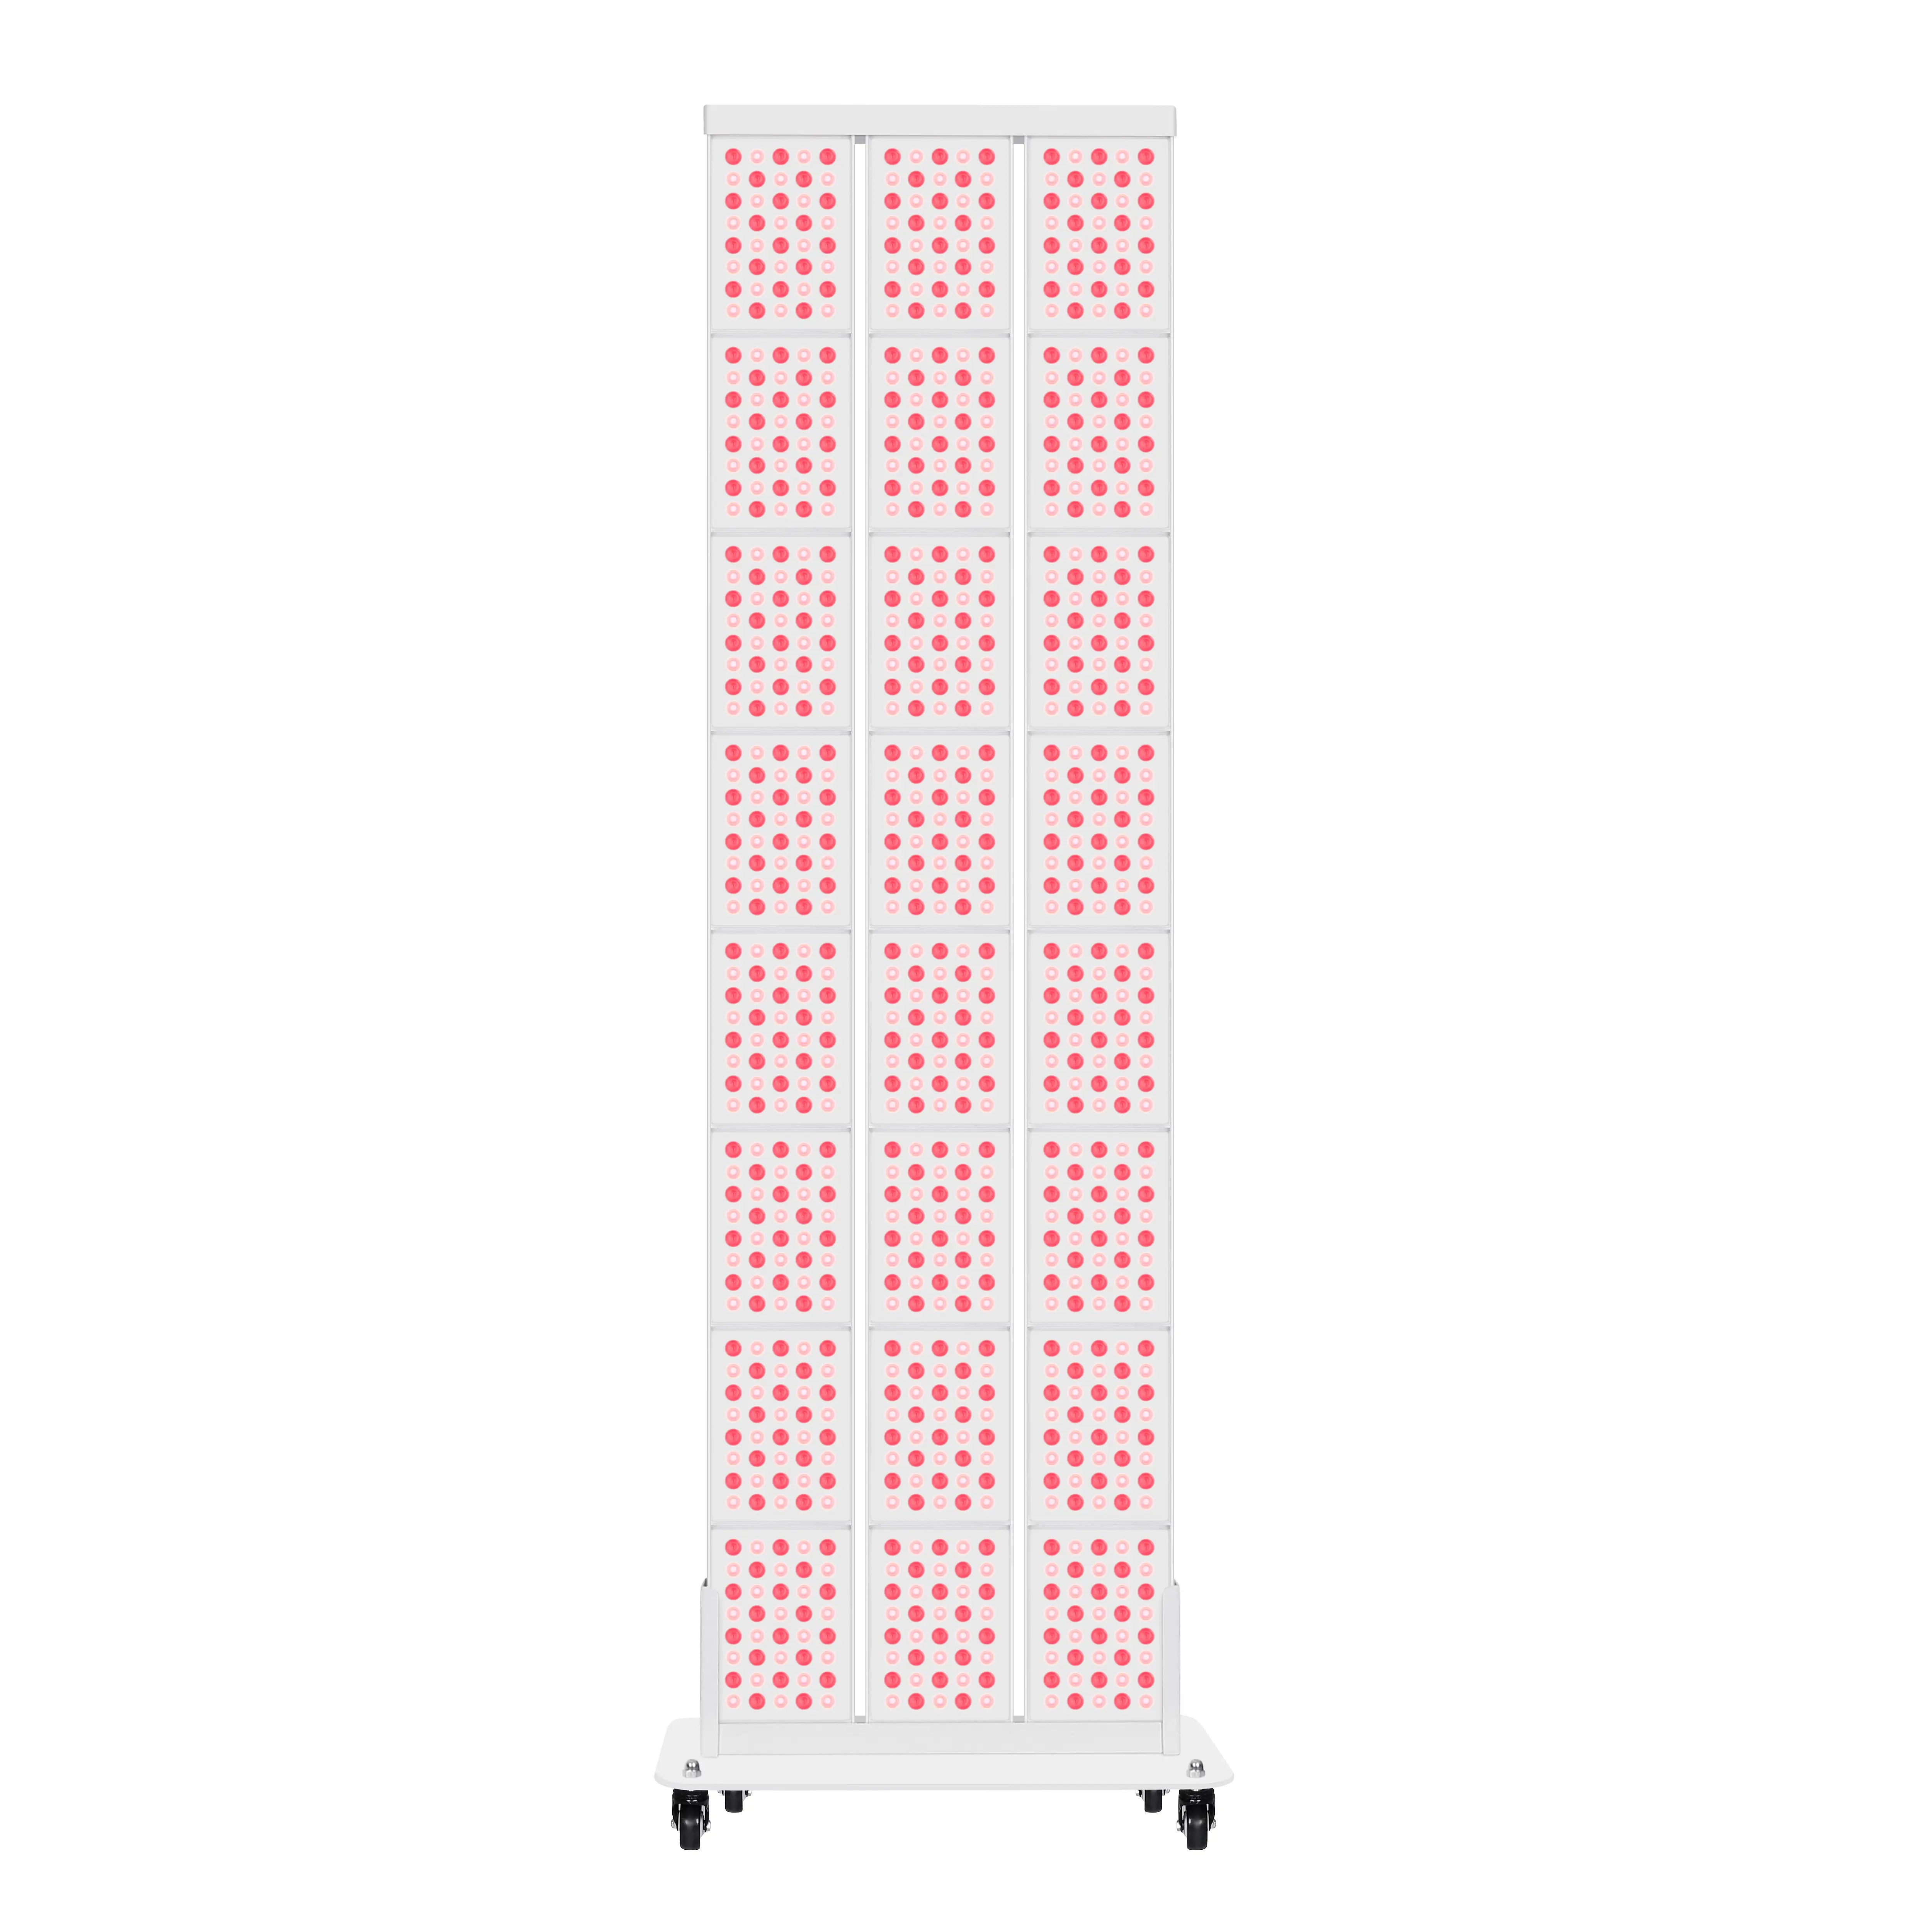
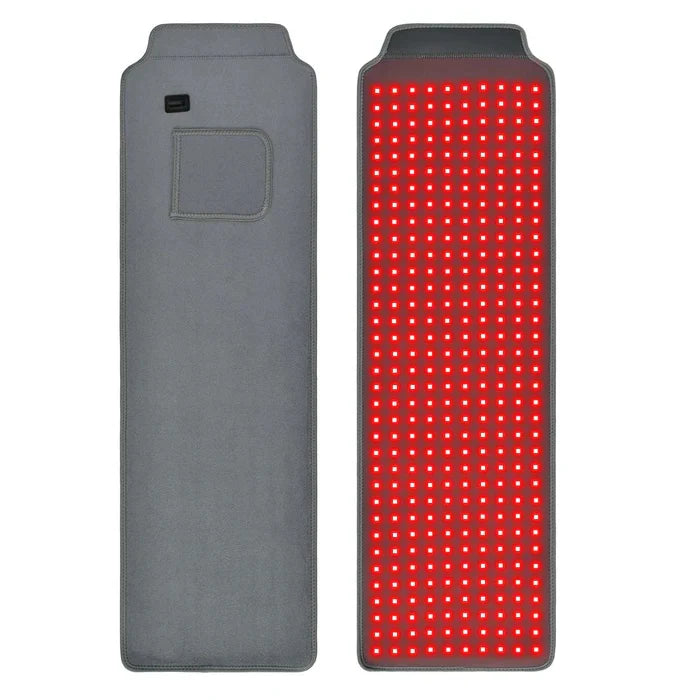
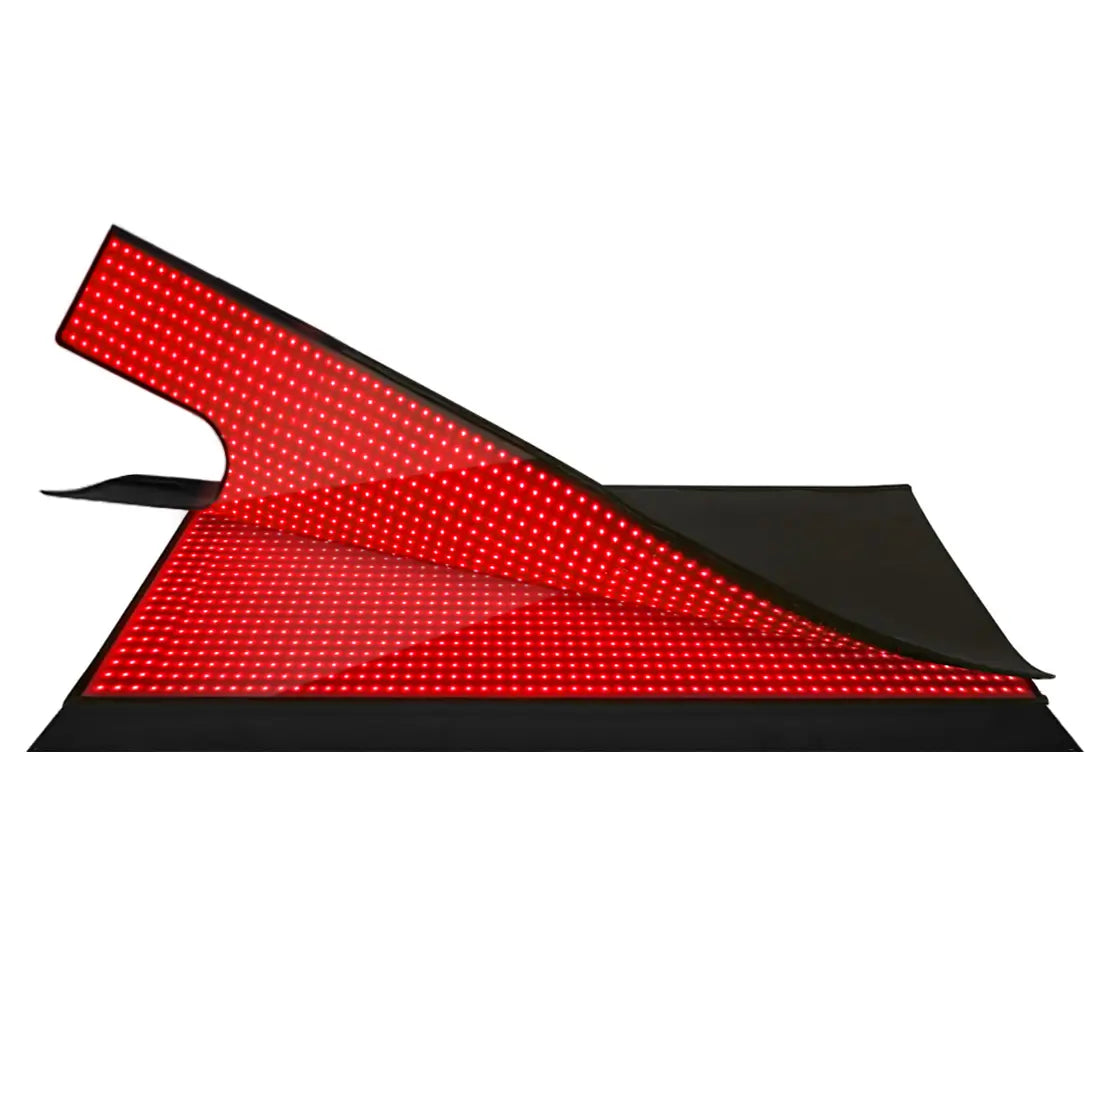
When a Panel Fits Best
Panels are practical for larger areas, longer incision lines, and body scars. They can also cover the surrounding tissue that feels tight, which matters when discomfort extends beyond the visible scar.
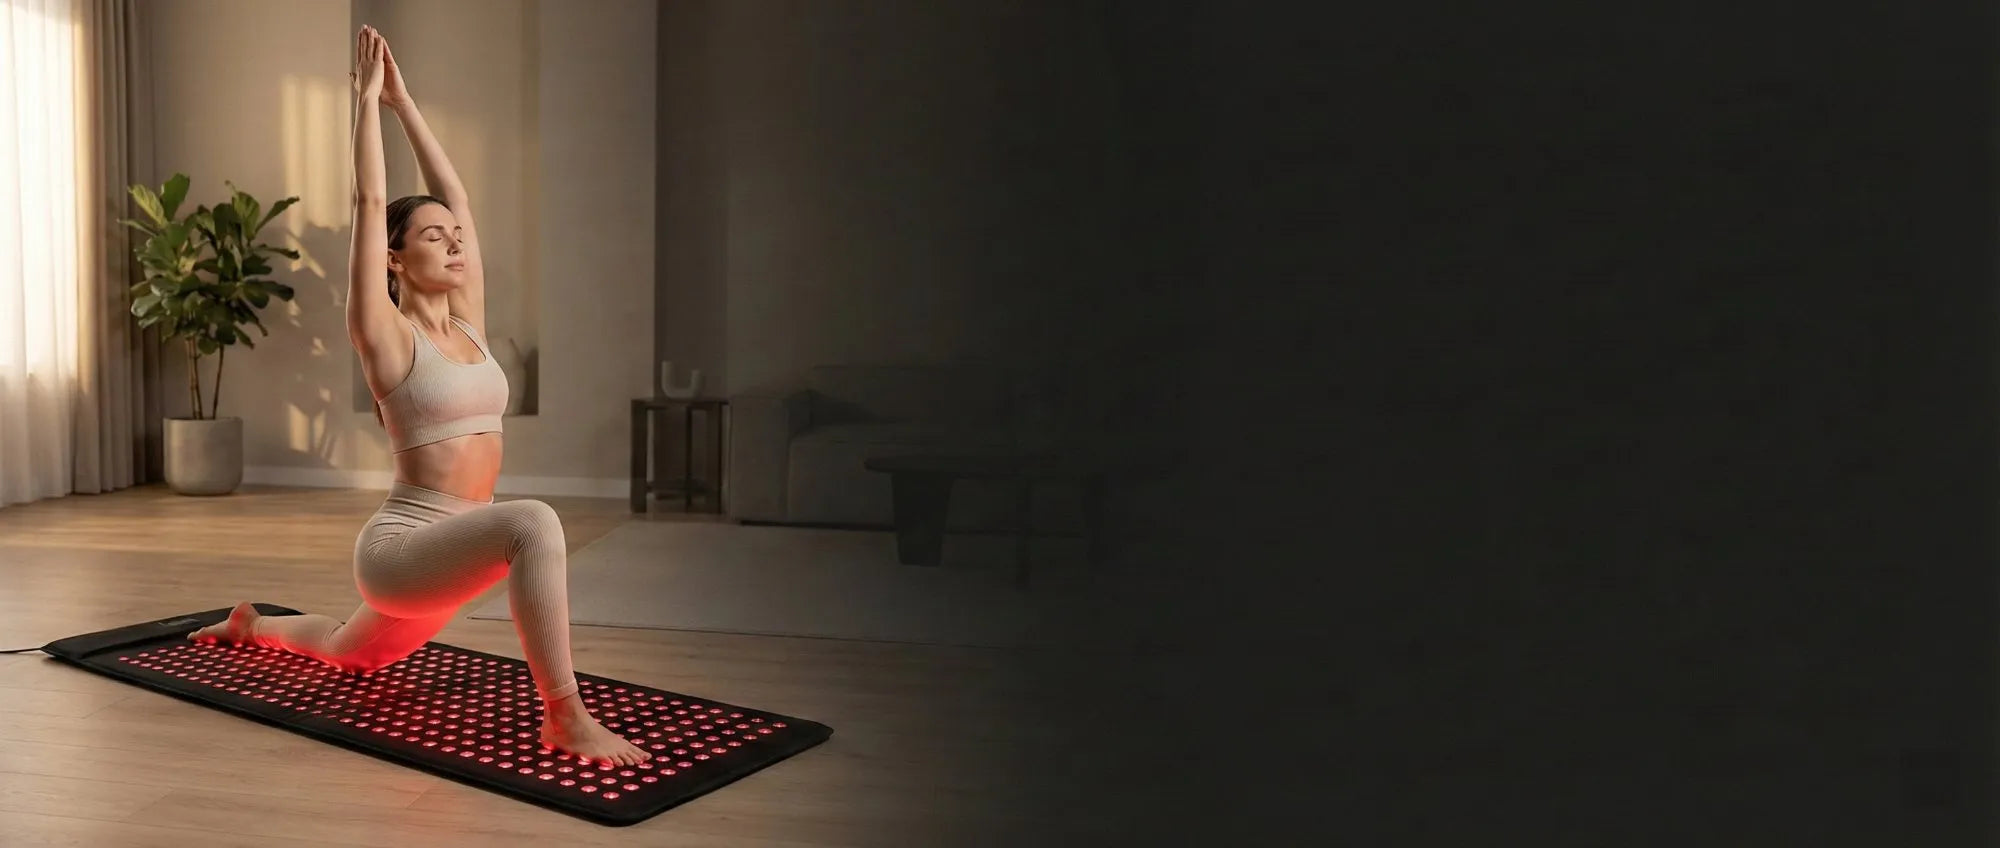
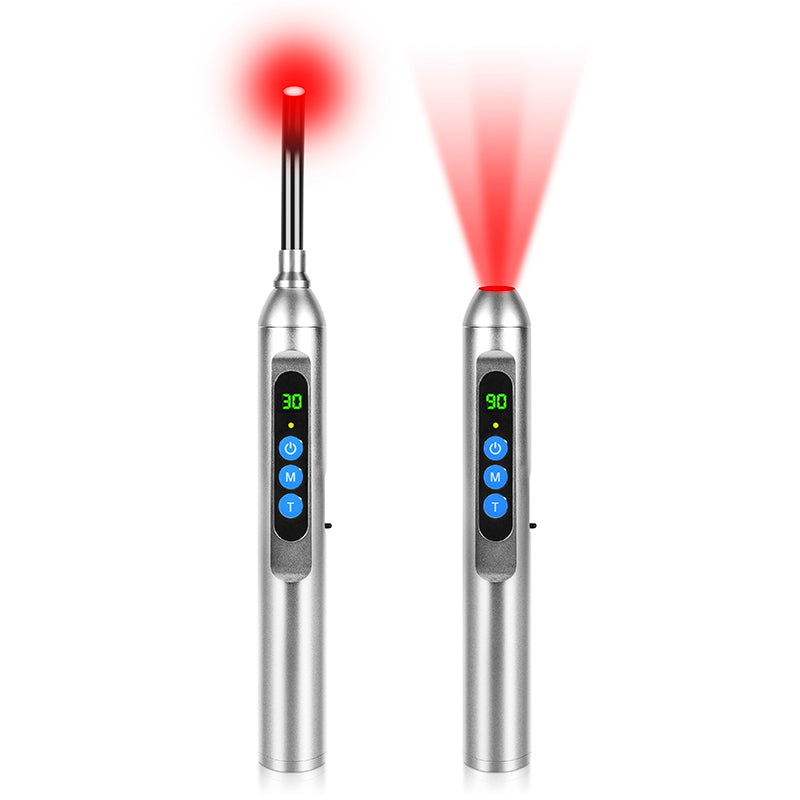
Using a Red Light Panel for Face
A red light panel for the face can work well for people who want one device for multiple areas. Consistency becomes the main challenge. Distance and head angle need to repeat each session. Eye safety deserves extra care because panels can be bright, so direct eye exposure should be avoided.
How to Use Red Light Therapy on Face and Other Scarred Areas
A routine that works is boring in the best way. The same timing, the same distance, the same skin condition, repeated for weeks. Two principles matter most: respect healing timelines and keep variables steady.
Timing After Injury or Surgery
Light should never be used on an open wound. After surgery, clearance from the treating clinician is a smart checkpoint, especially if adhesives, stitches, or infection risk are still in play. Research on post-surgical LED use usually comes from controlled clinical trials, where participants are screened, treatment dose and schedule are fixed, and outcomes are graded with validated scar scales (e.g., POSAS and Vancouver Scar Scale) at set follow-up visits. That evidence can’t be copied one-to-one into a DIY home routine.
Session Consistency That Holds Up in Real Life
Follow your device instructions for distance and frequency, then keep it stable. Treat the scar plus a small margin around it, since tightness often extends beyond what you see. If skin becomes persistently irritated, reduce frequency or pause and reassess.
Pairing With Scar Basics
Light sessions don’t replace fundamentals. Sun protection is one of the most practical tools for improving how scars blend, since UV exposure can worsen discoloration and make scars more noticeable. For thicker scars, silicone gels or sheets are commonly used once skin has healed. Combining supportive basics with a consistent routine also makes progress easier to judge.

Common Mistakes That Make Progress Hard to See
Slow progress is normal. Invisible progress is often a process problem. The most common issues are inconsistent dosing, inconsistent photos, and judging the wrong outcome for a given scar type.
Dose Drift
Distance changes the delivered light dose. If a panel is close one day and far the next, the routine becomes hard to evaluate because exposure is no longer stable.
Photo Setup Noise
Lighting and angle can make the same scar look smoother, rougher, lighter, or darker. Side lighting exaggerates texture. Overhead lighting amplifies redness. Consistency is what makes red light therapy results visible in photos.
Irritation and Sun Exposure
Overdoing sessions can leave skin flushed or irritated, masking subtle gains. Sun exposure can deepen the contrast between the scar and surrounding skin, especially on the face and chest. Daily sunscreen and covering scars outdoors often make a bigger difference than people expect.
Expecting the Wrong Outcome
Depressed acne scars rarely change depth quickly. Early wins often show up as calmer redness and smoother surface texture, even if contour remains.
- Keep the same distance each session.
- Use the same photo setup each time.
- Judge progress at 8 to 12 weeks, then again months later.
- Track feel as well as looks: itch, tightness, tenderness.
![]()
Track Before and After Red Light Therapy Photos and Stay Consistent Safely
Take photos in the same place, at the same time of day, with the same lighting direction and camera distance. Review changes at 8 to 12 weeks, then again around six months, since remodeling is slow. Protect your eyes and pause if irritation persists. If you have a cancer history, take photos of any changing spots and discuss them with a clinician before continuing. Consistency and caution make the routine safer, and they also make results easier to judge.
FAQs
Q1: What Wavelength Is Best for Scar Improvement?
There isn’t one single best wavelength. Most clinical and consumer devices use red light in the 630–670 nm range, and some add near-infrared around 810–850 nm for deeper penetration.
Q2: How Can I Verify an at-Home Device Is Truly FDA-Cleared?
Check for “FDA 510(k) cleared” on the packaging or device info, then confirm it in the FDA’s searchable 510(k) database using the device name or company. Treat “FDA approved” or “FDA certified” marketing language with skepticism.
Q3: Can Red Light Therapy Cause Hyperpigmentation or Worsen Melasma?
Yes. Visible light can trigger or deepen pigmentation in some people, especially those prone to dark spots or melasma. A dermatologist can help you assess risk, and a cautious patch test with conservative settings can reduce surprises.
Q4: Do I Need to Use It on Bare Skin?
Yes. Use it on clean, makeup-free skin so the light isn’t blocked or scattered by cosmetics or sunscreen. Apply your usual skincare afterward, and keep your routine consistent so any changes you see are easier to attribute.
Q5: Is Red Light Therapy Covered by Insurance?
No, usually not. It’s often treated as elective or wellness care, even when used for skin concerns. In-office sessions and devices are commonly out-of-pocket, so it helps to confirm coverage details with your insurer before committing.